I bought these hampers for my kids at Ikea for $4.99, and they're fine, I guess, but I thought I'd be happier with them if I liked the fabric better, and it didn't seem like it would be too tough to cover them so that I liked them better.
 |
| The starting point |
And I was right--it wasn't hard. But there are a few things that I learned through trial and error (or through not paying attention and error, so having to do it again) that might make it even faster and easier for you than it was for me!
First, I chose the fabric from my stash that I wanted to use, and then I grabbed an old shirt from the goodwill pile (eg, not something I wanted to upcycle into a dress for the little one). I traced the lid on the old shirt, laid it wrong-side-up on top of the face-up fabric, pinned them together, and cut out the circle. You might be able to tell from my photo that I cut right on the line. What am I, sewing for the first time with no idea what I'm doing? It was late at night. But please note, leave yourself a seam allowance, dummy. Actually, I'd give it about a half-inch.
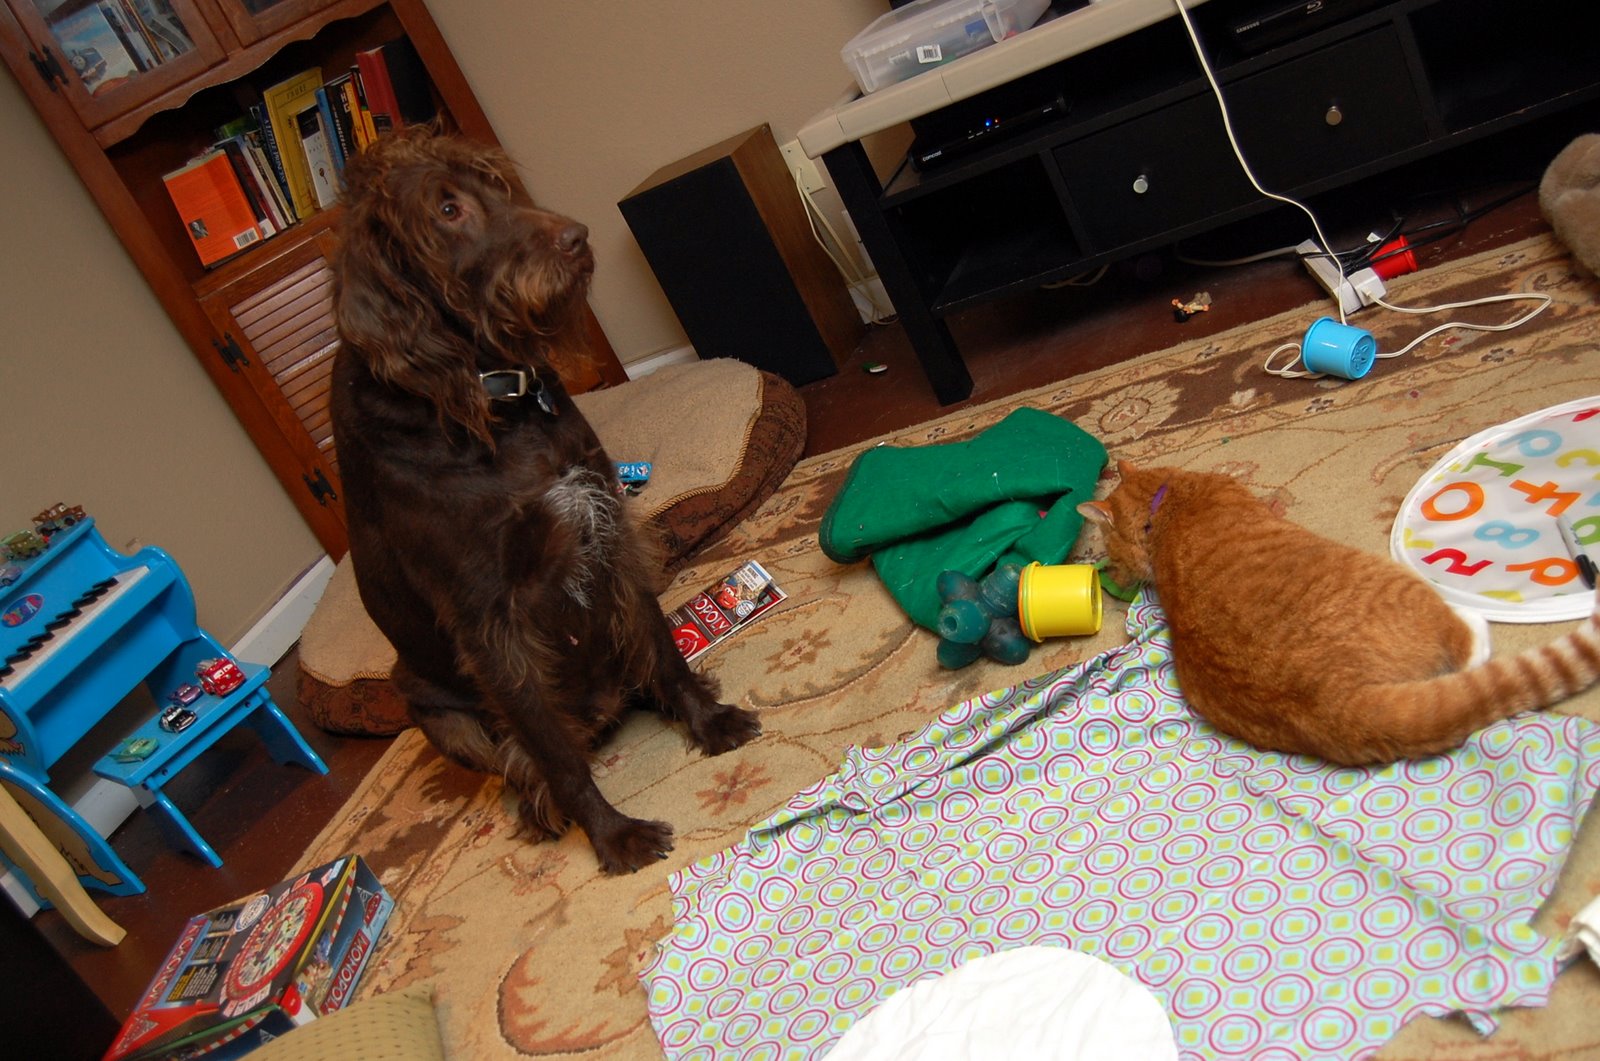
The next step is to shoo the persistent animals out of your extremely neat and organized workspace.
 |
| I know right where everything is. |
Anyway, by pinning your wrong-side-up backing to the right-side-up fabric before you cut it (WITH a seam allowance, of course), you are ready to just stick it in the sewing machine and sew around the outside, right on the line you traced, leaving an opening big enough for your hand. I like to make a little 90 degree angle at the opening so that the edges fold themselves in when you flip it right-side-out.
 |
| Hard to see with the white thread, but...do you know what I mean? |
Once it's right side out, stick your hand in there to push the edges out all the way around, then iron flat.
 |
| Auto-tucked-in opening. |
I would sew the opening closed at this point, I left mine open but then it was a bit of a pain making sure it was closed while attaching to the hamper lid.
The lid comes off of the hamper (it's stuck with a piece of velcro), which is nice for running it through the sewing machine. There is a piece of plastic boning that gives the circle its shape, and working with this was something I learned through trial and error. I think it's still helpful to pin the fabric to hold it in it's general place, but expect to do a lot of tugging.
Feed it carefully into your machine. What ended up working best for me was to place the plastic boning under my presser foot and sew the fabric circle down as close as possible to that boning. It was a little hard to keep it under the foot, but it looked a lot better than when I kept the boning on the right side of the foot and tried tugging the fabric over far enough. Yes, I did sew this on more than once to learn this. You're welcome. In any case, the top probably won't look perfect, but it will look cuter than when you bought it. It's a hamper, people. Relax.
To cover the handles, I first flattened down the body of the hamper (it's got velcro tabs to hold it that way). Then I cut out two rectangles of my fabric, approximately the same length as the handles (one for each side). I kept the fabric right-side-out and folded it around the handle, then sewed a straight line down the outside, making sure NOT to catch the actual handle in the seam.
Then I trimmed the fabric and turned it so the seam was toward the inside. Finally, I cut two squares of felt for each side and glue-gunned them on, covering the ends of the fabric handle cover as well so that it would stay put and not expose my sloppy seam.
There's the finished product! It still doesn't match my daughter's room, but what are you going to do? It lives in the closet anyway.


No comments:
Post a Comment
Note: Only a member of this blog may post a comment.