Thursday, December 29, 2011

Handmade Gift Rundown

We made it through the holidays!  I tried to make most my gifts, and I did manage a big chunk of them--but there was definitely some last-minute shopping in the end.  Here are some of the things I made (with links when relevant).  Some you've already seen, and some I will blog about soon!

Both kids (and a few neighbors/friends) got these ornaments made from felted sweater scraps.


I held on to those scraps after I saw this in the anthropologie catalog, for $8 a pop (although they are now $2 after Christmas!):  
from anthropologie
I also made this little ornament for my book club exchange--it turned out so cute!  And my friend-for-life (since we were three) ended up with it, so that's fun.  Also I guess attaching this was a dead giveaway for which gift was mine, and she likes my taste in books, so not exactly a coincidence, but...

Felted sweater cover with regular old felt pages.  

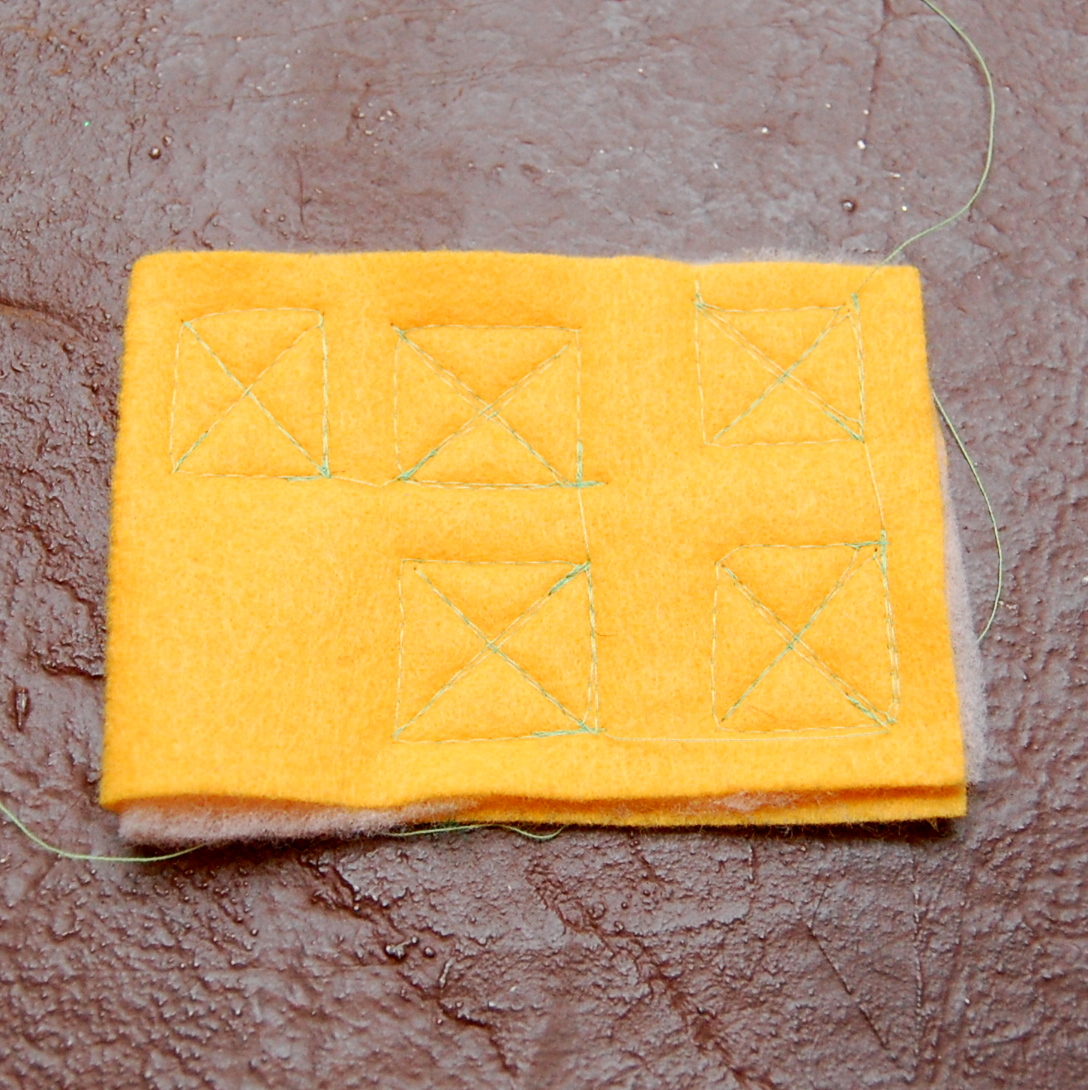
When I made this tic-tac-toe board for The Boy's buddy, he had to have one too--so I made him his own!  It was Little Sister's gift to him--isn't she thoughtful?


Even though I enjoy making kindle covers, I bought a leather one for the dad.  But he did not escape the homemade gift fairy completely--The Boy helped me make this shirt that I saw on Pinterest.  He drives his cars on the road, Dad gets a back rub.  Right?

The front is so stylish, he'll probably wear it every day.

You can get the printable template to trace this pattern here:
Car Shirt Tutorial

I saw so many variations of these pretty painted mugs on pinterest that I wanted to try it myself.  So some friends and family got these mugs filled with treats.  Dishwasher safe and everything!

The glass of wine is required.  I promise it makes your painting look better (at least to you).

Painted with this stuff--hard to come by
the week before Christmas!  I guess I wasn't the
only one painting mugs this year.  Thanks a lot, pinterest.
I also tried my hand at making Irish Cream, and I think it turned out well.  Stronger than the storebought stuff I had in my fridge when we did a side-by-side, but tasty!
With a felted scrap ornament

This scarf was made from an upcycled sweater--I didn't want to do another infinity scarf so I tried making ruffles for a little something special, and what do you know...it worked!  I'll do a whole post on this one soon.
I wish my sweater wasn't blue so that you could see it better.  Oh well.
Close up of the ruffles
This framed photo was a gift that I blogged about previously,
Repurposed "art" frame from Ross

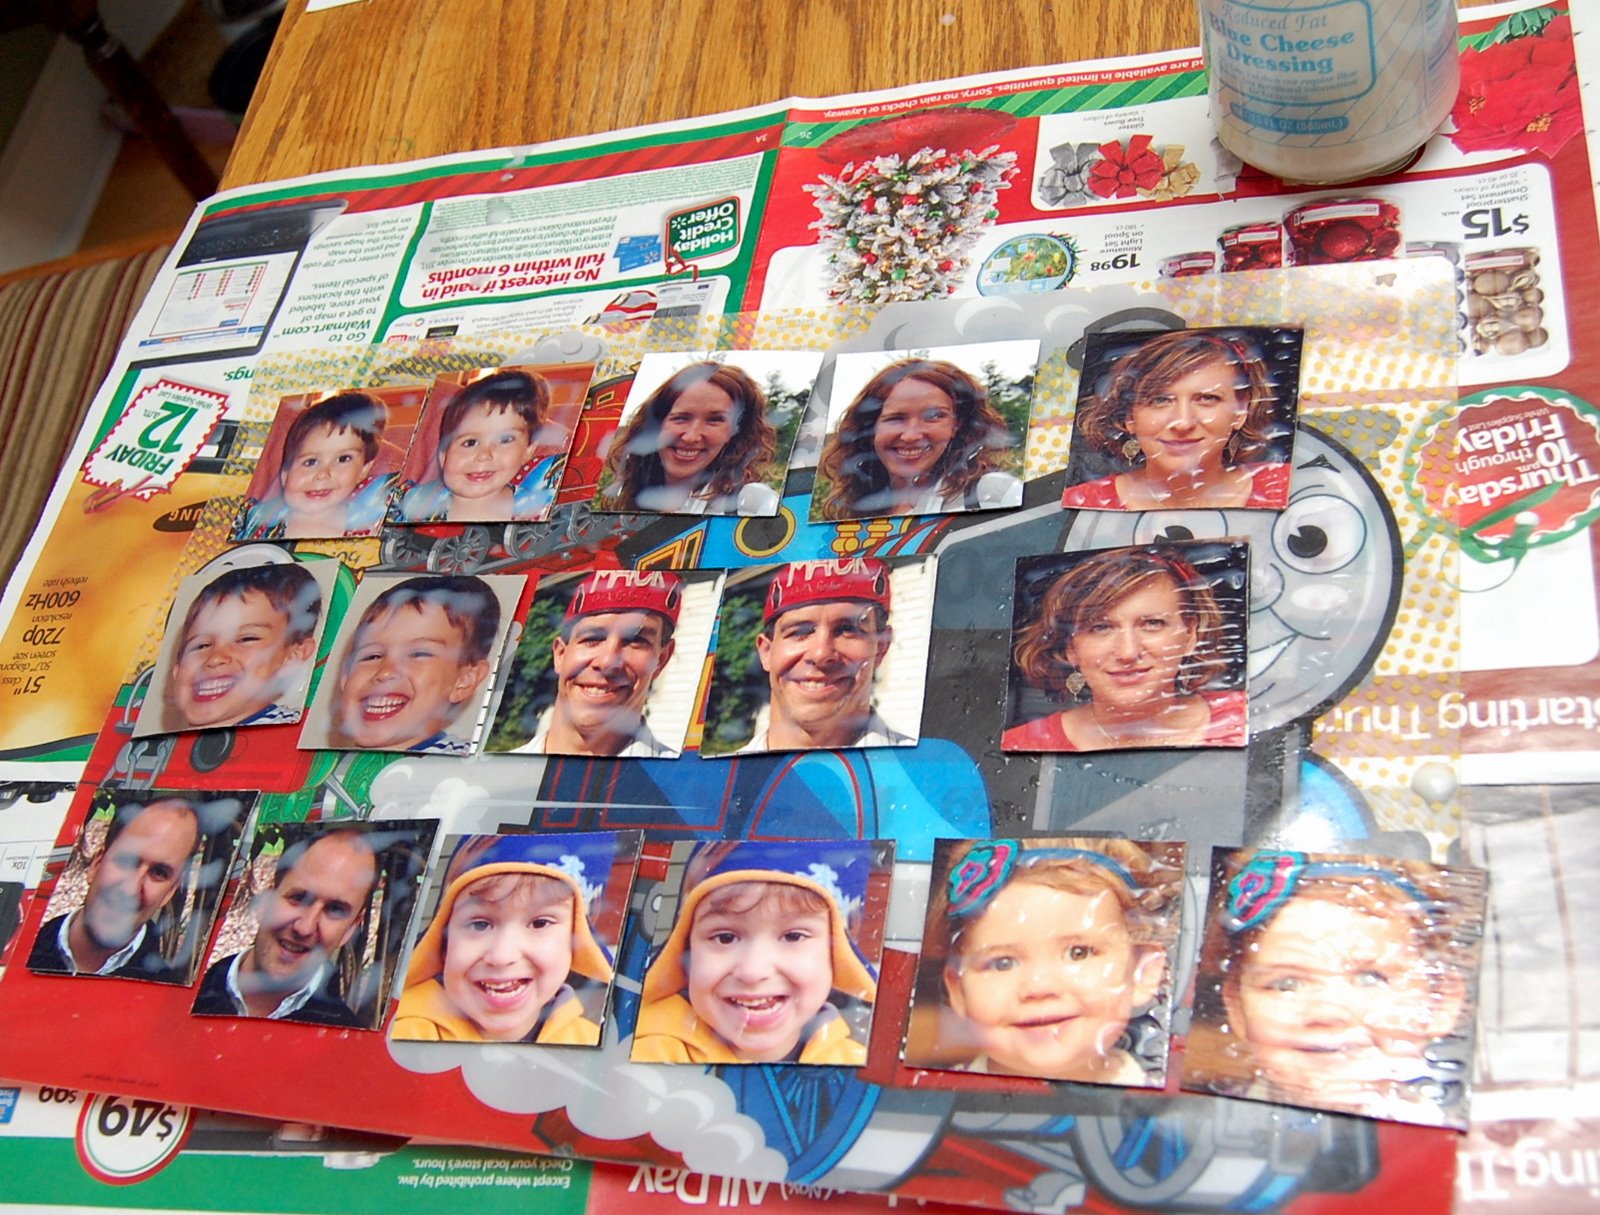
and I am also known for doing family photo calendars which have become quite indispensable, and this year was no exception.

Oh, I did have a few duds--this was one of them.  This craft dough (it's just baking soda, cornstarch, and water that you cook on the stovetop) was totally easy to make, lovely to work with...but then it dried terribly, all cracked and broken!  Back to the drawing board for this one, unless someone out there knows what I did wrong!
This would have been cute, am I right?
Did you make any of your gifts this year?  Let me know, so I can get busy for next year!


Monday, December 19, 2011

Recipe: Mix


For the children, we call it simply Mix.  But all of the adults in the family refer to this stuff as Christmas Crack.  I haven't made it in several years, then came across the "recipe" scribbled on the back of an old piece of paper stuffed into my recipe binder, and haven't been able to get it out of my head since.

Mix entered my life from the mother of a dear college friend and former roommate. It is the perfect balance of sweet and salty, creamy and crunchy, and if there is a bowl of it near you, you will eat it all.

Betcha can't eat just one!

You choose your proportions.  I will give you a rundown of approximate amounts, but it's really what you like.

1 package white candy coating (bark). It's now vanilla at my grocery store, but when I used to make this we called it Almond Bark.  Does that stuff still exist?


8-10 oz pretzel STICKS
Ignore my gumby thumb.
I'm slightly double-jointed.


1 cup or so of salted cocktail peanuts
I was doubling my recipe, so I used
 this whole can.


1 bag of M&M's (not the single serving one--not sure what the ounces are because I just scooped out of my GIANT 42oz bag this time around)

About half of a 12-oz box of rice chex (hey guys, it's gluten-free!)


First, mix all of your ingredients except the white coating in a LARGE bowl.  I use my big stainless mixing bowl for this.  You can add a little at a time to make sure you've got the proportions how you like them.

Next, lay out tin foil on your counter.  Believe me, you want to do this BEFORE you've coated your crunchies in the white stuff.

Next, melt your white bark coating.

In addition to the change from almond bark to vanilla coating, there have been more changes in the white candy stuff since the last time I made Mix.  This one, I feel, is an improvement.


New and improved!

It now comes in a microwave-safe tray.  You just pop the whole thing in, nuke it for one minute, stir, then keep putting it back in for 15 seconds at a time and stirring until smooth.  For the record, I did that twice, so mine was in the microwave for a total of 1:30.  No dishes were dirtied in the process (except the spoon).


Once it's smooth, pour the whole thing over your bowl of crunchies.  You can stir it with a spoon if you like, but I find it's much easier to get in there with your hands and get that stuff evenly distributed.  Be sure to remove all rings before starting this.

Once you've got a nice even coat, pour the mix out onto the foil.  Spread it out a bit, but leave the pieces touching each other--you want to get some clusters when it's dry.


After it dries, break it into manageable sized clusters and stuff your face store in an airtight container.


Make a huge batch, because too much is never enough.  Put it in a cute cellophane bag and it's a great gift for neighbors, postal workers, teachers (although I guess this is kind of late for that)--everyone loves a little Christmas Crack.

The first one's free.

Photo Memory Card Game

I was trying to think of an age-appropriate game for a two-year-old that I could make myself, and what I landed on was those matching memory cards that can be used in any number of ways.  I decided to personalize the project by using photos of our family and the recipient's family for the matching images, creating a total of 16 cards (4 members in each family X 2 of each photo).

Here we all are!

Supplies you will need for this project:

-Thin cardboard
-16 Photos (2 of each of 8 images)
-Scissors
-Decorative Paper
-Mod Podge (or Elmer's Glue and water)
-Craft Brush
-Electrical Tape

I started with cardboard scraps that I cut from a composition book.  This board was the perfect thickness--easy to cut with scissors, but sturdy enough to hold up to the decoupage and hopefully two-year-old playtime.  Luckily this composition book was filled with graph paper, so I used a few sheets of that to do my measuring.  I figured out the largest squares I could cut out of the front and back cover in order to get sixteen squares (9.5 blocks on the graph paper, if you're curious).  You can make these any size you like--2.5 inches seems about right.  Cereal boxes might be a good board to use too, but any cardboard scraps you have will probably work.


I printed out a set of 4 by 6 photos that I had cropped so that the people's heads were all close to the same size.  Then I cut a window into a sheet of paper that was the same size as my squares.  That way I could line up the face right where I wanted it.

Peekaboo!
I have the hardest time cutting straight, so I fit a blank square into the hole in my "window" once I knew where I wanted it to go:


Then lifted off the piece with the window cut in it so that I could just cut around the remaining square.  I cut both photos at the same time--risky, I know, but it worked out OK.

Where are you?

Once I had all the photos cut out, I spread out my cardboard squares (on the totally required Thomas the Tank Engine place mat) and spread a thin layer of homemade Mod Podge on each using a foam craft brush. Really, you only need a thin layer.


Then I laid the photos on top of the squares and applied a layer of mod podge again.  This layer can (and should) be REALLY thin, as it will not only dry more quickly but it will look better on the photos.

Homemade Mod Podge in the jar (no blue cheese dressing required for this project)
I've heard that you're not supposed to decoupage on top of photos, and I understand why (it definitely changes the look, and if you get a bubble then the layer can peel right off in places), but since these were going to spend a lot of time face-down (literally!  ha!)  I thought the extra layer of protection for the photos would be nice.

I had cut out 16 squares of wrapping paper for the back sides.  It is important to choose a relatively small repeating pattern, so that the kiddo can't memorize which card is which by the pattern on the back!  You want the backside to look as uniform as possible.

Once the photos were dry (I did mine before bed then left them to dry overnight), I flipped them and applied the mod podge to the back.  Then I placed my wrapping paper on, and painted on one more thin layer of mod podge.  Once those babies are dry (the wrapping paper dried MUCH more quickly than the photos), you're on to the next step!

Oh, if you get bubbles like what you see below, just carefully lift the paper and pull it to straighten before laying back down again.  I just used my thumb to smooth out the paper after laying it back down.


I originally planned to use a paint pen to decorate the edges, but then I had a genius idea--electrical tape!  It was perfect, because since it's slightly rubbery it was easy to stretch it across so that it grabbed tightly.

I started at a corner and cut one piece the length of the edge.  I chose to have a smaller "frame" on the photo side, so I didn't stick the tape right down the center.  Your choice, just try to keep it uniform so the backs all match.  I pulled the tape tight (see how it's stretched out?) then it was easy to stick down on the back with no overhang.

The recipient
Do the same with the other three sides, trimming particularly carefully on the last piece of tape.


Where did my gold stars go?  I swear they're still there.
In case you don't remember how to play Concentration--

Lay the cards out face down in a square formation.

Player one flips two cards over.  If they match, he keeps the cards and takes another turn.  If they don't, he flips them back over and it's the other player's turn.  Player two does the same thing.

Strategery note:  REMEMBER what cards you flip over, even when they don't match!

No match.
I intended to make a cute drawstring bag to put these in, but I ran out of time, so I just tucked them into a drawstring bag I already had. Fun little gift that travels well!


Posted by Picasa

Saturday, December 17, 2011

Felt Tic-Tac-Toe with Travel Pocket

I have been having a hard time keeping this blog up this season!  Not only am I busy making gifts (and getting ready for Christmas in general), but most of the people receiving handmade gifts from me are also people who read this blog, so I can't post their presents until I've given them!  Luckily I've started handing some things out, so I'll have some posts for the next few days.

This tic-tac-toe board was a gift for the boy's best buddy, an almost-five-year-old.  It was really quick to make, and my favorite addition to some of the inspirations I saw online was that I put a pocket on the back to hold the pieces to make it easy for travel.


I started by cutting two square pieces of felt and a piece of batting the same size.  I think a good size would be about 9 inches square. (I made mine smaller than that and then had to have uneven tic-tac-toe squares in order to fit my pocket on the back.)  I laid the batting on the bottom and two pieces of felt on top, then sewed the three together, leaving an opening to flip it inside out when I was done.


As you can see in the picture, I stitched two little lines perpendicular to the seam from the opening to the edge of the fabric. Since I don't iron the felt (it's acrylic), this helps fold the edges of the opening to the inside when you flip it right-side-out.


Close-up of the opening
Then I trimmed the edges and corners...


And flipped.

See how that little extra bit of sewing keeps the opening in?

Ribbit.
Then I sewed a straight seam all the way around the outside of the square.  I used a contrast thread that matched what I was going to use for the lines on the tic-tac-toe board, but it's up to you.


Then I cut out a piece of felt for the pocket on the back side.  You can see here how I should have had a bigger board, but oh well.


I then set my machine to a wide and short zig-zag stitch and sewed a straight line from the top to the bottom of the square, getting the side of the pocket in the line.  Same thing for the other side of the pocket, then the bottom.


I sewed the line across the top of the pocket last, but first I cut an opening in the pocket so I could just catch the top edges in the sewn line and leave an opening for the pieces.

The pocket

Then I made the pieces.  I chose a slightly lighter color of green than the board with yellow thread for my "O"s--the recipient is a big Ducks fan.  I layered a piece of batting between two pieces of felt and sewed the pieces all in one piece.

And yes, I made five of each kind of piece.   Can you do only four of each kind of piece?  Do you ever need more than that to win a game?  Does anybody know?  In any case, there are nine squares so I just made ten pieces to be safe.

Then I trimmed around the outside and trimmed the loose threads.


Next up was the "X"es, in yellow felt with green thread.


Same thing here--batting inbetween two layers of felt, sewed my X'es all at once, then cut and trimmed.  Would have used a higher-contrast thread if I had it, but oh well.

They look less like Cheezits in person.

And that was it!  Kind of a tight fit into the pocket, but it will work. Probably easier to just fit eight pieces in :)


And we had to give it a test run before wrapping it up.  Of course, he beat me.

Is there something you shout when you win at tic-tac-toe?  There should be!
Posted by Picasa