Friday, March 30, 2012

Pear-Gorgonzola Scones--Help Me Please!

I need advice.  I had a wonderful pear-gorgonzola scone at a great local coffee shop (The Warehouse Cafe).  Not only did I find it delish, the kids gobbled it up too, totally surprising me and wishing I had ordered more than one.  I decided to try it for myself.

I found this recipe for Cheddar-Apple Scones from Smitten Kitchen (looks pretty good itself--might have to try it someday!) but used pears and gorgonzola instead.

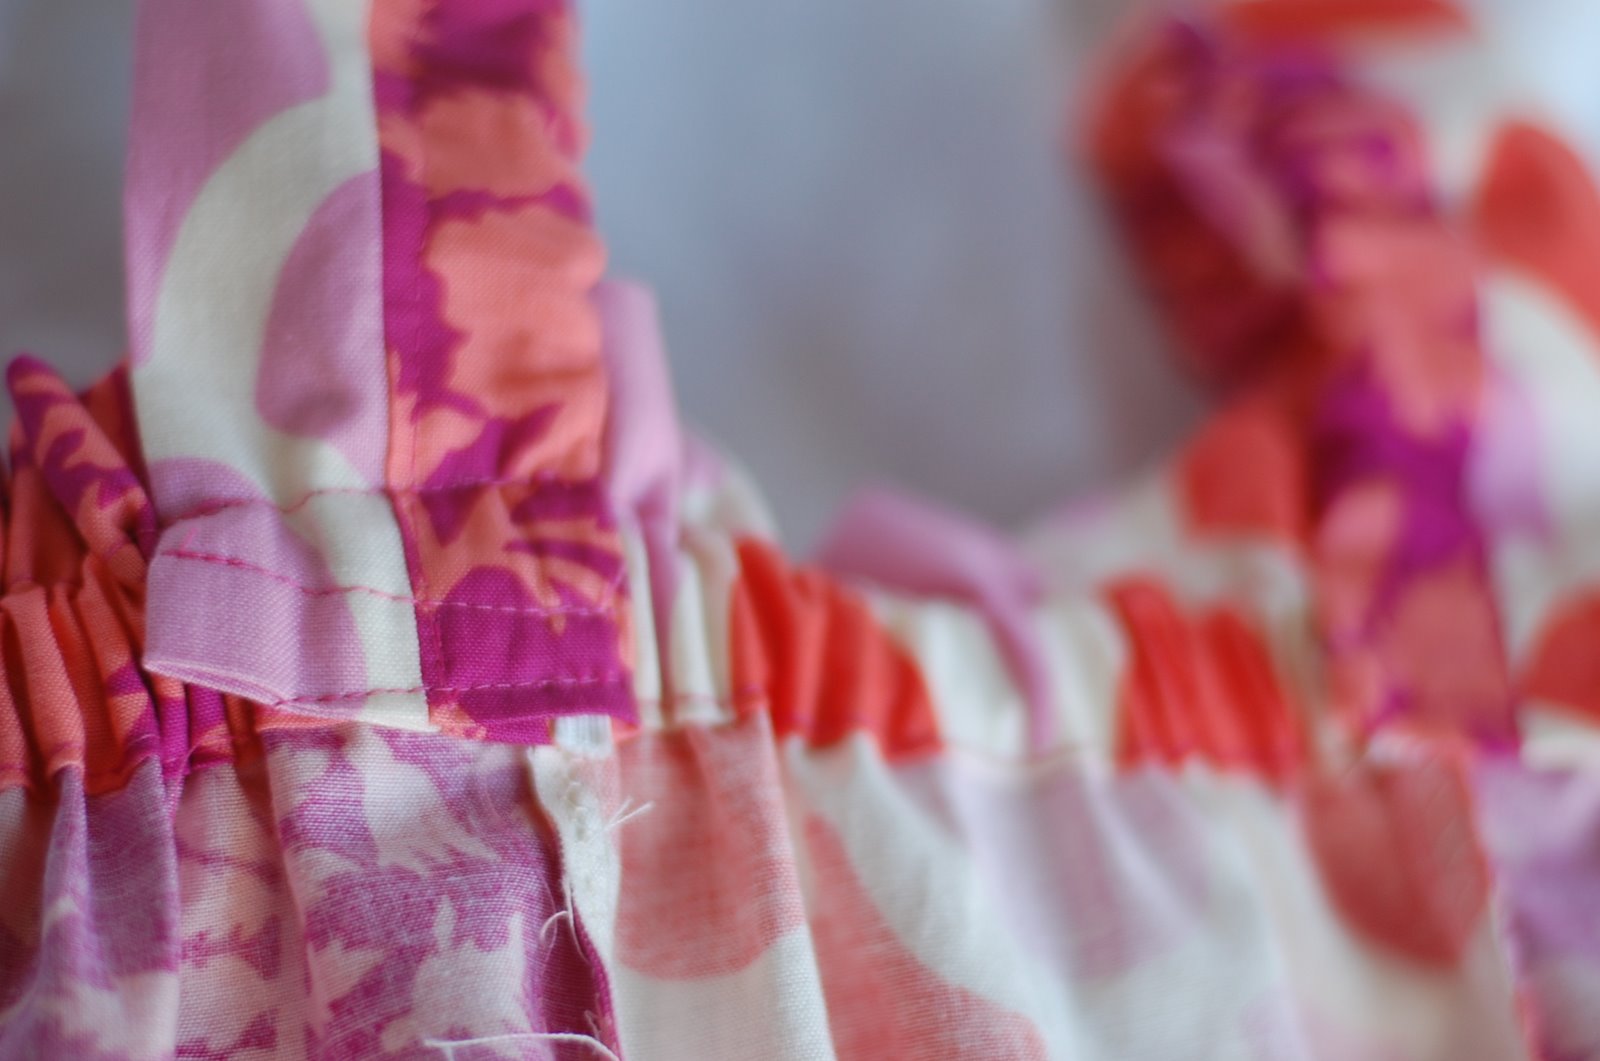
First, the good news:  in the end, they were pretty darn good.


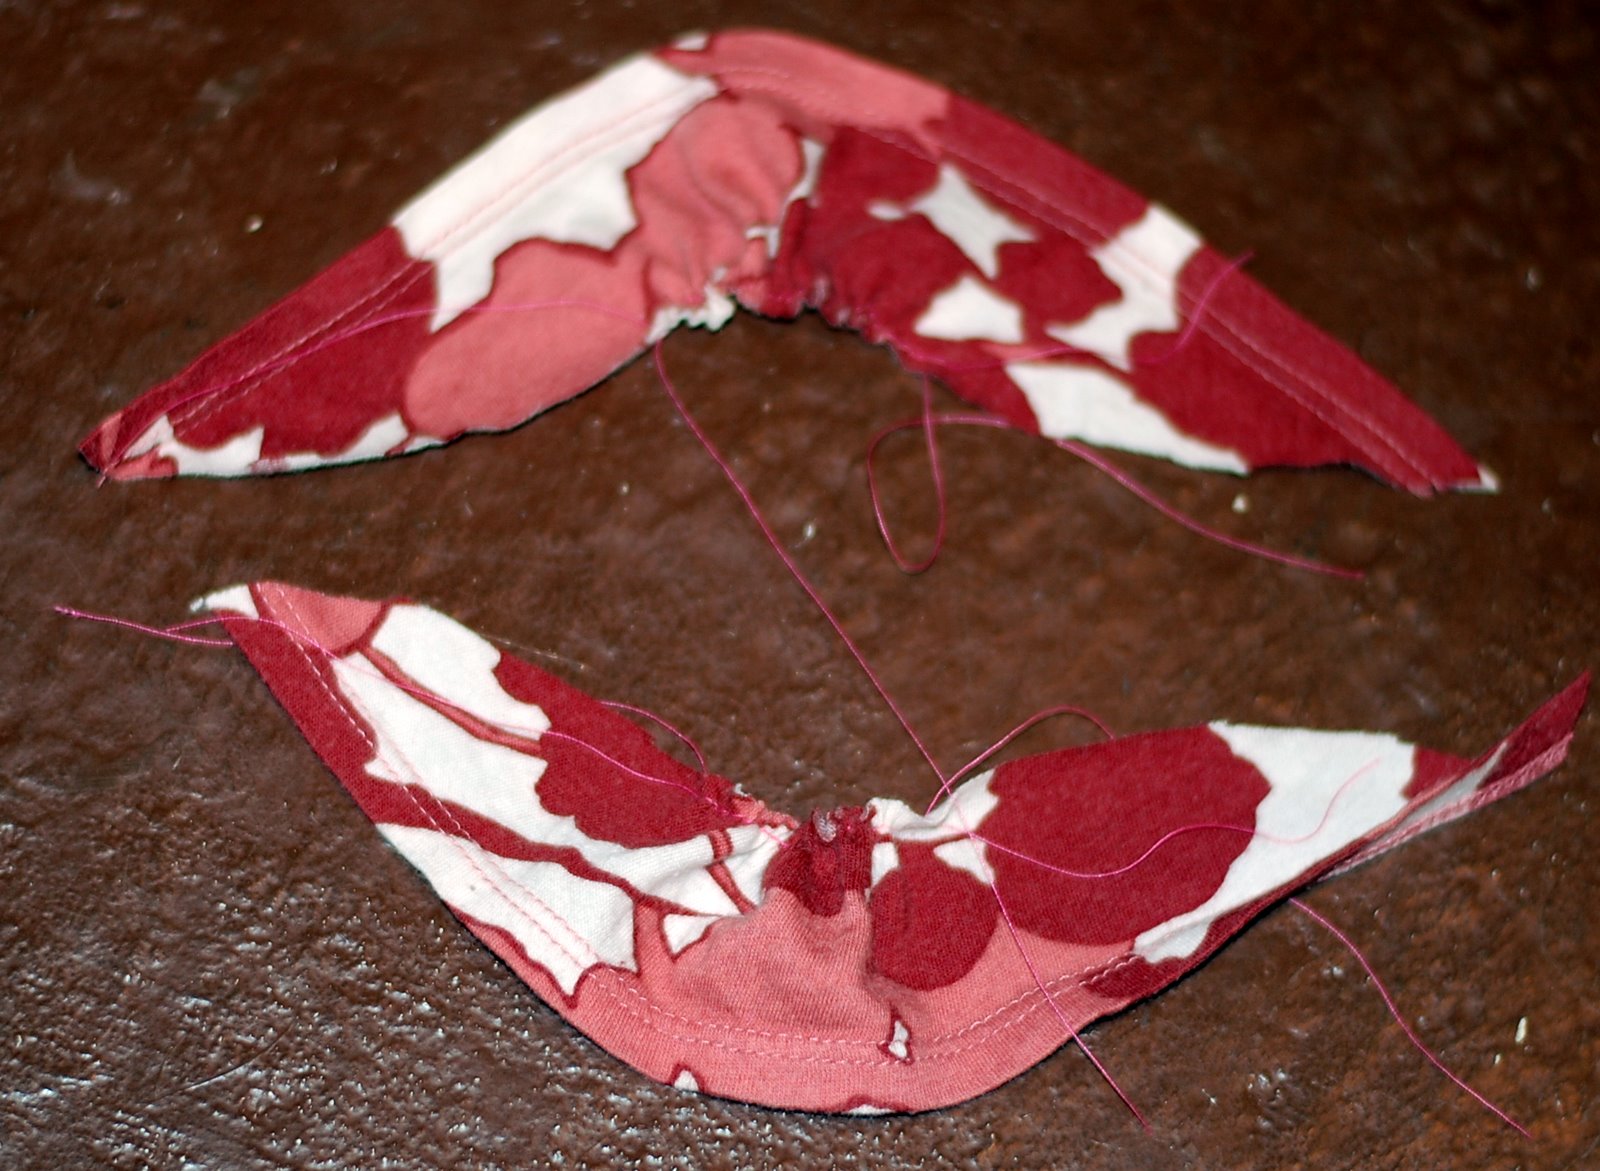
HOWEVER, after about 15 of the 30 minutes they should spend in the oven, I noticed a bunch of liquid pooling in the cookie sheet where the scones were baking.  Something told me that wasn't supposed to happen.

I'm a thinker though, so I averted disaster by pulling the pan out of the oven, holding on to the parchment where the scones were resting, and pouring the liquid off of the pan before putting the scones back in the oven to finish baking.  In the end, they were just right, so no harm done, but I think I'd probably better find a way to make this recipe without having to stop halfway through baking for drainage.

Here's the solution I've come up with so far:

I started by peeling and cubing two pears, putting them in a single layer on a piece of parchment on a cookie sheet, and baking them at 375 while I mixed up the other ingredients (15-20 minutes or so).  I think that I could have let them bake a little longer, and probably should have used pears that were firmer--I have a pear-cranberry pie that I love to make, and it turns out the best when I use pears that are virtually rock-hard, so that might be the road to take here, too.  OOH, just realized when I posted the picture that the pear slivers I placed on top for prettiness had not been pre-baked--that probably didn't help either.

So, the liquid in the pears might have been some of the problem, but there was quite a bit of liquid there, and  I have a feeling that there was another culprit.  Gorgonzola is a softer cheese than cheddar--do you think some of my liquid could have come from there?  The recipe calls for 1/4 cup heavy cream, maybe if I cut that amount down next time to compensate for the cheese?  Or would it be better to cut some of the 6 tablespoons of butter?

For reference, here's the complete recipe (again, found at Smitten Kitchen--I just used pears and gorgonzola in place of the apples and cheddar.  Oh, I also cut my dough into 8 portions instead of 6.  I would love any suggestions!


Apple and Cheddar Scones
Barely tweaked from The Perfect Finish

Makes 6 generous scones

2 firm tart apples (1 pound or 2 454 grams)
1 1/2 cups (6.75 ounces or 195 grams) all-purpose flour
1/4 cup sugar plus 1 1/2 tablespoons for sprinkling (total of 2.2 ounces or 63 grams)
1/2 tablespoon (7 grams) baking powder
1/2 teaspoon salt (3 grams) plus additional for egg wash
6 tablespoons (3 ounces or 85 grams)unsalted butter, chilled and cut into 1/2-inch cubes plus additional for baking sheet if not lining it with parchment
1/2 cup (2.25 ounces or 65 grams) sharp cheddar, shredded (white is recommended, I assume for aesthetics)
1/4 cup (2 ounces) heavy cream
2 large eggs

Position a rack at the center of oven and preheat oven to 375 °F. Line baking sheet with parchment paper.

Peel and core apples, then cut them into one-sixteenths. (I assumed this meant chunks, not slivers.) Placed them in a single layer on a baking sheet lined with parchment paper and bake them until they take on a little color and feel dry to the touch, about 20 minutes. They will be about half-baked. Let them cool completely. (You can speed this up in the fridge, as I did.) Leave oven on.

Sift or whisk flour, sugar, baking powder and salt together. Set aside. Place butter in the bowl of an electric mixer with a paddle attachment, along with cooled apple chunks, cheese, cream and one egg. Sprinkle flour mixture over the top and mix on low speed until the dough just comes together. Do not overmix.

Generously flour your counter top and place the scone dough on top of it. Sprinkle with flour. Use a rolling pin to gently roll (or use your hands to pat) the dough into a 1 1/4-inch thick, 6-inch circle. Cut circle into 6 wedges. Transfer them to a baking sheet that has either been buttered or lined with a fresh sheet of parchment paper. Leave at least 2 inches between each scone.


Beat remaining egg in a small bowl with a pinch of salt. Brush the scones with egg wash and sprinkle them with remaining tablespoon of sugar. Bake until firm and golden, about 30 minutes. With a spatula, lift them to a wire rack to cool for 10 minutes.

(Don't know why those last two steps aren't included in the white box; they are part of the recipe too!)


Tuesday, March 27, 2012

Homemade Stamps out of recycled items

Big brother and I decided that we would work together for Big Brother to MAKE Little Sister's 2nd birthday present.  Oh my gosh, can I believe she's turning two?  No I can not.

Little Sis loves making pictures, and stamping is one of her favorite mediums.  But stamps are expensive!  I've looked in thrift stores, discount stores--I pick up a few on clearance or at the dollar store now and again, but for the most part they are just out of my price range.  But I saw some ideas for cheap stamps on pinterest and decided that it would make a good project for the boy and me.  Below, he's giving the finished product a try (I let him make a few for himself with our leftover supplies).


The best part is, these stamps are practically free!  I bought one package of foam stickers at the Dollar Tree, they have tons of stickers inside so it goes a long way.  The key is, of course, that the foam stickers are thick, so the image stands up from the background it is stuck to.  The pack that I bought included music notes, a guitar, cello, violin, flute, saxophone, trumpet, maracas, and...a few cacti.  Of course.  We also had some leftover foam heart stickers from Valentine's Day, so we used those too.  The rest of the supplies are lids from various containers (I found that water bottle size lids were too small for most of the stickers--gallon milk jug and juice lids were the best size, and we also had a few random bigger lids), wine corks, and a glue gun.  Since so many stickers come in a pack, the only limit to how many you can make is how many lids and wine corks you've managed to hold on to.  We made about 20.
Well...free if you don't count all the wine we had to drink.
 First, the boy chose all the stickers he wanted to use and stuck them down on the washed lids.
 
Very serious business
 I applied the hot glue to the wine corks,
Ewww, sorry about the double-jointed-thumb pic.
then centered them on the back of the lid. 


We also had these weird leftover pieces of wood from making a new banister.  I held on to them months ago, thinking they might be good for something.  I used these when I ran out of wine corks, although maybe that was just the universe telling me I needed to drink more wine.


And that's all there was to it!  The boy gave them a trial run, which is when I realized that it was a good thing that I hadn't made any alphabet stamps.  The backwards music notes will probably irk me a little, but the kids won't mind.
 
The stamps are pretty easy to use, and while they do wear out eventually (we made some of these to use in our Valentines as well, so I've seen how they handle long-term), the good news is that those packs of Dollar Tree foam stamps come with lots of repeated designs, so when a stamp starts getting raggedy you just peel it off and apply a new one!


I let the boy do the whole trial run, and he likes to twist'n'stamp, so that's why some images don't appear clearly.  But we're both happy with the results!  We're going to supplement the gift with a rainbow stamp pad and a pad of paper. 


More to come soon on the gift that I made for the girl, and on the party itself--we've been having fun getting crafty for that, too.  She is so excited for her Owl Party--she talks about it all the time!  "Owl Party!  Owl Cake!" Don't worry, I'll show you!
Posted by Picasa

Friday, March 23, 2012

Rich and Hearty Meat Sauce

I'm mostly blogging this so that I can pin it and check my measurements on those forgetful days.  I have been making spaghetti sauce this way for years, just estimating on most amounts, but this time I actually paid attention and wrote it down, and I thought I'd share. 

We love this sauce.  It's fairly easy, as spaghetti sauces go--I pretty much doctor up the sauce mix packet from the store.  But the result is rich, complex, slightly spicy--really great on spaghetti and fabulous in a lasagna.  I make a large batch, and sometimes I freeze half but sometimes we just eat it all.

Usually I serve it with Caesar salad, but we had to finish off this sad bag of
iceberg blend.  (I accidentally just typed bland instead of blend...maybe I should have left it!)

 So here we go!

Ingredients:1 lb leanest ground beef (I use the lean stuff, usually 4% fat, because the sausage MORE than makes up for it.)
1 lb Italian sausage (mild for the kids, although I prefer spicy)

2 packets spaghetti sauce with mushrooms mix (I usually just use the Kroger store brand)
12 oz can of tomato paste
1 ½ cup red wine (something decent, because you'll want to drink the rest of the bottle, right?)
3 cups water
1 tsp Italian seasoning
1 heaping tsp minced garlic (or 2-3 cloves, minced)
4 cubes frozen minced basil (each one is equivalent to about 1/2 tsp fresh.)


Directions:

1. In a large sautee pan, mix the ground beef and sausage together and brown it.  Drain fat, then set aside.

2.  In a 4-quart or larger saucepan, whisk the tomato paste with the 2 sauce packets, water, and red wine.  Bring to a boil.  

3.  Once it's all boiling, stir in the italian seasoning, garlic, and frozen basil.  I buy it at Trader Joe's, and it looks like this--I've never seen it anywhere else.  If you are using fresh basil instead, I'd add it at the very end.
 
4.  After all the seasonings are incorporated, stir in the drained cooked meat.

5.  Let simmer until it reaches desired consistency--I like mine pretty thick, so I'll usually simmer for 20 minutes or so.

6. Serve over pasta cooked according to package directions and top with shredded parmesan, or use in other dishes calling for spaghetti sauce, like lasagna.

YUM!  We love this stuff.

Posted by Picasa

Sunday, March 18, 2012

St. Patrick's Day Outing

Oh, the love.  These guys really do get along very well.
 There we were, just hanging out on the porch in our very festive outfits...


Reading some books and such...
 
It really wasn't very exciting...

 
When what do we see?

Did you notice the matching socks? 
It's our neighbor!  We love this guy!

 
Our neighbor and his mom were taking a walk around the corner to the dry cleaners, so we decided to join them.  Luckily, a tantrum-free dry-cleaners walk resulted in a stop at the cafe for a St. Paddy's Day treat.


 Did you know that one mint-chocolate-chip shake divides perfectly between three kids? 

 
Somehow I bet that if I tried to split a shake three ways with two of my friends, we wouldn't each get our own whipped cream and maraschino cherry.  Ageism.

A couple of tough guys, walking back home
It's so great living in a neighborhood full of kids,where we can walk around the corner for a milkshake!  I mean, seriously!  I love where we live.

Thanks a lot, Garbage Day, for ruining my shot.
I couldn't resist putting this tiny hat on Little Sister again for St. Patrick's Day--my friend Jill sent it to me last year, and I'm pretty sure Little Sister won't put up with it again next year, so I'm seizing the moment.  Tee hee, tiny hats!  Does this qualify as a fascinator?

I bought "I'm Irish" shirts in two different sizes last year on clearance
so I could do this for the next couple of St. Paddy's Days.
Posted by Picasa

Thursday, March 15, 2012

Upcycled Elastic Waist Cap-Sleeve T-shirt dress


I love t-shirt dresses for little girls.  So comfy, a little more fun than a t-shirt, and a perfect use for my own shirts that just don't fit or get worn anymore.  I wish I could wear t-shirt dresses and leggings every day; I can't, therefore my daughter does.

A word to the wise though--if your t-shirt stash, like mine, is made up of cheapo shirts from Old Navy and Target, chances are the seams will be wonky and it will not lay flat.  This is the price you pay for buying cheap stuff, I guess--I assume that more expensive t-shirts do not have this problem but I wouldn't know from experience.   The good news is, since you'll be cutting the shirt up, you can alleviate most of the wonkiness with how you cut your pieces, if you're aware of the problem.

I started by folding my shirt in half side-to-side (so the side seams and armholes were lined up in the middle) and laid a bodice template along the fold.  You can also use a well-fitting t-shirt as your template.
 
I cut out the front piece of the shirt only along the line of the template...


 Then cut out the other side based on the line I had cut out using the template.  Then I unfolded the shirt so I had the front of the bodice cut out, like this:
Note:  I left the original hem intact, tapering slightly up towards the bodice.
I then cut out the back piece of the bodice to match the front (leaving some extra height on the neckline at the back so you have room to fold it over and sew a seam down--see below).  Hindsight:  since I'm not using a serger, and therefore I don't have stretch around my armholes, I would have cut the armholes slightly bigger than a typical t-shirt fit.  Not an issue with the neckline because I was using the front existing neckline, and I used elastic thread to sew the back of the neckline, so the head opening was stretchy.

Roll yours over bigger than this!
For the neckline on the back piece of the bodice, I just rolled the fabric over so that I could sew it down.  Another hindsight--I should have cut that with some extra seam allowance, because if it had been wider, a. it would have matched the neckline in the front better, and b. it would have been easier to sew without pulling the fabric and tearing it a little bit, making it necessary for me to shorten the shoulder straps and have a pretty tiny head-hole when all was said and done.  Ahem.  So, roll the fabric over (wider than what's shown above), and then use elastic thread in your bobbin (so the RIGHT SIDE of your dress will be facing up when you sew this in your machine) to sew the neckline down.

Side note--if you have not used elastic thread before, IT'S WONDERFUL.  I also used it to create the waistband on this dress.  You should check out this tutorial from Flossie Teacakes on how to use it before going any further, though.

See the tear on the left side of the photo?  That's where my thread got all tangled up.  Boo.
I then added a second seam with elastic thread about 1/4 inch from the first one to give it a little gather (the second seam FURTHER AWAY from the edge of the shirt than the first one--not shown). 

Then, with fabric wrong-side-out, I pinned the front and back together at the shoulders, and sewed them down.  I had to leave a bigger seam allowance than I wanted to because of that tear shown above.  
 
 
I left the original hem at the bottom of the shirt intact, then just tapered up to the bodice.  So when sewing the sides closed, I just made sure to make a smooth line to the part that was already sewn shut.


I cut the cap sleeves out of the original t-shirt sleeves, using their hem as the bottom edge of my sleeve, saving me the step of sewing a hem there.  I made sure that the curved edge would reach all the way around my armhole opening once I had gathered them, so that there would be a finished sewn edge all the way around the armhole.  Actually, the curved edge of the sleeve is even bigger than the armhole because I overlapped the sleeve edges (where it comes to a point) at the bottom of the armhole.  The more gathering you want, the longer you should cut your sleeve.


Once cut, I gathered them in the center by setting my tension higher than normal and using a long stitch length (and NOT backstitching).  Leaving the threads long, I pulled gently on the bobbin threads to create the amount of gather that I wanted.  
 
Once the sleeves were gathered, I folded them in half, right side out, and starting with the gathered area, pinned them to the inside of the armholes of the shirt.  I overlapped the points at the ends of the sleeve at the bottom of the armhole.  That way there would be no unfinished edges.


Once the sleeves were attached, I turned the dress inside out and figured out where I wanted the gathered waistline.  I eyeballed a spot, then measured it and pinned a line all the way around the dress so I would keep the waistband even as I sewed with the elastic thread.  Mine was about 9 inches up from the hem of the dress.  This part of the dress was a technique I learned from this Prudent Baby post.
Hard to see, but there are little yellow-headed pins positioned where I wanted the waistband to start.
 With coordinating thread in the needle and elastic thread in the bobbin, I placed the dress right-side-up in the machine and started my waistband.  I sewed four rows of elastic thread for the look I wanted.
 
And done!  Works with t-shirt and pants underneath, and will be a comfy sundress come warmer weather!  Also, this is a quick one--made it in one night after kiddos went to bed.  Love it.  Confession:  I dressed her in this same outfit for the two days in a row after finishing the dress.


Posted by Picasa

Monday, March 12, 2012

Getting Ready for Summer Toddler Dress!

These Spring fake-outs (a day of beautiful weather followed by a week of gray, rainy days) have got me in the mood to make summer dresses, even though I know they'll be worn with long sleeves and pants underneath for a good four more months. 

No, I'm not cold, why do you ask? 
I've had this fabric in my stash since last summer, when I bought a bunch of coordinating fabrics I found in the summer clearance area at my favorite fabric store.  


I had such good intentions of making a bunch of beautiful sundresses!  I made one.  

But the good news is, since Little Sister has outgrown that one dress I made last year, I feel okay about revisiting the same pattern I used last year as well, just with a different set of fabrics.  I hardly ever buy patterns, so you can bet I'm going to use the heck out of the ones I do have!  This is the Bella Stripwork Dress from Pink Poodle Bows on Etsy, and I added pleated pockets that I made using Made By Rae's pleated pocket tutorial since Little Sister just loves a pocket and I had enough of that cute scalloped fabric left over.  


Speaking of fabrics, I'm sorry that I don't know what these are--I bought them in such small quantities that the name wasn't printed on the selvage, and I'm terrible about remembering that kind of thing.  I only had 1/2 yard of the scalloped material, which technically wasn't enough to make this dress, since I needed 20" of length (and this print would have looked weird going sideways).  But not to worry, I just lined up the print and cut out a piece from the extra width, then sewed it on at the top so that it would be hidden when I made the elastic casing.  So don't worry!  If you only have a 1/2 yard of your accent fabric (or waaaaay less if the print isn't directional), you can still make this dress! Even with the pockets!

For posterity:

Here's a good look at the front.
Why so sad?  Is it because your mom gave you a side-ponytail?
Back/Side View:
Are you still following me?
Functional Pockets:
Overexposed, but the only shot where she would show me the pockets

Action Shots--this dress is good for...

Bike Riding:

Running:
 
 Chilling Out:


I just love some of the details on this dress.  Like these pockets.


Perfect for tucking away your glamour shades--you never know when you're going to need them.


I also love the contrasting fabrics on the ruffle strap.  These are way easier to make than I would have assumed they would be.   
 
My only concern when I was following the pattern was that I wasn't sure if I was attaching the straps the way I was supposed to.  My understanding was to sew them on along the seams I already made for my elastic casing, like so:

(this is the inside of the dress, in case that wasn't clear)
But that extra thickness of fabric makes it so that the fabric doesn't gather where the straps are sewn on.  See?

 
 So maybe that's how it's supposed to be, or maybe I was supposed to gather the fabric first and sew the straps over the gathers.  I don't know.  Also, she says she attaches the straps 3-4 inches apart, but I attached them right at the edge of the center strip, which was just over 4 inches, then I placed them a little closer together in the back.

Now let's talk about me for a minute.  I'm itching for a summer dress of my own!  At the same fabric store (Fabric Depot), I ran across this GORGEOUS silky soft woven cotton.  I paid full-price for it(!) because I loved it so much, which was a whopping $8.99/yard, and I bought two yards.  So already it cost me more than most of my clothes, and it's just a piece of fabric.  I really don't want to mess it up, but I also don't want to spend an arm and a leg on a pattern that I'm not sure will be AWESOME.
Scared to cut into it! 
So, any recommendations for an awesome pattern for a grown-up ladies dress that will only take two yards of fabric (I don't mind buying some additional solid accent fabric or lining)?  Oh, and also not too complicated.  I've actually never made a garment for myself from a pattern so I'd be concerned with too advanced of techniques.

By the way, this fabric was a remnant sent from MOOD!  Of Project Runway fame!  They have a little section of Mood castoffs at Fabric Depot, which is so crazy.   So when I do sew something with it, I will totally be imagining Tim Gunn telling me to make it work.

Thank you, Mood!
I just had to include this totally unrelated shot of the boy.  He was outside on his bike being such a good sport while I followed Little Sister around trying to get pictures of that dang dress. 
When he asks me to take his picture, I jump on it!  When he's not
in the mood to have his picture taken, there is no amount of cajoling that
will result in a good photo.
Posted by Picasa