
Let's start with the finished product, shall we?
 |
| Hooray! It turned out okay in the end! |
It all started with a cute easy refashion from Prudent Baby, that involved my new love of shirring. I saw this darling t-shirt turned baby bubble tank on Pinterest at about 9:30 last night, and thought, "That looks quick enough to whip out tonight! I'm doing it!" However, I like instant gratification, and being that it is fall, I didn't want to make a sleeveless top and then put it away until next summer (if it ever comes). I thought I'd add some long sleeves so that the girl could wear it tomorrow--easy peasy, right?
So I picked out this shirt that I never really wore, and a different color shirt for the sleeves, and started snipping.

First, just like the tutorial told me, I cut the top off of the t-shirt and made it into two trapezoids.
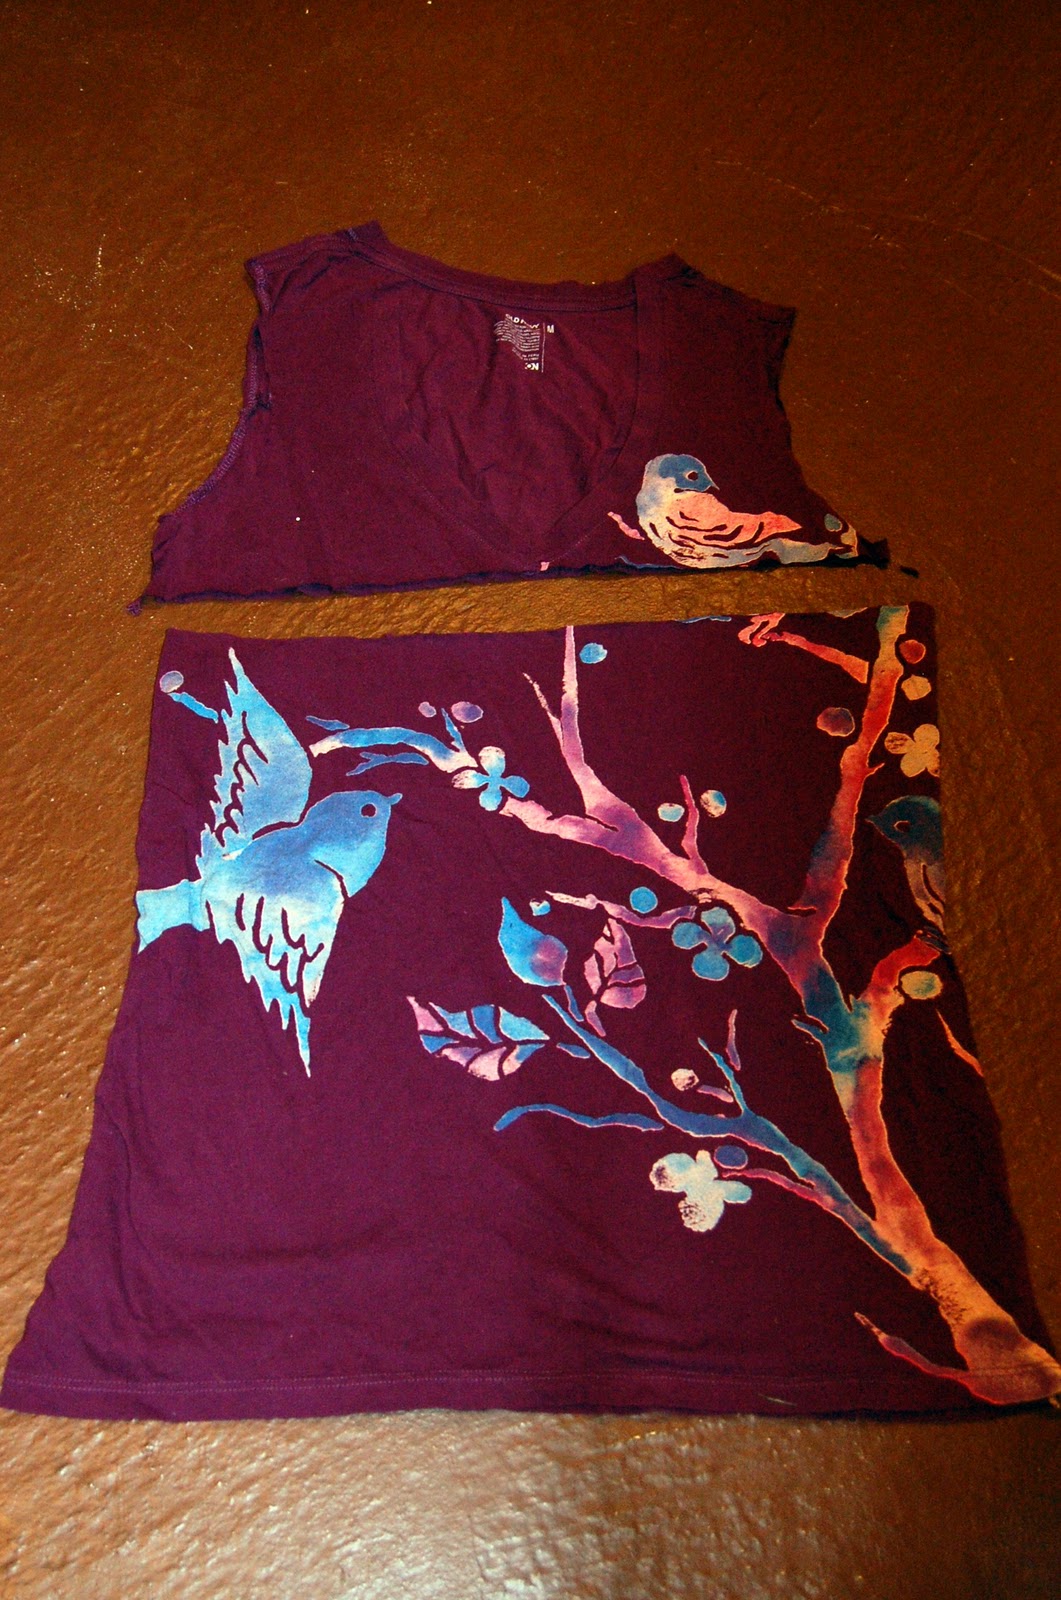
The first sign that it was too late at night--refusal to measure, resulting in a crooked line cut across the shirt. Not to worry though, there was plenty there still to make two trapezoids that were fairly straight across.

Because I planned to add sleeves, I cut the little curves out of what would be the armpits of the dress before sewing up the sides. Instead of shirring the top all the way around like the tutorial says, I just shirred the front and back panels above the armholes.

Now I was ready for shirring the waistband. This time I got wise and measured out a line so my waistline would be straight across the dress--see my pins? By this time I had decided that I wasn't going to cut off the bottom of the shirt, so I was making a dress instead of a bubble tank--sort of a hybrid between the bubble tank and this two-minute t-shirt dress I had made (and adapted) once before.
Next was to make and attach the cute little ruffle straps. My plan was to attach the sleeves afterwards, so the straps sat over the top of the sleeves.
 |
| Ready to go! |
 |
| What's that you say? Those sleeves look pretty darn skinny? Well right you are! |
So, off came the sleeves:

I cut out new sleeves that would fit, and new ruffles to make a cap sleeve over the top of the existing strap, hoping it would pull the sleeves in closer together so they wouldn't fall off the shoulder. I really had no idea how this was going to go, but...it worked out, I guess.
I don't have pictures for this next part, since I was scrambling to get things finished during naptime, but here's the rundown (skip the next two paragraphs if you're not really interested in how to recreate this for yourself):
I turned the dress inside out and the sleeves right-side out, and placed the sleeve inside the dress (so the right sides were together). Starting by matching the seams at the armpit, I pinned the bottom part of the sleeve to the dress and sewed that section closed. This left the top of the sleeve and the strap flapping. I then turned the whole thing right-side out and started pinning the ruffled strap to the top part of the sleeve. The ruffle was a lot bigger than the sleeve, so I just tried to bunch it evenly before sewing--you can't really tell because of the shirring. When attaching the ruffle to the sleeve, I used regular thread, not elastic.
I then shirred the second straps (the new one I cut out of the blue fabric) exactly the same way as I did the first ones. BUT then I added one more row of shirring along the bottom hemmed edge of the strap. I lined this up with the gathered part of the purple strap (bunching it just like the other time) and sewed it down, this time using the elastic thread. Then I switched back to the regular thread and stitched the straight bottom edge of the strap to the shirred bodice of the dress and did the same at the back. Then I repeated all o fthis for the other side. Man, I am realizing how terrible it must be to read this without pictures. I do apologize. I was totally making this up as I went.
 |
| The blue cap sleeve sewn over the top of the purple ruffle strap |

But she's the cutest little linebacker I know, so I think we'll just go with it!
Another adorable dress, Beth! I don't think she's got a linebacker look at all. The ruffles totally work! Nice improvising, btw. You ARE my sewing hero. Iris is getting to be such a big girl...and cuter all the time.
ReplyDeleteIt really is adorable! I love all the extra little steps that you took...they make all the difference!
ReplyDelete