
 |
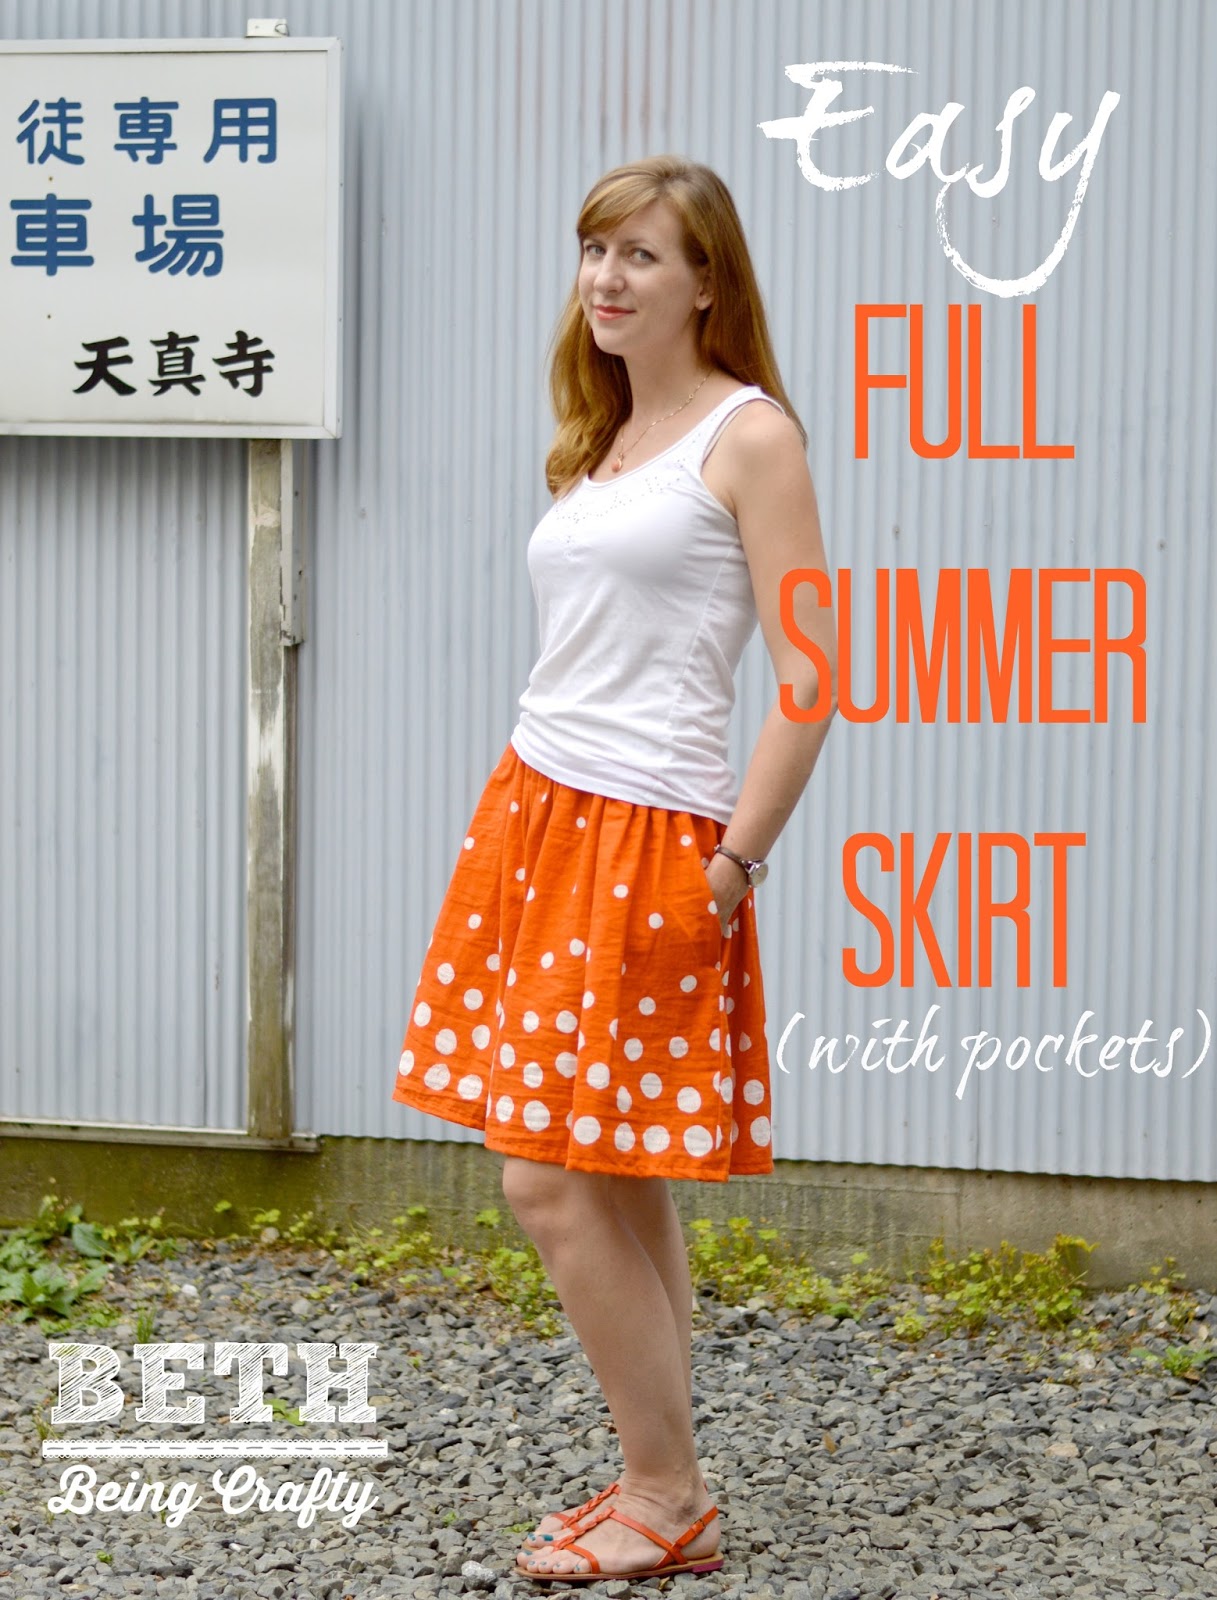
| Let's pretend that sign says "I love your skirt!" |
This skirt has an exposed elastic waistband (here's a great tutorial on doing one from Dana of MADE), and the skirt is just a rectangle of some dreamy Japanese double-gauze (with pockets, of course!)

In case you want to make one JUST like mine, I'll give you some details:
1. I had just over 2 meters of a border-print double gauze (like, 6 cm over), so I cut it lengthwise down the middle to put the print along the hem. I had a tiny hem, first to use as little fabric as possible but also so I could remember what this fabric was later by keeping the selvage visible ;)
2. I wanted 2 side seams, rather than one back seam, so that I could add pockets. So I cut 2 rectangles that were each 103 cm wide (40.5 inches) and 20.5 inches long (since I had that tiny selvage hem--if you're doing a regular hem you will want to add a little length). Oh, I guess it's relevant to know that my waist measurement is about 31", so the total width of the skirt was just about 2.5 times my waist measurement. I wanted it to be full, since the double gauze is so soft and floaty!
 |
| Or maybe the sign says, "Parking for Awesome Skirts Only." |
3. I cut out four pocket pieces (I used a basic white muslin so I could save the rest of my double gauze) and attached them 2.5 inches down from the top of the skirt. Here's a perfect free pocket pattern from See Kate Sew if you don't already have one you like!
 |
| Boo on my pattern matching! |
4. I sewed my side seams using french seams since double gauze frays quite a bit. (Here's a french seam tutorial from Tilly and the Buttons.) Did you know you can sew a french seam even when you've added a pocket? You just go right around it, and make sure to clip the curves when you turn it around to sew the second seam! However you sew the side seams together, make sure to give it a good pressing before you continue.
5. If I had a serger here in Japan, I would have serged the raw edges at the top of the skirt before attaching the elastic waist. I don't, so instead I pressed the raw edges towards the outside of the skirt twice like I was doing a teeny tiny hem, except for turned to the outside of the skirt instead of the inside. It doesn't really matter which way, but this way it's hidden under the elastic so you don't see it on the inside or the outside.
6. Next, I gathered the top of the skirt so that it was just slightly bigger than my hip measurement. I wanted it to easily slip on and off. Dana from Made ALSO has a nice gathering tutorial if you need it--I admit to using the cheater method whenever I think I can get away with it! I like to gather the front and back separately, just because I get nervous gathering such a large amount all at once! Once I have it to the width I want, I tie off my gathering threads then make sure the gathers are adjusted evenly.
7. Time to attach the elastic! The gathered top of your skirt should be a few inches wider than your elastic. Now's the time to look at the tutorial from Dana on making the waistband and attaching the elastic! Hers is an easy and nice-looking method--it's for a circle skirt but this one will work the same way. But....
8. Full disclosure--I did attach my elastic differently. First of all, I started with the skirt inside out (with the gathers visible, laying on top of the elastic) so that I could make sure I had my gathers laying flat on the inside. I did a wide zig-zag grabbing the gathered top of the skirt, about a half inch away from the edge of the elastic. Second of all, I actually sewed the elastic twice. After attaching the elastic, I turned the skirt right-side out and sewed the bottom edge of the elastic down with a tiny zig-zag. Here's how my waistband looks, outside and in:
 |
| See the two zig-zag lines of stitching? |

9. Oh, you can see that I also covered the back seam on my elastic waistband with some bias tape. Just for fun. And then I don't need to put a tag in to find the back easily :) If you do this, put it on before attaching the waistband to the skirt!
 |
| They had little one-meter packs of traditional Japanese print bias tape at the 100 yen store! I bought lots. |

10. I saved the hemming for last, so I could adjust the length if necessary. I was using a border print, which gave me less leeway than usual on how much I can hem it, so I tried to be accurate with my cutting and it turned out right on. I am 5'7", and depending on where I place the skirt on my waist it's just above knee or knee length.
 |
| With the elastic sitting below my belly-button. I tried it at my natural waist but it just wasn't as flattering. |
11. I tried to find an online source for this fabric, but alas, I haven't had any luck. This was a remnant I bought at Tomato, the awesome fabric store in Nippori, so just to rub it in I'll tell you that I paid 600 yen (less than $5) for 2 meters of it.
And now, I just want to wear this skirt all summer! Or maybe I'll make a few more--I have been addicted to buying double gauze and this would be the perfect thing to make out of it :)
Oh, and one more thing...
Hey guys...guess what? This skirt just won an award!
 |
| Yes, that IS how I really feel about it! |

I was awarded the Best Woven Skirt in her 2015 Spring Skirt awards. Believe me, you have got to check out the winners in the other categories--so many great skirts! I'm excited to check them out.
Fun skirt, live the color and the flowyness! That last pictures is perfect.
ReplyDeleteCute skirt, I love the orange color! I recognized the fabric, I almost bought it in gray. I didn't, because I have huge stash I need to work on...;o The price you paid is 1/2 the price I saw online! And recognized the bias tape fabric too. I have bought the same fabric and used it before, but would be great to buy it as bias tapes! BTW, why posing in the parking lot? Looks like you have visited a temple?
ReplyDeleteHi Annie! I had walked to one of my usual photo spots near my house (just a blank concrete wall) and it was under construction, so I was just looking for something relatively non-distracting nearby! The temple's parking lot was out of the way of traffic and people so I went with it, and I just liked the look of the sign ;) I'd love to hear where you found the fabric online--I'm not sure I can get any more of it in the store!
DeleteI saw it on 2 stores from Rakuten. If I do not have to worry about the shipping, I would be ordering them. As you know, fabrics can get heavy!
DeleteLove your new skirt & the pockets are exactly what I'd want in a skirt too.
ReplyDelete