
Hey! You know what I can't get enough of right now?

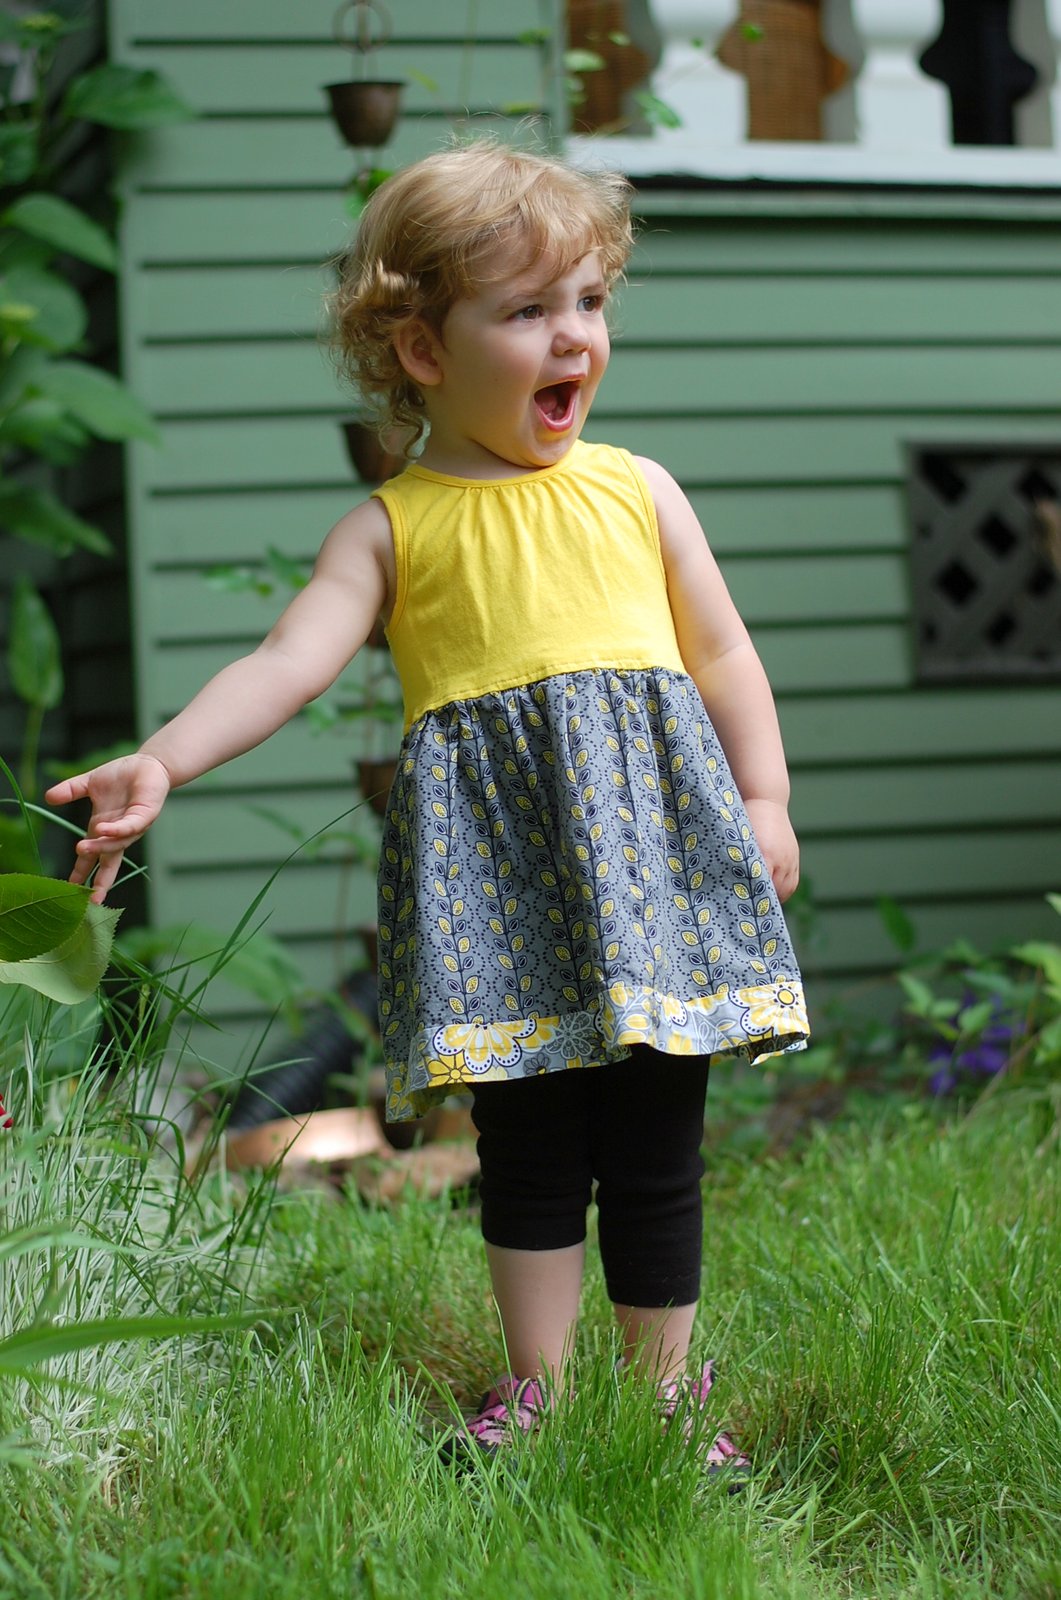
This adorable coordinating yellow and gray fabric that I picked up on clearance at Walmart! I not only used it a while back to make a gift for The Boy's preschool teacher (a fabric-covered notebook), but it also was great to use to turn this clearance $1 yellow tank top into a super easy and sweet dress! This would be a great way to use a tank top or t-shirt that had stains towards the bottom too, since you just cut that part off.
 |
| No way! |
Little Sister wore it for Mother's Day, but this was the best I could do for pictures that time around.
 |
| Who let that child out of the house in Crocs? |
I was inspired by this tutorial from Tea Rose Home (and I may still add a fabric rosette to the top; that would be pretty cute, don't you think?), but rather than a ruffle of contrast fabric I just made a band. This dress was AWESOME because it was so easy and took so little fabric--you could even do it with a fat quarter. I did figure out a trick for getting the gathered skirt to the right size--I'll stick it in at the bottom of the post so that those of you who aren't interested in sewing can skip it :)
I couldn't stop there with this fabric though--I mentioned in my post on the Prudent Baby Toddler Snappy Top that I planned to make a baby-sized one, and here it is, in the same yellow and gray combo:
 |
To make the top in what appears to me to be a 0-3 month size, I printed out the pattern at 100% and then pretended that the pattern included the seam allowance. I guess I'll wait and see if it fits the bebeh that I gave it to to find out if the size was right (Jackie, if you're reading this, let me know!)

The bloomers came from this tutorial from This Mama Makes Stuff, intended to be made with vintage handkerchiefs. Oh my gosh, how cute would those be! It includes a printable pattern for size 0-3 months, so that's what I used, but I added some extra length since I wasn't using an existing handkerchief hem, then I hemmed the bottom and did two rows of shirring with elastic thread instead of sewing baby elastic on the leg openings (I didn't have any baby elastic on hand.) Worked great!

Ooh, and I still have enough of these fabrics left to make a Phoebe Bag! I wonder who will get it...
And for those of you sticking around, here's my tip for gathering a skirt:
First, just in case, here are the basics: Once you have sewn the back seam of your skirt (so your rectangle of fabric is now a straight-up-and-down tube for a skirt), set your machine to a basting stitch and sew across the top of the fabric to be gathered, making sure NOT to backstitch at the beginning or end. Then pull on your bobbin thread on both ends gently to start gathering the fabric together.
Now, my tip: pull the threads and bunch your fabric together until you have the top of the fabric to your desired width, ignoring whether your gathers are even. Then TIE the loose threads at both ends together, so the top of the skirt can't loosen up any more or accidentally pull too tight. That way you can easily adjust your gathers to make them even all around without having to worry about the top of your skirt ending up too wide or too small. I was always trying to even out my gathers and set the proper width at the same time, which can be crazy-making. So I hope that helps!

The baby outfit fit perfectly! Natalie got so many compliments and I talked up your crazy craft skills :) THANKS!!!
ReplyDeleteSo glad it fit, since I was basically winging the sizing! Good to know :)
Deletedude. SO adorable. i want one?
ReplyDeleteRight? If I figure out how to scale the pattern for adults, I will let you know!
DeleteHey! I love the baby outfit! I was wondering how many inches long you made the top for the pattern? Thanks so much!
ReplyDeleteAbsolutely beautiful baby outfit!
ReplyDeleteHow do I get this pattern please it's beautiful
ReplyDelete