Wednesday, August 19, 2015

Catch-up Time--a fun elastic-waist skirt!

Wow, moving from one country to another does not go well with blogging!  I have been out of it for a couple of weeks, what with getting ready to move back to our home in the US and then working through the settling-in process, and now I think I'm about ready to start catching up on blogging some of the projects I've finished in the last few months!

I'm taking baby steps--this first post will be a quick one on a simple elastic waist skirt I made.

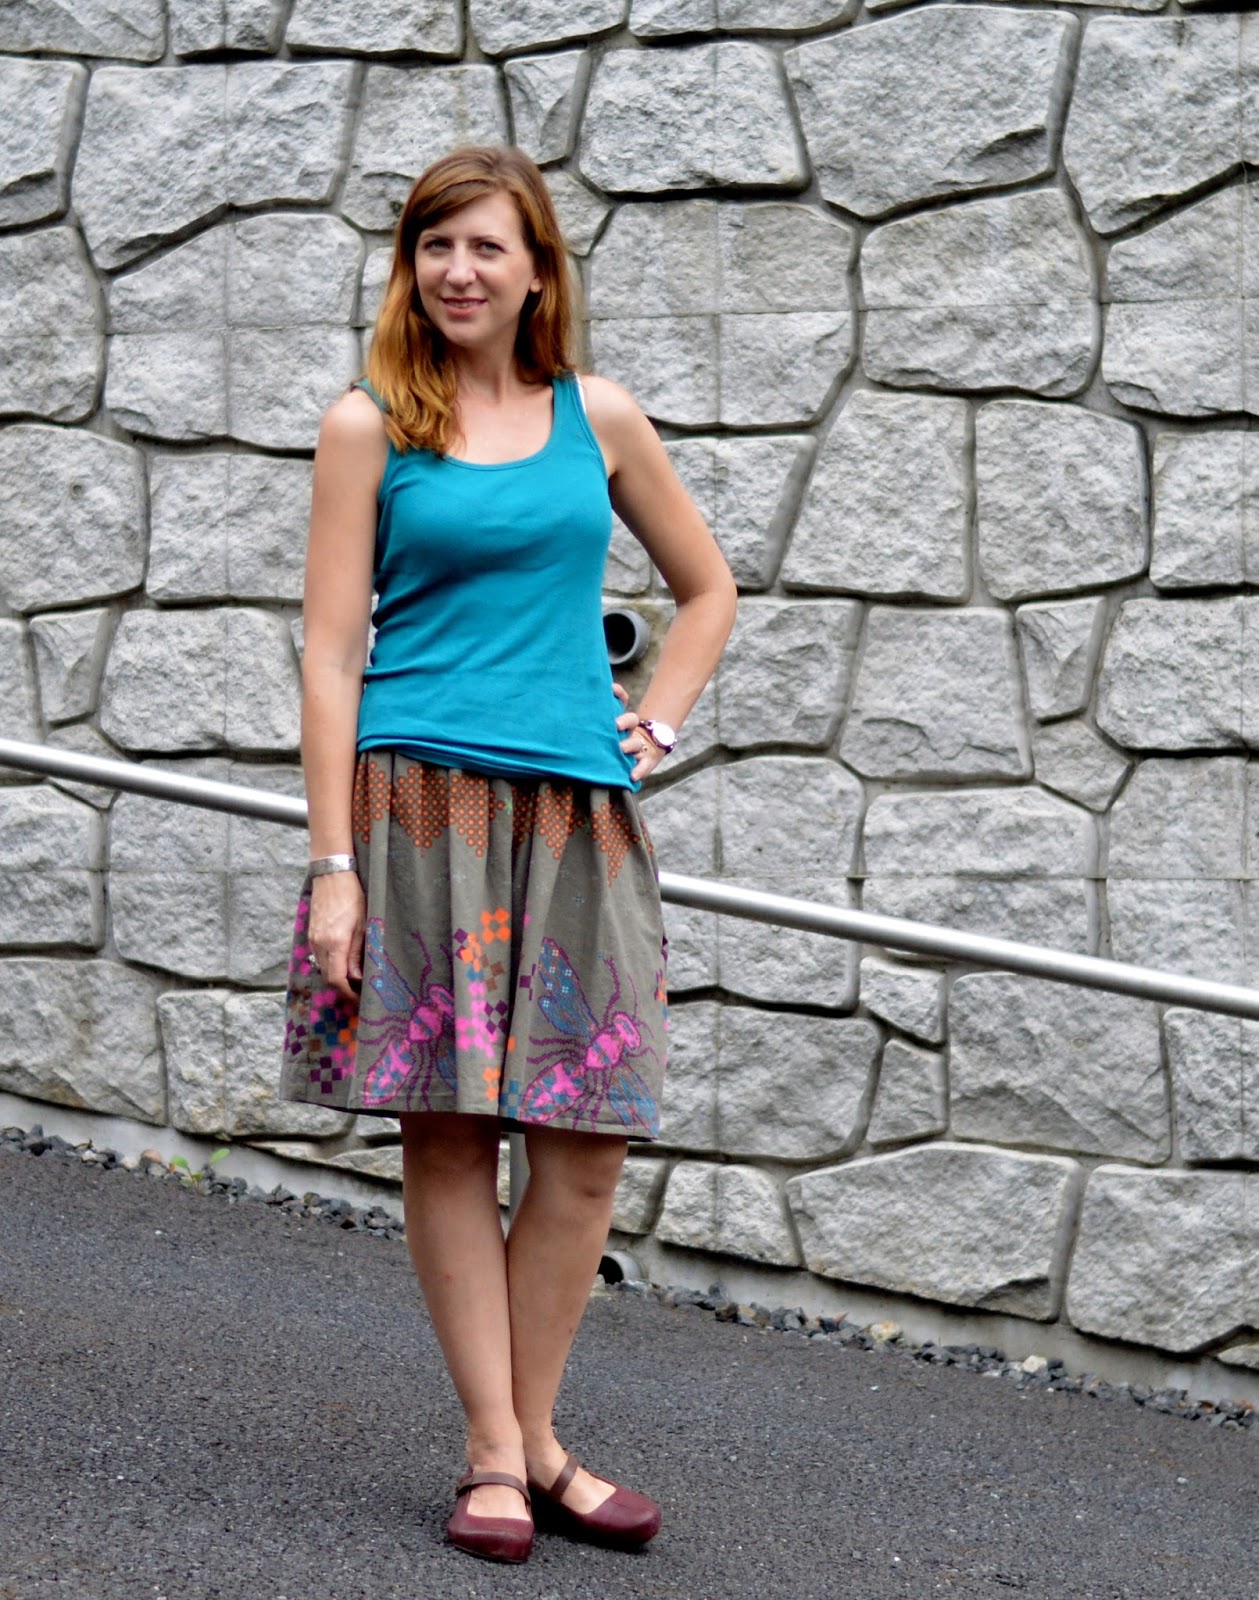
Rainy day photo shoot!


I used the same proportions as when I made this double-gauze skirt, but I only had wide white elastic, and I didn't like the way it looked with the more muted color palette of this lovely Melody Miller print.  So I decided to make an easy encased elastic waistband this time, and I think it's a great look!

I bought everything they had at Tomato in Nippori when I found this
Melody Miller print for about $3.25 a yard!  I think I've got about 8 yards of it left.

The waistband gives the skirt a little bit more professionally finished look, I think, than the exposed elastic waistband, although I think those have their place as well!  Rather than just folding the fabric over to make a waistband, I cut one that was about 1.5 inches longer than my hip measurement.  This reduces bulk at the waist while still allowing me to make an easy pull-on skirt.  To figure the width, I just doubled the width of my elastic and added about an inch for seam allowances.

My classic pose!
I attached the waistband to the inside first, then topstitched it to the outside of the skirt so that there would be no raw edges on the inside.  I also did french seams on the sides, so everything is enclosed! These are the little things that I appreciate now as my sewing skills increase--my older garments with raw, fraying edges on the inside just aren't holding up as well as I'd like, plus they feel much more "homemade" rather than hand-crafted when the inside doesn't look nice!


When I wear this skirt, I usually push the gathers to the back so that I get a flatter front and more poof in the back.  Just personal preference!  And I also like the way it looks with an untucked top, although I definitely only wear full skirts with fitted tops, unlike many of the Japanese women I see walking around!  They can pull off head-to-toe loose garments, but they just look like sacks on me.

I had to finish this shoot quick, since I was really starting to get wet!


The people walking down this street thought I was crazy!

I've got a few more things to show you, hopefully soon!  I was pretty busy sewing things up before we left Tokyo since I knew it would be a few months before I saw all of my pretty fabric again.

Saturday, July 25, 2015

Double Gauze Desert Rose Dress

I love this new dress I made for Little Sister so much!

I don't have a lot of time left for sewing projects while I'm here in Tokyo (we move back to the US in less than 2 weeks!), but I knew I wanted to get this one done so that she could wear it in this hot, humid summer climate.


This dress is the Desert Rose pattern from Caila Made, and I just loved it from the first time I saw the pattern.  Of course, I am a cheapskate, so I just admired the pattern without buying it.  In this case though, it paid off, because eventually this pattern was featured as a Friday Fiver, and I was able to snap it up for just $5!  However, this was months ago, and although I printed the pattern out right away, it still took me ages to get going on it.


The main fabric for the skirt is a beautiful double gauze by Nani Iro (called Fuccra).  When I lucked into finding a 2-meter cut for less than $10 because of a small print error, I knew it was perfect for my Desert Rose dress.

See that little white stripe?  That was the only error in the whole 2 meter cut!
And I had a lovely lightweight coral batiste that matched perfectly that I could use for the bodice--I wanted the whole thing to be floaty and light and comfortable for the humid heat of a Tokyo summer.

The breeze really does pick it up--it's a good twirler too!
I wanted to make sure the bodice didn't gape, so I made a size 3 bodice based on Little Sister's measurements (her chest measurement matched the size 3 exactly on the chart, even though she's 5 years old) and it fits perfectly.  Since my bodice fabric was so lightweight (semi-sheer, actually, so it's nice that it's lined, and I used the same fabric for the lining), I interfaced the button placket on both sides and it feels secure.


I thought I would be clever on the skirt--I used the angled tunic skirt with a size 3 at the top but a size 8 in length, thinking that would get me to dress length without printing the dress skirt pattern pages, but I wasn't thinking about the fact that the size 3 bodice is shorter than the size 5.  So my dress was shorter than I wanted.   Next time I'll go ahead and assemble the skirt pattern pages to make sure I get the length I want!

However, I was able to cut it perfectly to avoid the print error!
Fortunately, I really like the look of the 4" panel of the bodice fabric at the hem.

How pretty is that Nani Iro fabric!?
 I really liked the way this pattern came together.  It all looks so professional inside!  I used french seams on the skirt since double gauze frays pretty easily, so there are no raw edges on the inside anywhere.  AND no hand-sewing on the bodice lining, since you topstitch the outside of the bodice instead!  I loved that.

Also, this pattern has pockets--I can't believe I forgot to take a picture of them, since pockets are usually my favorite feature.  I guess it speaks to how much I love this dress overall that the pockets are practically an afterthought, although they came in handy yesterday when my daughter had some drawings she wanted to carry around!


Now I've got to see if I can squeak a top for myself out of the remaining meter of that Nani Iro Fuccra double gauze!

Sunday, July 19, 2015

Skirting the Issue 2015: My contribution

Hi!  This is a quick post to show you a couple of quick skirts that I made and tell you about a really cool project going on this month, Skirting the Issue.  Simple Simon and Company host this event in order to inspire sewists to donate skirts to kids in foster care, just in time for the start of the new school year, and they are collaborating with several sewing bloggers this month to provide lots of free skirt patterns and tutorials.  The goal is to collect 1000 skirts this year, and if you'd like to participate the details are in the link I provided above--the basics are that you sew a skirt (or several) by August 15th and donate it to an organization in your area that provides clothing to foster kids.  Then you let the ladies at Simple Simon know how many skirts you made so that they can keep track.

I made this simple elastic-waist full skirt from some fun Melody Miller Rubystar fabric:


size 3T

And this knit a-line skirt with a yoga waistband, using this tutorial from Craftiness is not Optional:

this one is a size 5, but was totally too big for my skinny 5-year-old!
I'll be mailing my skirts to With Love Oregon, an awesome organization that helps set up foster parents with great quality clothing and other supplies they need to help them successfully bring a foster child into their family.  I'd be happy to provide you with a mailing address for your donations if you'd like to participate!


Friday, July 17, 2015

Summer Outfit from Free Patterns!


I have been struggling with getting decent pictures lately, which makes me less motivated to get new things up on my blog.  For some reason, I just could NOT get the photos of this outfit in focus.  My least favorite thing about doing this blog is getting photos of myself--sometimes, using the remote is easy, but more often than not I just can't get the focus or exposure right when I don't have anything to focus on.  As I was going through these photos, I can see my facial expression getting more and more strained as I failed to get the shots I wanted, and of course I feel weird whenever people walk by.

BUT!  I will still share the outfit, because these are good patterns and you should try them out.

You get the idea.
First, the skirt.  This is the free Simple Summer Pleated Skirt pattern from Sew So Easy, and here are my thoughts about it.

1.  The pattern goes together easily and looks really professional.  Here's my back zip!  I really liked putting it together.

Pattern matching WHAT!
2.  The pattern suggests using a lightweight drapey fabric, and I concur.  I used a stiffer Japanese linen/cotton blend, and I'm not in love with the way it falls.  This pattern is not meant for a structured skirt.  You could, however, use a more structured fabric for the waistband but something with drape for the skirt.  I was thinking the structured fabric would give the skirt more of a pencil look, but it doesn't.  I'm thinking of trying Delia's pleated pencil skirt to get the effect I was going for here.

3.  The pattern runs big.  I cut out the appropriate waistband based on my measurements, and had to cut out over 3 inches altogether.  Be sure to test your waistband size before you attach it to the skirt.

4.  There are POCKETS!  Yay.

The top is the free Perfect Cap Sleeve Tee from iCandy Homemade.  I have made this top a few times before, and I love its simplicity.  The free pattern is a size medium, and it works well for a loose top on me.  This time though, I was going for a more fitted look, so I tried cutting this one smaller just by placing the pattern off the fold a little bit.  That was not the best way to do the fit adjustment because now I don't like the neckline quite as much and the sleeves fit a little weird (I added the sleeve bands, but that's not the problem), but it's still baggier than I want in the torso.  I will have to play around with resizing this pattern differently to get the fit I want.


This fabric is a slub knit from Girl Charlee.  It's almost see through but not quite--I can get away with it if I wear a nude bra.  Anyway, I like this outfit better with the shirt tucked in (NOT my usual M.O. but in this case...)


Anyway, there's an outfit I made lately and am moderately happy with but not excited.  It can't all be perfect!

Thursday, July 2, 2015

Sleeveless Out and About Dress

Another dress--my favorite thing to make!

This dress is a sleeveless version of the Out and About Dress from Sew Caroline.  I sewed up a 3/4 sleeve one from a thick knit a few months back, and knew I would need a sleeveless one for summer. When I found this lightweight knit for 100 yen per meter, it was time to give it a try!


I struggled a little bit with the sizing on this dress--as a matter of fact, it was an issue the last time I made it as well, but in that case I was using a more unfamiliar fabric and thought that was where the problems came from.  According to my measurements, I am between a medium and large for this pattern, leaning to the large.  I cut out the medium but used slightly smaller seam allowances than the 1/2 inch the pattern calls for...and it was really too big. 
 
frump-a-dump
First I thought I would try adding elastic to the waistline on the inside, maybe giving the top a loose, blousy look.  But it didn't really work; the whole bodice just seemed to pull to the back.

well hello there, munchkin.
I actually wore it out like this, with a belt, but decided by the end of the day that it was a no-go.

In the end, I had to remove the elastic and re-sew the side seams an inch further in on both sides (so removing almost 4 full inches from the bodice!)  Also (and this actually made the biggest difference, I think), I shortened the bodice by about 2 inches.  

That's better!
This was a problem I had the last time I made this dress too--the bodice just looks too long on me!  It doesn't look that way in the pattern photos, so I don't know why mine keeps coming out wrong.  It's also strange because I have a long torso--I am typically lengthening things, not shortening them, but I guess when it comes to a bodice seam line I just like mine a little north of the natural waist.  Looks like it's time to slice the bottom of off my bodice pattern pieces!

Other modifications: surprise surprise, I made the neckline a little bigger, as usual.  I also made the skirt panels about 3" narrower so that I could just use the whole width of my fabric.  The pattern calls for the skirt panels to be 30" wide, but my fabric was 54" wide so I just cut two 27" panels.


All that said, I really do like this dress and this pattern.  Now that I THINK I've got the fit dialed in, this dress should go together really quickly.  It's comfy and it's got great pockets and lots of sleeve and length options, so I'm glad it's a pattern that's in my repertoire.  

Oh, I also wanted to show you a close up of this fabric.  It's really light and soft, with a neat diagonal texture to it, and I like the way it looks on the neck and arm binding:


I'm sure that part of my fit problem was because the fabric is verrrrry stretchy, so I should have cut it smaller to account for that.  Ah well, you live, you learn!  It's pretty great to be able to buy fabric so cheaply so I'm not afraid to just mess around and try new patterns--if it didn't work out, I would only have been out about $2!  Plus my time, of course.

Tuesday, June 23, 2015

Nani Iro Pajama Shorts

I have to admit, I am not much of a shorts person.  But after seeing Shorts on the Line, hosted by Rachael at Imagine Gnats for the last few years, I've been thinking it might be fun to try making some.


Now, these are pj's, so it's still baby steps--I'm not ready to try making shorts to be worn in public yet.  But as pajamas go, these are maybe the best I've ever had.  As a matter of fact, I made two pairs--one to try out the pattern before cutting into my Nani Iro double gauze (it's Pocho Adzuki Bean, a dark eggplant color--love it!)


The first pair is made from double gauze printed in Japan.  I love this fun print and I have bought it in several different colors!


I used the free Bias Trim Shorts pattern from Melly Sews, and since I was using a woven instead of a knit, I followed her instructions from this tutorial, where she makes a pair out of a satiny fabric.  Basically I slit the pattern pieces in the middle and added another half-inch of width to both pieces.  She says to add a quarter of an inch, but I'm slightly larger than the measurements she gives for the pattern so I bumped it up a little extra.  I also added about .75 inch to the length just for the heck of it.

Just what you want to see, right? A couple of pictures of my butt.
Maybe this is the real reason why I don't sew more pants...

I made both pairs exactly the same way--I was so pleased with how the first pair came out that I didn't change a thing for the Nani Iro pair!

In addition to changing the sizing slightly, I also used single fold bias tape instead of double fold.  This was mostly for practical reasons--the bias tape I wanted to use just happened to be single fold!  For the first pair, I had a package of vintage bias tape in exactly the right color, and it was a little bit silky, not a basic cotton kind.  Nice for pajamas, right?


And for the second pair, I knew I wanted to use the bias tape I found at my local 100 yen store, made from traditional Japanese print fabric.  Unfortunately, it only came in 1 meter packs, and I couldn't find more than 2 packs of any one print.  The pattern calls for 3 meters, but after making the first pair I thought I might be able to fudge it, since some of the bias tape ends up hidden on the inside when you sew the side seams together.


This worked great--I used exactly one meter on each side of the shorts, and was able to hide the unfinished edges on the inside.  As a matter of fact, I cut the back pattern pieces so that the exposed edge was on the selvage, so there weren't any raw edges to speak of.

Here is the front and back pieces for one side, sewn together and with bias tape attached.
You can see the white selvage edge where I ran out of bias tape.

Here's how the inside looks when you use single fold bias tape instead of double.

The Nani Iro double gauze I used was a great deal--I found two .6 meter cuts of it for 360 yen each (about $3) since there was a little bit of a print error.  I don't know if you can tell, but some of the dots have a tiny dot of the background color on them.  I think it looks fine!

Pre-sewing it all together
And I still have enough left to make a pair of shorts for Little Sister (although I'll have to find a different bias tape to use on hers.)  I'm actually hoping more of this bias tape will turn up, because I'd love to make a bias-trimmed tank top to go with these.

One final shot, to show how they look proportionally.  It felt weird to have a whole post with no pictures of my face!


Sunday, June 21, 2015

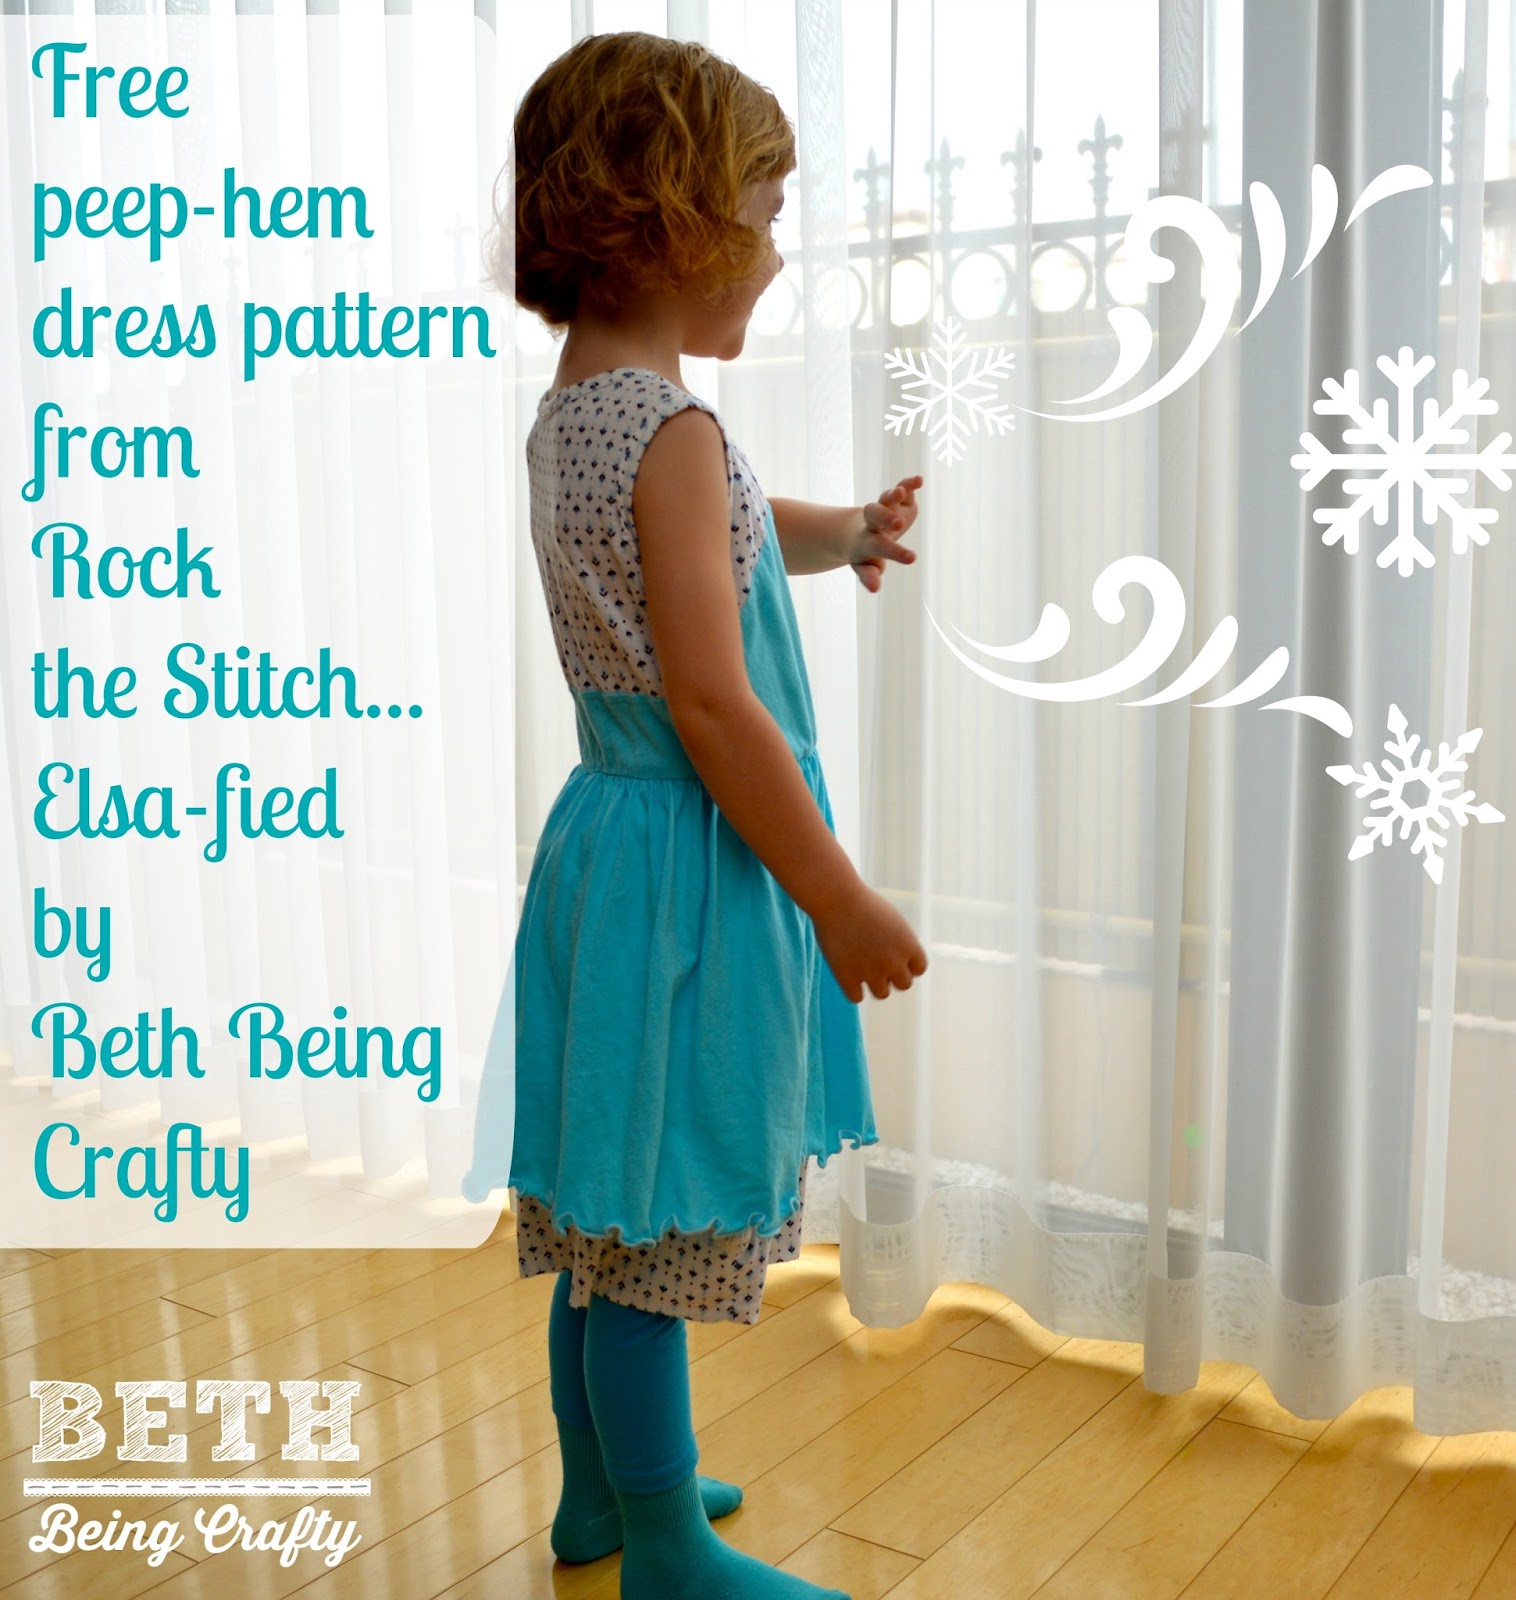
Everyday Elsa

I have a confession to make--I am linking this dress up to this month's Project Run and Play, but I didn't make it specifically for that. Edited--I planned to link it up, but I was too late!  Just missed the collection. Boo.

As a matter of fact, I had been checking frequently to find out what June's pattern would be, and when I saw the Elsa pattern chosen by this month's host, Kiki from Kiki and Company, I laughed, because I had just finished an Elsa dress for Little Sister literally the day before.  I figured it was meant to be, even if I didn't use the actual pattern, so I'm linking up anyway! (uh...not so much meant to be after all.)

It still took me 3 weeks to get photos taken of it though, so I'm finally getting the blog post up.  And another confession--I started getting worried that I wouldn't get photos done at all, so when Little Sister chose this dress to wear on her first day of summer camp today, I told her we were going to take a few pics before school.

Luckily she was mostly game, and as a matter of fact she was inspired--she pulled the curtains back and told me we should use the white sheers and pretend it was snow!  We gave it a try, so these photos are her own idea.


The fabrics are knits from Girl Charlee that I brought with me when we moved to Japan.  The print on the white fabric has a slightly Scandinavian feel to me, so I thought it would be fun to make a casual dress that was inspired by Elsa.


The free Peep-Hem Dress pattern from Rock the Stitch was perfect for it--I just color-blocked the bodice (and did a lettuce hem on the top layer--something I've never tried before!)


I've had my eye on this free pattern for a long time, but it's finally a perfect fit for my 5-year-old, so the time was right!


I can see making this dress in lots of other fun fabric combinations--with the color blocked bodice, I could even see using wovens and keeping the top of the bodice in a knit.

The back--I just cut straight across to match up with the curved color blocking I did on the front of the bodice.
These particular knits from Girl Charlee are really light and soft, so even the two-layer skirt will be great for the hot summer weather.


I always love linking up to Project Run and Play, especially to see the other interpretations of the theme!  Take a look at this month's contributors here.

Also, take a look at this dress in action--perfect for our final visit to Tokyo Disneyland!  We made it there twice in our year in Tokyo, and really had great visits both times.