

The results are...hmmmm. I'm not sure. I mean, there are things I like about it, especially about the method I used to create it, but I think something is just off about it. The proportions, maybe. Too much yoke. Or too much contrast between the two fabrics. My husband said it looked like he was wearing a dishcloth over his shirt. But the IDEA, I think, could be a good one. I think if I do this again, I'd choose colors that were closer together, and maybe make the yoke almost like a western-style shirt, where it starts higher up and dips down at the center of each side? Or just make the yoke shorter and leave the tab opening cutting down into the body of the t-shirt? What would your suggestions be?
Anyway, this is how I did it.
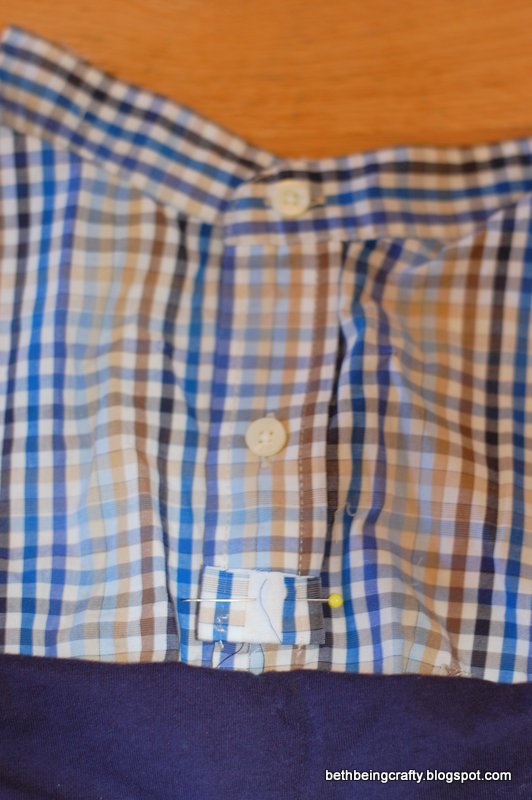
I started by carefully removing the collar from the button-down shirt. The neckline is made from two strips of fabric with the collar sandwiched inbetween, so I removed stray threads so that I could just sew those two strips closed again later to make it a collarless shirt.

Next I cut the front of the shirt off right at the top of the pocket, because I didn't want to worry about what to do with pocket parts. I also separated the front of the shirt from the back by carefully using the seam ripper to open up that panel in the back. It's also two pieces of fabric, and the front piece of the shirt was sandwiched in between at the shoulders. I separated it so that I could adjust the fit when I narrowed the collar to fit a four year old. I also opened that back panel up at the bottom to remove the rest of the back of the shirt. It wasn't necessarily my plan to use such a small piece of the back of the shirt, but it made sense because that's where the existing seam was.

Then I was able to separate the front and the back of the shirt from each other by snipping the collar right where the front and back met on the two sides. After the pieces were separate, I used a pattern piece that I had made by tracing a shirt of my son's that fit him well to figure out how big to make my pieces.
 |
| Front panel cut to fit the pattern |
I did the same for the back piece. When you cut the back piece, leave the collar pieces extra long. You will need to fold them under when you reattach the front panel so that you will have nice finished edges. Both the picture above and the one below show the front and back pieces once they were already cut.
 |
| Back panel cut to fit the pattern |

Once that back t-shirt panel is cut, sandwich it inbetween the two layers of the button-down back panel.

Sew it carefully shut, making sure to get all three layers with the sewing machine. Now you have the back piece of the shirt!
 |
| It's a little tricky to get all the layers when you're sewing blind on one side, so make sure to pin carefully and give yourself enough room by sewing a little further away from the edge of the fabric than I did. |
For the front piece, I cut my t-shirt fabric the same way (on the fold, using original hem, pattern folded down at the top to fit together with the button-down piece).

I then pinned the two pieces together at the raw edge, right-sides together.

Before sewing, I pinned my button placket up and out of the way.
 |
| Don't sew that button placket down yet! |
 |
| Sewn together and topstitched |
Oh, I almost forgot about cutting the sleeves! You can cut these now, or earlier when you're cutting everything else. I used the sleeve of a shirt that fits as my guide. Yes, I used a t-shirt, but I knew that woven shirtsleeves are wider than t-shirt sleeves usually so I just cut it a little wider than my guide. If you want to be more exact, you should probably use a woven shirt to get the right sleeve width.
I used the full length of the original sleeve, because I was planning to roll up the sleeves and make cute little button tabs to hold them up. But, I ran out of time for the button tabs. I saved my scraps; I still might add them eventually! But the long-ish sleeves still roll up just fine and haven't been falling down. If you want a more traditional short-sleeve length, use a shirt that fits as your guide for length as well as width, and don't forget about seam allowance! Whether you go longer or shorter, use the finished edge of the shirtsleeve so you don't have to hem yours.

I like to cut one shirtsleeve first, then unfold it, open up the other uncut sleeve, and lay my cut one on top of it to use as a pattern. This way, my sleeves are sure to be the same width--which can be an issue if you're just using another shirt as a loose guide for how you cut your first sleeve!
 |
| The green lines mark the edges of my cut sleeve, all lined up to show me where to cut the second one. |
You will have four pieces when it's time to start assembling your shirt--front, back, and two sleeves.

The front and back of your shirt will be put together at a slight angle (the same way the original shirt was constructed). Open up the two pieces of fabric that form both the collar and the back panel of the shirt, and slip the front pieces inside.
 |
| Collar and back panel pulled open, ready to sandwich the front panels inside |

You should have a big piece that looks like this once the collar and shoulders are all joined together:

And now you can sew the collar pieces together! Remember, they are open at the top from when we removed the original collar. They should still be lined up pretty perfectly, so you are just going to topstitch them down right at the top edge. It will be a little thick where you joined the front and back together, so go slowly.

And now for a public service announcement--I just learned about this trick on my sewing machine when reading about attaching bias tape to the Milkmaid Skirt in this tutorial. I knew that turning this knob made my needle shift to the right or left when sewing, but you guys, I had no idea how much difference that would make in my ability to sew a straight line down the edge of something. I just sewed with the needle in the middle, assuming I was lousy at sewing a straight line, but when Adrianna at Crafterhours suggested switching the needle over, I felt like a new seamstress! I COULD sew a straight line, I just didn't know to use the proper tool! Why does it make such a difference? I don't know! But it does, trust me!
 |
| This guy. Right here. I have it switched to the right edge position (see the oblong with the dot on the right underneath that tiny red square?) Changed my sewing life. |
Next I attached the sleeves. I laid the body of the shirt out right-side up, then laid the sleeves on top with the raw edges lined up, right sides together. So the hemmed ends of the sleeves were pointed towards the neckline. Pin the raw edges together, lining up the edge of the sleeve with the armhole curve in the body panel. Once they are sewn together, you'll have this:
 |
| Wrong side of fabric shown. |
I decided I wanted to make little openings at the bottom of the shirt, so instead of sewing all the way down, I stopped about an inch and a half from the bottom. I rolled the raw edges under and sewed them down on both sides of the seam.

Here were the kids showing off their outfits on the first day of school. Little Sister was more unhappy about school than her dress (more about her dress here)--don't worry, she cheered up!

The Boy digs the shirt, which is I guess what matters in the end! Even if it does look like a crop top layered over a t-shirt.

No comments:
Post a Comment
Note: Only a member of this blog may post a comment.