Showing posts with label photography. Show all posts

Monday, December 10, 2012

Scarf Headbands!

I've got something to show you real quick!


I couldn't resist this gauzy little polka-dot scarf I found at the Dollar tree.  I thought it would make a fun headband for Little Sister.


Even if she was a little skeptical about it.

And since there was a lot of scarf left over, I went ahead and made one for me too.

Then I gave my four-year-old the camera and had him take some pictures of me and the girl.


I think the 4-year-old's camera angle addds a few pounds.
Only to me though, not Little Sister. Hmmm.  Couldn't possibly be
the Thanksgiving through Christmas gorge-fest.
He didn't do too bad!


I may have found a new photographer (replacing myself and my remote)!


Of course, the two-year-old had to have a turn too.


I may never get my camera back.

Who likes taking pictures better than posing for pictures?

We do!

So, here's how I made the headbands.  Nothing fancy!  I maybe would have done some nicer finishing work if these were going to be gifts or something, but just making them for ourselves I wasn't too worried about it.

I rolled the raw edge under and hemmed it so it wouldn't fray:

Just held it and folded as I went.
Actually, when I made the first headband I started with one of the hemmed ends of the scarf so I only had to do this on the second side.

Then I gathered it up (I upped my tension a bit and sewed using a basting stitch with NO backstitching, and pulled the bobbin threads tight when I was done).  I could have just bunched it up with my hands, but this made it a little more even.


Next I cut a little piece of fold-over elastic (about 3-4 inches long), scrunched up the gathered end of the scarf, shortened my stitch length back to normal, and sewed back and forth a few times to join them together.


The underside
Then, I wrapped it around the head that it was going on to figure out where to cut the rest of the scarf off.  For the toddler headband, I had about 3.5 inches of elastic and 16.5 inches of scarf, minus the tiny rolled hem.  For the adult size, I cut 4 inches of elastic and 18 inches of scarf.

Then I did the same thing to the other end of the scarf--hemmed the raw edge, gathered, and attached the other end of the elastic.  Make sure the elastic isn't twisted.


That's it!  While this print is fun and festive, it could easily be done with any old scarf to be worn any time of year!  So much easier than tying and retying when it works its way loose, and getting your neck hairs caught in the knot.  Don't you just hate that?

Wednesday, October 24, 2012

Kid Photo in Repurposed Frame!

I framed another family photo in a frame I got on clearance at...hmmm, I think it was HomeGoods this time.  I got this nice big square frame with a double mat on clearance for $10 with a painting of a bathtub in it.


I didn't measure the actual frame, but the photo opening is 12" by 12", which is awesome because Costco will print a 12 by 12 square for $2.99.

First I pried the back off:


Then I peeled the bathtub picture out and followed the steps I outlined in my post about this process before HERE.

One difference, though.

The heavy fiberboard that they have started using to back these things is really hard to get back into the frame.  So instead of replacing it, I cut a piece of cardboard to fit in the back instead.  Then I used the little metal brads that used to hold the fiberboard in (well, the ones that stayed stuck in the frame; several of them pulled out when I removed the backing) to fold over and hold the cardboard in.  This is totally how I'll do it from now on.  WAY easier than trying to wrangle that fiberboard back into place.


To really look professional, I should have removed the picture hanging hardware, covered the back with brown paper, and then replaced the hardware.  But since this is just hanging in my house where nobody will ever see the back of it, I just left it with a naked back.

And this is the finished product!  Sorry for the weird angle; it's hanging in a narrow hallway where it was tough to photograph it straight on.


I took this photo while we waited in line to slide down the big pink slide at Oaks Park this summer.  For my photo editing, I just used Google's free Picasa software.  I cropped the image to a square, made it black and white, then applied the "Lomo-ish" setting (that's what it's actually called.  Lomo-ish.).  Printed at Costco.  Total project cost = $12.99.

Thursday, May 17, 2012

Padded Camera Wristlet

I often want to take my Nikon D40 with me when I'm running around with the kids, but it's just not practical to bring my giant camera bag in addition to my giant bag filled with diapers, snacks, water bottles, wallet, etc.  So when I saw this Fancy Padded Camera Pouch tutorial from Me Sew Crazy I knew it was the perfect solution--just enough protection to feel like I could stuff my camera in my bag along with everything else.

However, I (boo hoo) rarely have any reason for anything fancy, so I made mine with some pretty swirly cotton quilting fabric I got at Joann's on clearance for $3 a yard, and lined it with some flannel from an old sheet that got a hole in it.  Plus the fusible interfacing for padding.  So, a pretty affordable project!


I took a picture with my camera in the bag with my old point-and-shoot, but for some reason my computer won't read my card--time to get a new card, I guess!  This is also bad news for a tutorial I was planning on resizing an adult hoodie for a kid--all the pictures are stuck on that card too, but that will probably end up being for the best.  So you'll just have to trust me that this bag is a good fit for my Nikon D40, and probably has enough room for an accessory or two, like my flash bounce from Photojojo (I love that thing) or my battery charger.

The only thing I did differently than the tutorial (other than choosing non-fancy fabric) was the very last step.  Rather than just sewing the opening closed, I topstitched all the way around the whole top of the bag.  That way I didn't have to do any invisible hand-stitching and it gave it all a uniform finished look.

The strap did end up being a little loose for my taste, so I tied a knot in it--I don't even mind the way it looks. When making it, I thought maybe I should just do a drawstring instead of the elastic top and fixed wrist strap, but now that I've used it, I'm glad I didn't--I like the elastic opening a lot.  Ooh, I just thought of something!  I think I'm going to sew a square of the flannel to the inside so that I can use it for a lens cloth!

I was so excited to take my camera to the park--here's a few of my shots from our perfect playdate this afternoon!

Under the bridge downtown

Whee!!

Our little buddy loves swinging as much as Little Sister does!

The Boy and his school pals

Bubbles!
I guarantee, my camera will be getting a lot more on-the-go time now.  There's only so much I can do with my iphone!


Thursday, March 8, 2012

Model Toddler


I do not know how professional photographers do it. I mean, I see their websites, with these beautiful, natural, happy-looking toddlers making eye contact with the camera. We've even sprung for a few sessions, and I'm lucky enough to have a few photographer friends who have captured my kids on film in exchange for some of my handiwork, and when I watch them at their work, they make it seem so effortless! I observe their subtle tricks they use to get the kids to act natural in front of the camera, but I just can't seem to pick up on those skills with my own kids. Most of the time, when I pull out the camera, they make faces, tell me to put it away, run off--some things that professional photographers seem to be able to turn into magic moments, but in my hands end up in the trash file.

However, sometimes I have no choice but to bite the bullet and stage a photo session with the kids. Like today. I have been busting my butt to get a huge batch of spring headbands, including several new designs and color combos, out to the stores that I sell in. I also have a goal of revamping my sad, sad etsy store. So I dragged my white sheet out to the front porch, laid out the various headbands Little Sister would need to model, and got down to business.

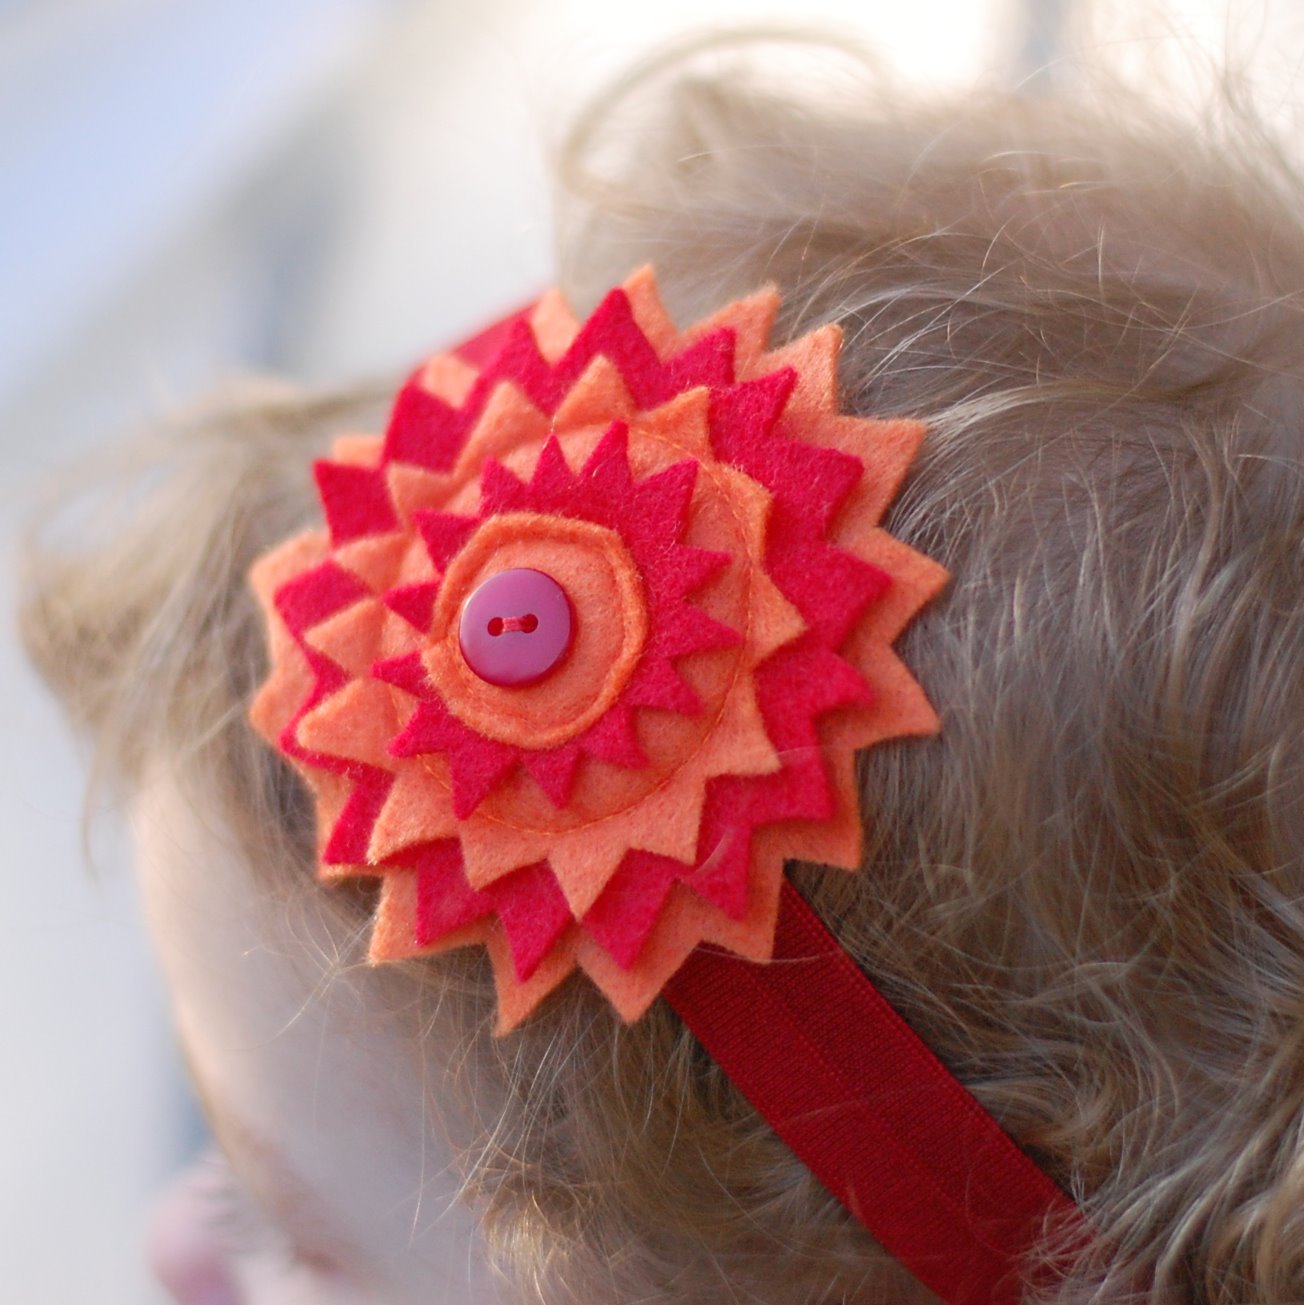
Dahlia in orange and red
Of course, she was interested in sitting in front of the sheet for about five minutes.

Pansy in orange, shocking pink, and magenta
I did manage a few shots that seem to work (show off the headband without too many distractions), but I keep getting distracted by also wanting to have the best photo of my kid.

Double notched feather in white, marigold, and orange
Also, I just don't have the equipment or know-how to capture the quick-moving toddler in the quick-changing light that is a Portland February afternoon consistently.

Double notched feather in turquoise, grass green, and royal blue

She really was a trooper though--she let me keep on switching out the headbands and chasing her around, she got distracted by kitties and birds long enough for me to get pictures of her NOT moving, she never cried, etc.
Posy in mustard and ivory with olive green leaf
However, while she was making me chase her in circles around our miniscule patch of front grass, I found (with my FOOT, since I was 100% focused on staring down the barrel of that camera) a huge pile of someone else's dog's droppings. And that dog was not well. It was foul, friends. There was slippage. I will not show you a picture. Thankfully, I don't know how, but Little Sister never landed in it, and that girl was all over the place! That was how I knew it was time for the photo shoot to be over.

But I will tell you that for the rest of the afternoon, Little Sister was repeating, "Soopa yucky. Ousside." That's right, my girl.

Peony in dark purple with ivory, baby pink with white,
Magenta with ivory, and magenta with baby pink.

All pictured designs available on my website, www.sewbabycrafts.com.

Need Portland-area photographer recommendations?  I know some great ones!  Just ask!
Posted by Picasa

Monday, February 6, 2012

Canvas Wall Art!

This post should be sponsored by Pinterest, because this single project is an amalgamation of FOUR (wait, actually FIVE) ideas that I had pinned there.


Pin #1: Since redoing Little Sister's bedroom, we've had some extra wall space. So when I saw this link to the New York Public Library Digital Image Gallery (free!), I went through and found these cool iris botanical prints. I wasn't sure how I was going to display them, but I thought they'd look neat on her wall.

Pin #2: Then I found a 3-pack of 8x10 canvases at Ross for $4.99, so I thought this would be a good opportunity to try this process of printing on tissue paper and using mod podge to apply the image to a canvas, allowing the canvas texture to show through the image.

Note:  8x10 is pretty small, but it's nice because you can
 print your image on one sheet of computer paper.

Pin #3: I wasn't going to BUY mod podge though, so I used the stuff I made according to this recipe.

I followed the tutorial listed in Pin #2 exactly, I was so good. And it worked, but...

When I printed on the tissue, my printer got a few of these black gunky spots on my image.


And this faint black stripe across the top.

I thought maybe there was just some gunk in my printer, so I tried printing on normal computer paper, to make sure the gunk was all gone, and it didn't show up...


So I did another one on the tissue, but the gunk was back. It wasn't too bad, and mostly along the top so it was an area that was mostly being trimmed off in the end anyway, but kind of a bummer. Probably just my printer, but something to be aware of.

Anyway, smoothing out the tissue is kind of difficult, and mine tore in a couple of spots the first time around, so luckily I had my first trial tissue printout, so I used little pieces of that to patch the hole.


My next try went better--my advice is to use a VERY thin layer of the mod podge, because the wetter the tissue gets the more easily it tears.

But all in all, a quick and easy project--and I really like the way the canvas texture shows through, especially on this antique-looking botanical print.


Pin #4: To hang these on the wall, I tried this technique, which works well as long as you can get the pop tab off the can with the little internal ring intact. The link above has a link to a method for getting the ring off every time, I guess.  To be honest, I don't even have this pinned--I remember seeing it on Pinterest, but couldn't find it there, so found the source directly, but for some reason it won't let me pin from that site?  I don't know.  Anyway, luckily we had pop tabs in the house from Liam's birthday party last weekend--normally we don't drink soda so the timing was right!


Here they are hanging on the wall above the changing table. Little Sister couldn't help getting in the picture.

Surveying her domain

And here they are straight on.

Well, as straight as I could get them with my lazy picture hanging.

Pin #5: I had an extra canvas, so I tried this cool free printable I had pinned. I think it turned out good, but I do think the technique looks better with more "antique" types of images (to hide the imperfections better). This image is so clean it doesn't leave a lot of room for error.


Life is a beautiful ride.
Close-up

Bonus Pin #6: Since we were having a pinterest kind of day, we went ahead and made these celery stamp pictures as well.


Little Sister's masterpiece

And then I made this crock pot shredded chicken with beans and salsa for dinner, also from Pinterest. How did I ever decide what to do with myself before Pinterest?  If you're not on there yet (and want to be), let me know--I'll email you an invite!
Posted by Picasa

Wednesday, January 25, 2012

Challenges of reusing framed art

I found another frame/mat setup that I loved at Marshalls or some such place. The mat color was so perfect for a photo I had of our family at the beach, and I loved the detail around the inside. So I took it apart to reuse the frame and mat, just like I did over here at this tutorial post. But man, I think those art framers are on to me! This has gotten so much more difficult than it used to be when I started doing this 6-7 years ago.

You WILL leave this art in this frame.
I had the same kinds of challenges on this reframing job as I did the last time--hard piece of fiberboard backing nailed into the frame, strong double-stick tape holding the art to the mat, etc.  What, do they think people are just going to leave that stuff in there forever?  Who wants a high-quality mat-and-frame job?

I did pull the wood trim on the inside apart a little at the corner while removing the hummingbird picture, but for the most part using the box cutter delicately did the trick for getting the art out. Don't worry, it stuck right back together and you can't even tell.

The bigger problem was that after I had everything back where it belonged, I couldn't get those teeny little nails that hold the fiberboard in place to push down far enough. They were sticking up just enough that I know my wall would be mangled if I hung the picture that way. So when I tried to work them down further, oops, I broke the frame. Damnit! At least the glass didn't break. But of course we didn't have any superglue in the house that wasn't hard as a rock. As soon as I had some new superglue I was able to fix it so that you can't tell it broke unless you're looking for it. And I had a new solution for my persistent little nails:

My frame has warts!

Sticky felt pads. I found a sheet of these tiny furniture dots leftover in a drawer, so I stuck one to each place where a nail was popping out. I think I had to use a dozen of them or so. Crazy!

But here's the finished product, and I love it. I paid $19.99 for the framed art and $2.39 for the 12 x 18 enlargement, so pretty steep for my house, but I'm so happy with it that it's worth it!


The funny thing is, I even kind of liked the hummingbird art! But I can't resist covering my walls with family photos.