Showing posts with label tutorials. Show all posts

Thursday, February 18, 2016

Shiny Pink Norah Dress

Well, Little Sister has been a very cooperative girl with all of the Project Run and Play themes, some of which are things she would have never picked out on her own (although she did end up loving them anyway!) So when I saw the "All That Glitters" theme, I knew I would make something pink and sparkly that Little Sister would love no matter what.  She has earned it.

I don't normally go in for something so fancy,
but I figured she could wear it for her birthday/Easter dress (a few days apart).
She was so excited when I showed her the fabrics.  Both the satiny, slightly crinkly pink and the fun geometric-ish silver lace (I saw that it was called "giraffe" on the bolt) were in the clearance fabrics at Joanns, with an extra 50% off--you know I can't resist that kind of a deal!  Even the piping was a bargain, from the clearance trims at Fabric Depot--love that place!

Love it with her silver boots!  It was pretty cold out today, hence the tights.

This is the second time I've sewn the Norah Dress from Mouse House Creations--last time was also for a Project Run and Play Challenge--I made a double gauze Norah tunic with sashiko embroidery for the embellishment challenge last year, and it (and the matching one for her brother) are probably some of my favorite pieces to date!

In my mind, I envisioned a super cool mod-style button on the back--something like this rhinestone-covered dome.  But alas, I didn't have a button like that, so you'll just have to squint and use your imagination since I had to use this one instead.

A cool button in its own right, but not what I had in mind.

I figured out a new-to-me technique for the sleeve--maybe this tutorial already exists out there, but I hadn't seen it before and I loved the way it turned out (and it was super simple), so I thought I'd share it!


I wanted to add the silver piping to the sleeve to echo the collar, but the overlay is sheer, so if I just sewed the piping on between the two layers, you would have seen the seam allowance showing through.   Luckily though, my pink satiny layer was the same on both sides, so I had the idea of rolling the sleeve hem OUT instead of in, and attaching the piping there.  I think it looks great!

First, I basted the overlay to the sleeve piece so it was like working with one piece of fabric.  This would work without the overlay, by the way--just as long as the back side of your sleeve fabric looks as nice as the front side.

Then, I pinned the piping to the bottom edge of the sleeve on the WRONG SIDE.

Crappy iphone photos ahoy--impromptu tutorial!
Sew the piping on, with the raw edges together.  Then turn the piping to the right side of the sleeve:


Fold the bottom edge up again so that the piping is at the top of your "cuff."  I used the edge of the piping as a guide for the width of my cuff, but you could make it wider if you wanted.

As you can see, I actually basted my layers together AFTER I sewed the cuff!
Pin the piping in place, then stitch in the ditch (right along the line where the piping meets the cuff fabric) along the length of the bottom of the sleeve.

Pinned and ready to sew!
You can use a piping or zipper foot to sew right up next to the piping, but here's a confession--I was too lazy to trade out my foot so I just plopped my regular sewing foot right down on top of the piping, and it worked fine! Obviously this will depend on how thick your piping is.


That's it!  When I sewed the sleeve together, I did do an extra seam to press the seam allowance down on the inside, since it's a little thick where the piping comes together.

All in all, my finished product came pretty close to my design yet again!  When I showed Little Sister this photo, she said, "Hey, it's got hair like mine!" I was like, um, yeah, I did that on purpose!

She even wanted to wear her silver boots since that's what was in my picture :)
She did request that I leave the pockets out--I had planned to do a couple of welt pockets with the silver piping for trim.  Is she crazy??  Doesn't she know that all the best dresses have pockets? But I wouldn't have had enough piping for the sleeve detail AND the pockets, so it all worked out for the best.

Monday, June 15, 2015

Double Gauze Dotty Skirt

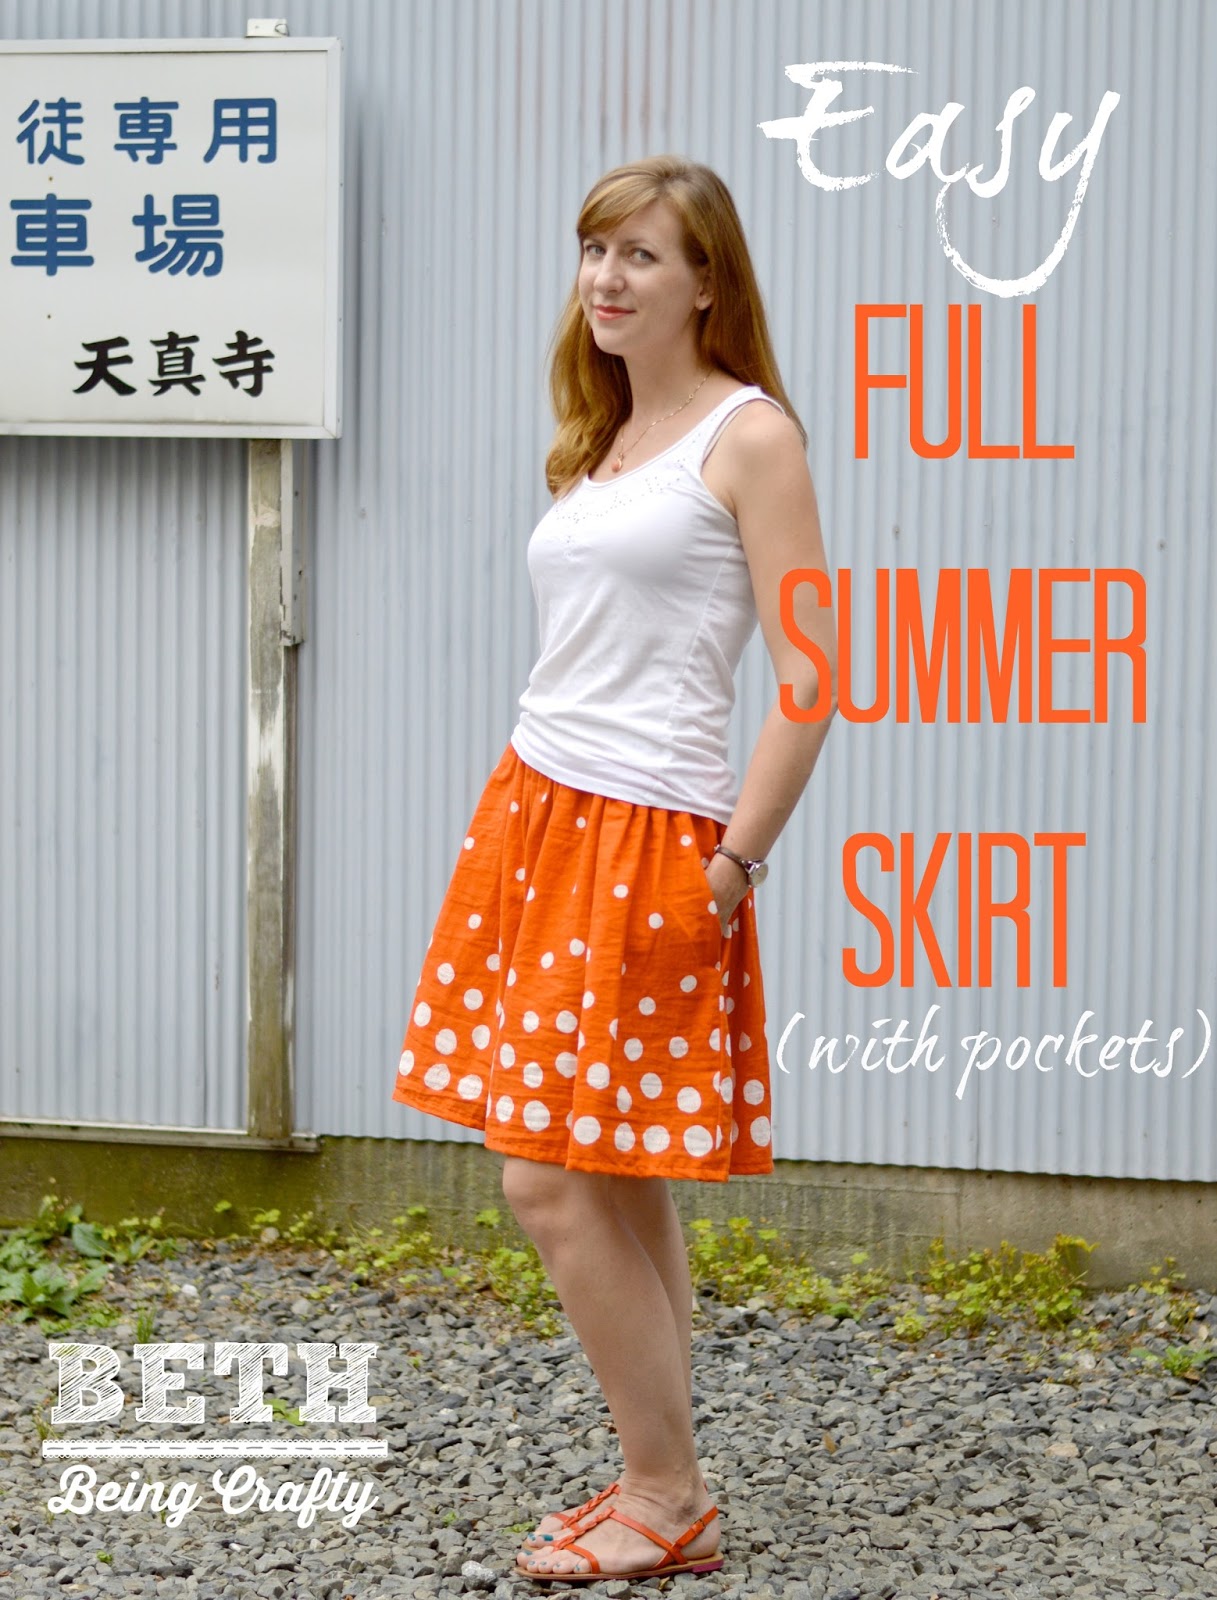
This is one of those easy projects I've been meaning to do for a while, and finally got around to it.  Just in time, too--the weather is perfect for a breezy, comfy, fun, bright skirt!

Let's pretend that sign says "I love your skirt!"

This skirt has an exposed elastic waistband (here's a great tutorial on doing one from Dana of MADE), and the skirt is just a rectangle of some dreamy Japanese double-gauze (with pockets, of course!)


In case you want to make one JUST like mine, I'll give you some details:

1.  I had just over 2 meters of a border-print double gauze (like, 6 cm over), so I cut it lengthwise down the middle to put the print along the hem.  I had a tiny hem, first to use as little fabric as possible but also so I could remember what this fabric was later by keeping the selvage visible ;)

2.  I wanted 2 side seams, rather than one back seam, so that I could add pockets.  So I cut 2 rectangles that were each 103 cm wide (40.5 inches) and 20.5 inches long (since I had that tiny selvage hem--if you're doing a regular hem you will want to add a little length).  Oh, I guess it's relevant to know that my waist measurement is about 31", so the total width of the skirt was just about 2.5 times my waist measurement.  I wanted it to be full, since the double gauze is so soft and floaty!

Or maybe the sign says, "Parking for Awesome Skirts Only."


3.  I cut out four pocket pieces (I used a basic white muslin so I could save the rest of my double gauze) and attached them 2.5 inches down from the top of the skirt.  Here's a perfect free pocket pattern from See Kate Sew if you don't already have one you like!

Boo on my pattern matching!

4.  I sewed my side seams using french seams since double gauze frays quite a bit.  (Here's a french seam tutorial from Tilly and the Buttons.) Did you know you can sew a french seam even when you've added a pocket?  You just go right around it, and make sure to clip the curves when you turn it around to sew the second seam!  However you sew the side seams together, make sure to give it a good pressing before you continue.

5.  If I had a serger here in Japan, I would have serged the raw edges at the top of the skirt before attaching the elastic waist.  I don't, so instead I pressed the raw edges towards the outside of the skirt twice like I was doing a teeny tiny hem, except for turned to the outside of the skirt instead of the inside.  It doesn't really matter which way, but this way it's hidden under the elastic so you don't see it on the inside or the outside.

6.  Next, I gathered the top of the skirt so that it was just slightly bigger than my hip measurement.  I wanted it to easily slip on and off.  Dana from Made ALSO has a nice gathering tutorial if you need it--I admit to using the cheater method whenever I think I can get away with it! I like to gather the front and back separately, just because I get nervous gathering such a large amount all at once!  Once I have it to the width I want, I tie off my gathering threads then make sure the gathers are adjusted evenly.

7.  Time to attach the elastic!  The gathered top of your skirt should be a few inches wider than your elastic.  Now's the time to look at the tutorial from Dana on making the waistband and attaching the elastic!  Hers is an easy and nice-looking method--it's for a circle skirt but this one will work the same way.  But....

8.  Full disclosure--I did attach my elastic differently.  First of all, I started with the skirt inside out (with the gathers visible, laying on top of the elastic) so that I could make sure I had my gathers laying flat on the inside.  I did a wide zig-zag grabbing the gathered top of the skirt, about a half inch away from the edge of the elastic.  Second of all, I actually sewed the elastic twice.  After attaching the elastic, I turned the skirt right-side out and sewed the bottom edge of the elastic down with a tiny zig-zag.   Here's how my waistband looks, outside and in:

See the two zig-zag lines of stitching?


9.  Oh, you can see that I also covered the back seam on my elastic waistband with some bias tape.  Just for fun.  And then I don't need to put a tag in to find the back easily :)  If you do this, put it on before attaching the waistband to the skirt!

They had little one-meter packs of traditional Japanese print bias tape at the 100 yen store! I bought lots.


10.  I saved the hemming for last, so I could adjust the length if necessary.  I was using a border print, which gave me less leeway than usual on how much I can hem it, so I tried to be accurate with my cutting and it turned out right on.  I am 5'7", and depending on where I place the skirt on my waist it's just above knee or knee length.

With the elastic sitting below my belly-button.
I tried it at my natural waist but it just wasn't as flattering.

11.  I tried to find an online source for this fabric, but alas, I haven't had any luck.  This was a remnant I bought at Tomato, the awesome fabric store in Nippori, so just to rub it in I'll tell you that I paid 600 yen (less than $5) for 2 meters of it.

And now, I just want to wear this skirt all summer!  Or maybe I'll make a few more--I have been addicted to buying double gauze and this would be the perfect thing to make out of it :)

Oh, and one more thing...

Hey guys...guess what?  This skirt just won an award!

Yes, that IS how I really feel about it!
And from the skirtmaster herself, Audrey from Skirt Fixation!  This is so cool and unexpected.


I was awarded the Best Woven Skirt in her 2015 Spring Skirt awards.  Believe me, you have got to check out the winners in the other categories--so many great skirts!  I'm excited to check them out.


Sunday, May 24, 2015

Sleeveless Washi Dress with simple mods

I made another Washi Dress from Made by Rae's great pattern!  When I posted it on instagram for Me Made May, I got a few comments about the proportions so I thought I'd share the modifications I made to the pattern to get this shape.


The original Washi pattern has an empire waistline.  I like it sometimes, but depending on the fabric that I'm using that cut can have a maternity look on me, especially since I have a long torso.  So the main modification I made to the pattern was to add a little length to the bottom of the front bodice.  I also tinkered with the neckline a bit, which I will show you below.


By extending the bodice just a little bit, the seam hits in a very flattering place--just above my natural waistline.  At the fold, your bodice should be 1.5" longer than the pattern.  Since the pattern curves a bit, the outer edge (side seam) of the bodice will be 1.25" longer than the pattern--just follow the curve of the original pattern.  What I actually did was cut a size small, but with a size XL length, which adds the amount of length above.

Forgot to get any pictures of the back though!
You have to remember to add those inches to the back panel of the dress as well, and move your shirring on the back down slightly.  I started my shirring about 1/2 inch lower than in the original pattern, and added one extra line of shirring at the bottom so that the shirring ends at the same spot as the bodice seam in front.

You don't have to adjust the bust darts--it really is just a simple matter of adding that little bit of length to the bodice.  The shirring in the back gives it a lovely fit.  If you go much longer than I did though, the torso portion of the bodice will start to pull and wrinkle.  I tried with a less forgiving fabric--I got a wrinkled bodice whenever I sat down.  If you want an even lower waistline you will probably have to make additional adjustments to the pattern.


This particular fabric that I used is slightly crinkly, so it has a little bit of stretch.  I usually make a medium in the Washi dress, using the same bodice adjustments described above, but this time I made a small to allow for the stretch.  I find it really comfortable and flattering--if you can find a woven with a bit of stretch, it works well to size down for a more fitted look!

A closer look at the fabric--another one of my 100-yen-per meter finds in Tokyo,
meaning this dress cost me about $2 to make.

For the neckline on this dress, I used the pattern neckline as a guide but cut it a bit lower and wider.  The depth of my neckline went right to the line of the signature "U" cutout in the Washi neckline, and then I curved it out beyond the pattern neckline but made sure the shoulder straps stayed the same width.  Here's a picture of how my adjusted neckline (the blue line) looks compared to the original pattern:


There you have it!  Hopefully these adjustments will give you some more options with the Washi!

Monday, May 18, 2015

Random Never-blogged gifts

Looking through photos I found several little projects that I gave as gifts but never blogged about.  Thought you might be interested in seeing them!  I'll have to do another post like this soon--I just tucked some very special baby gifts in the mail so I'll tell you about those once they have been received!

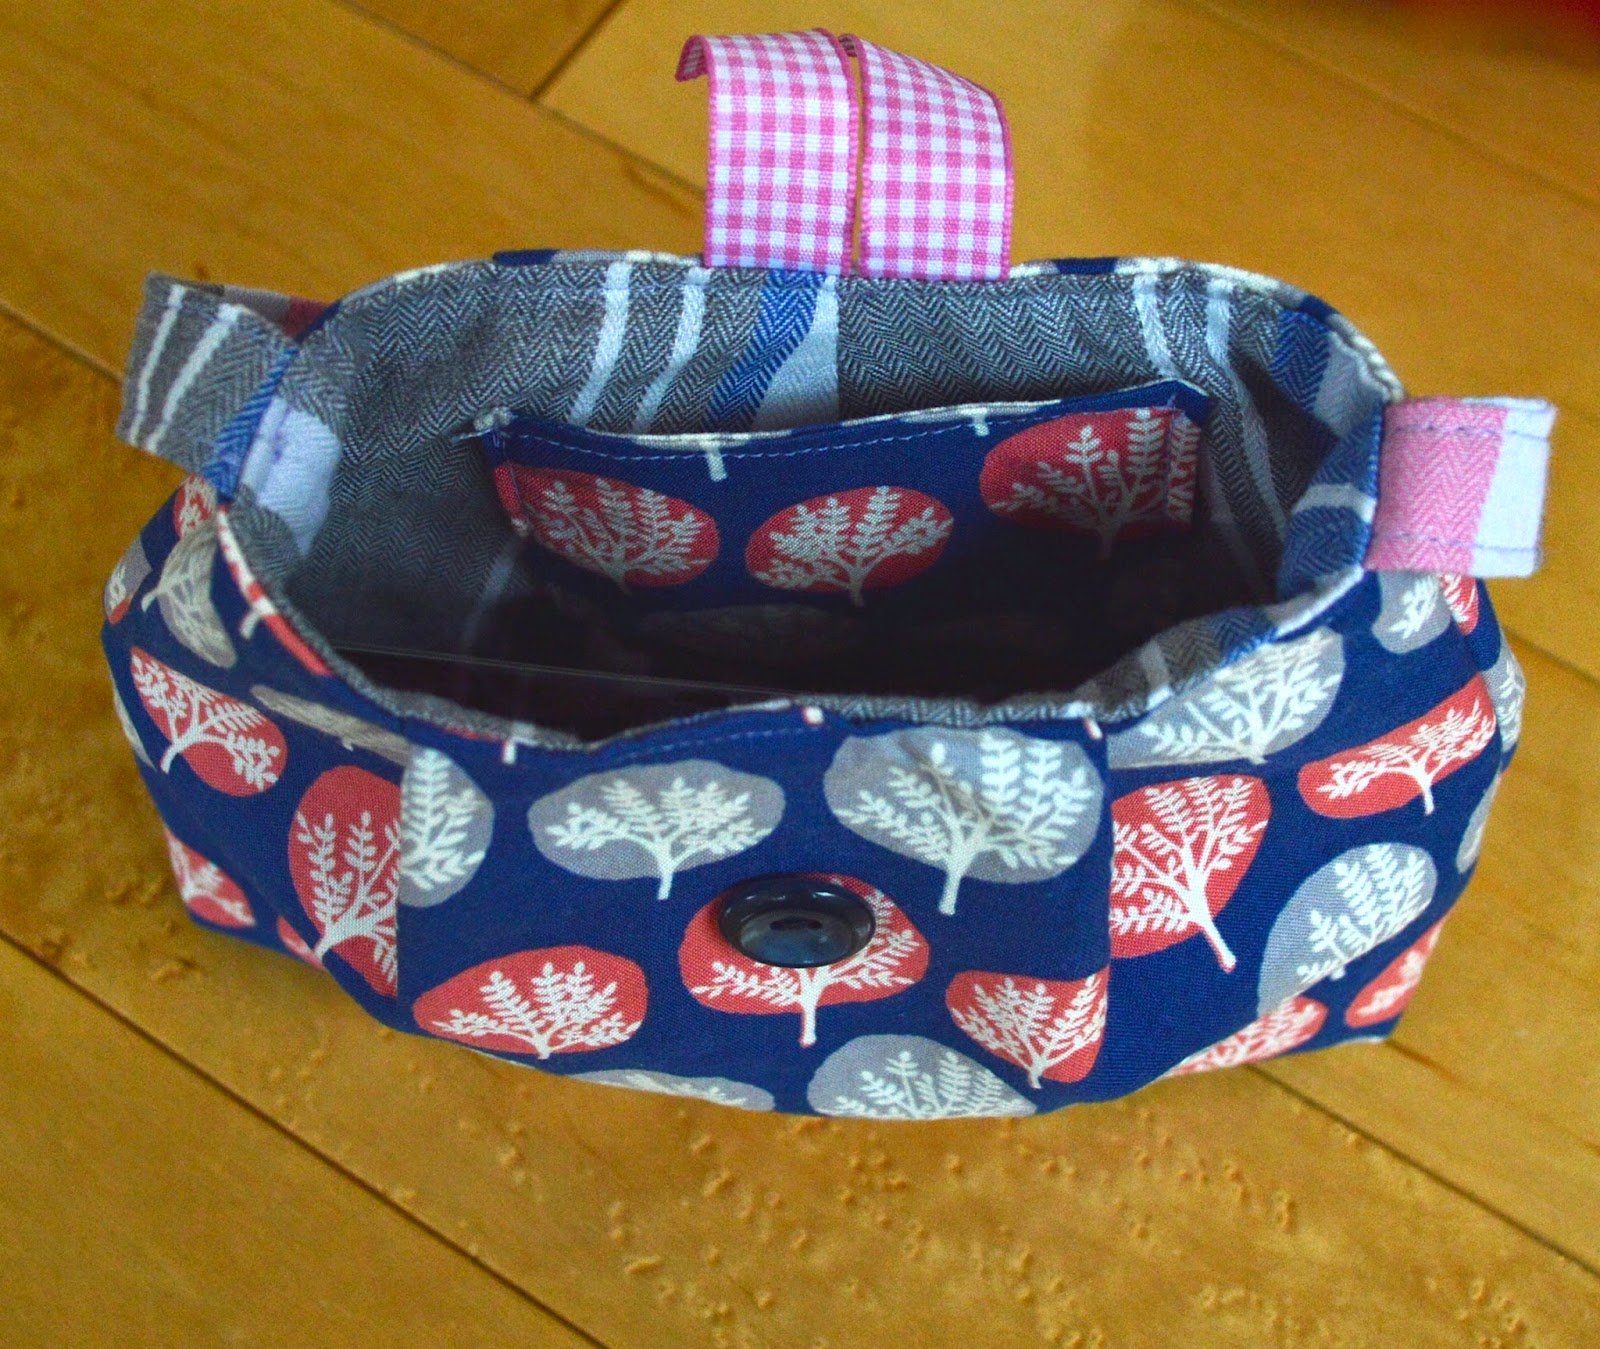
1.  This cute little purse, made from the free tutorial from Seven Layer Studio for one of Little Sister's friends:


2.  A Totoro stuffie, for our little friend's first birthday (along with a bib/apron that I didn't manage to photograph).  I used this free pattern, but using the stretchy knit I had on hand made him pretty lumpy.  I recommend using something more like the felt in the tutorial!


Oh, and I don't think I ever blogged about the pajamas they have on in those photos either--bonus!

3.  I made 10 of these reversible fat quarter aprons as a custom order for a friend who used them as favors for her daughter's cooking theme birthday party--fun idea!

Little Sister was not happy about modeling this, so her grumpy face is cropped out ;P

4.  I made this purse with leather trim to donate to a school fundraiser.  First time sewing with leather, and it was pretty easy!

Adapted from the free Phoebe bag pattern


5.  Mother/daughter birthday outfits--my friend and her daughter have birthdays two days apart, so how could I resist?


The top is the Fun Summer Tee from iCandy Handmade, except that I added a woven insert for the shoulders.   The printed fabric is a Nani Iro double gauze--sooooo nice!  The stripe is a 100 yen per meter find.

And the dress is this free Caravan Dress patter from Dotta.  Since I used the same woven for this skirt, I cut the back pattern piece in half instead of having the same fabric top and bottom.


I thought it would look cute to have this little inverted pleat in the back instead of a gather.


Update--I finally got a photo of these lovely ladies wearing the outfits I sent!  How cute are they?


6.  A skirt from the fabric that my friend picked out when she visited in November--I finally got it made in April!  I'm terrible!  It's a Milkmaid Skirt, from this free Crafterhours tutorial.


It works better as a spring skirt anyway, right?  She wouldn't have been wearing it in the winter...


7.  The scarf I included with my friend's skirt as an apology for taking so long on her skirt ;)  Dimensions from this Imagine Gnats Circle Scarf Tutorial.


8.  Oh wow--this one is old!  I made this dog sweater out of a thrifted sweater sleeve as a joke for my parents' dog after my dad sent me a link to a similar idea.


Modeled by Maddie Dog:


Tuesday, February 3, 2015

Split-Yoke Ruby Top!

I made another Ruby Top that I adapted from Made By Rae's great pattern!  I used this fantastic Nani Iro Fuccra Rakuen double gauze (the same stuff I used on Little Sister's bubble dress), and added long sleeves so I could wear it right now.


I also linked this up to this week's Sew and Show over at Straight Grain ( --if you didn't already come from there, click that link and then click back to me (I'm #13)--the post with the most click-throughs wins!

This is the fourth version of the Ruby Top that I have made, including one straightforward sleeveless one, a sleeveless dress version with a lined bodice, and another long-sleeved double-gauze top.  I love the comfort of the Ruby, but I feel like a lower neckline is more flattering on me.  When I made the other long-sleeved top, I just cut a deeper scoop for the neck, and I really liked it.  But this time I wanted to try something different.

Did I mention it has pockets?

I kind of feel like a crazy person in this outfit, but in a good way.  So colorful!

It was really simple to open up the neckline by adding a split yoke.  I tacked my flaps down so that it would stay open, but that's entirely optional.  Here's how I did it, and kept a nice finish on the inside too!  And by the way, this would work on any top that has a yoke, although if you are using a knit you would probably want to add some sort of stabilizer.

I started out by cutting out my pieces according to Rae's video tutorial about making a lined yoke for the Ruby.  Pretty much, these are the directions you are going to follow with a slight adjustment for the split yoke.

-You will cut out 4 yoke pieces instead of 2--a front and a back from your outer fabric, and a front and a back from your lining.  One extra step--press the front pieces (outer and lining) in half so you have a nice crisp fold line right in the middle.  OH, and I almost forgot to tell you (because I actually forgot to do it)--it's a good time to press the bottom 3/8ths of an inch of the lining up, to make it easier to sew the lining down later.

-Just like in the tutorial, you will sew your outer pieces together at the shoulder then do the same for your lining pieces.  Then you will lay them out, right sides together, and prepare to sew them together around the neck opening.

-Here's where it's a little different--instead of sewing all the way around the neck, you are going to make a slit right in the center of the front piece, where you made that fold with your iron.

There's about an inch between the bottom of the stitch line and the bottom of the yoke.

I just sewed right next to the fold down one side and up the other.  Make sure to leave at least an inch to the bottom of your yoke so you have enough fabric to fold under to have a nice clean lining.

When you are cutting into the curves of the neckline, go ahead and cut right down the fold in the front center as well.  When you get about 1/2 inch from the bottom, cut two little angles towards the corners of your seam so that it will lay nicely when you turn it the right way.

Little snips at the bottom of the split yoke

Now, I added sleeves to mine, so I didn't finish the armholes at this point, but if you are making a sleeveless top you can follow Rae's tutorial on the lovely finished armholes that I linked to above.  If you are adding sleeves, this is when you would turn the yoke right side out and press it.

You can leave it like this, and it will flop open...

Or you can press and tack the flaps down, which is what I did.
Once everything is nicely pressed on the outside, you can attach the body of the top.  Then press the raw edges up under the bodice.  If you didn't press the bottom edge of the lining under earlier, do it now--that's what I had to do.


Then pull the bottom edge of the lining over the raw edges of your gathers, and hand-sew across the seam.  Such a nice finish on the inside!


I originally intended to make this more of a tunic length, so I put pockets into the side seams.  But when I put it on, it looked really unflattering, so I shortened it quite a bit.

Yay for pockets!
To keep the pockets from hanging out the bottom of the new shorter length (which is still a few inches longer than the pattern for the Ruby Top), I tucked my pockets inside my wide hem, then didn't hem across where the pockets were.  Don't know if that makes sense; maybe this picture will help?


I just hand-stitched the hem to the back part of the pockets so that I didn't sew the pockets closed.  Worked out well!

Here's how the back turned out:


And this was my test shot--it was cooooold out so I didn't want to lose the layers until I had to!  But I wanted to show you how this awesome jacket I got for Christmas makes every outfit look way cooler.

I love my jacket!
Now you're ready to go out on the town with Lady Gaga!

At the Tokyo Madame Tussaud's--we were visiting Legoland next door ;)
I do have a question though--I need a recommendation for a slimmish long sleeve pattern for wovens.  I have used the washi long-sleeve pattern, and it's wider than what I want, but I haven't been able to modify it to my liking.  I tried a different long sleeve from a Simplicity pattern I've never used before, but it came out way too small--you can probably see the wrinkling in the sleeves above, and this is after I'd altered it as much as I could!  I didn't have enough of the fabric to cut all new sleeves.  So anyway, if anyone out there has a woven long sleeve pattern to recommend, let me know!