

I love t-shirt dresses for little girls. So comfy, a little more fun than a t-shirt, and a perfect use for my own shirts that just don't fit or get worn anymore. I wish I could wear t-shirt dresses and leggings every day; I can't, therefore my daughter does.
A word to the wise though--if your t-shirt stash, like mine, is made up of cheapo shirts from Old Navy and Target, chances are the seams will be wonky and it will not lay flat. This is the price you pay for buying cheap stuff, I guess--I assume that more expensive t-shirts do not have this problem but I wouldn't know from experience. The good news is, since you'll be cutting the shirt up, you can alleviate most of the wonkiness with how you cut your pieces, if you're aware of the problem.
I started by folding my shirt in half side-to-side (so the side seams and armholes were lined up in the middle) and laid a bodice template along the fold. You can also use a well-fitting t-shirt as your template.

I cut out the front piece of the shirt only along the line of the template...

Then cut out the other side based on the line I had cut out using the template. Then I unfolded the shirt so I had the front of the bodice cut out, like this:

Then cut out the other side based on the line I had cut out using the template. Then I unfolded the shirt so I had the front of the bodice cut out, like this:
 |
| Note: I left the original hem intact, tapering slightly up towards the bodice. |
I then cut out the back piece of the bodice to match the front (leaving some extra height on the neckline at the back so you have room to fold it over and sew a seam down--see below). Hindsight: since I'm not using a serger, and therefore I don't have stretch around my armholes, I would have cut the armholes slightly bigger than a typical t-shirt fit. Not an issue with the neckline because I was using the front existing neckline, and I used elastic thread to sew the back of the neckline, so the head opening was stretchy.
For the neckline on the back piece of the bodice, I just rolled the fabric over so that I could sew it down. Another hindsight--I should have cut that with some extra seam allowance, because if it had been wider, a. it would have matched the neckline in the front better, and b. it would have been easier to sew without pulling the fabric and tearing it a little bit, making it necessary for me to shorten the shoulder straps and have a pretty tiny head-hole when all was said and done. Ahem. So, roll the fabric over (wider than what's shown above), and then use elastic thread in your bobbin (so the RIGHT SIDE of your dress will be facing up when you sew this in your machine) to sew the neckline down.
Side note--if you have not used elastic thread before, IT'S WONDERFUL. I also used it to create the waistband on this dress. You should check out this tutorial from Flossie Teacakes on how to use it before going any further, though.
 |
| Roll yours over bigger than this! |
Side note--if you have not used elastic thread before, IT'S WONDERFUL. I also used it to create the waistband on this dress. You should check out this tutorial from Flossie Teacakes on how to use it before going any further, though.
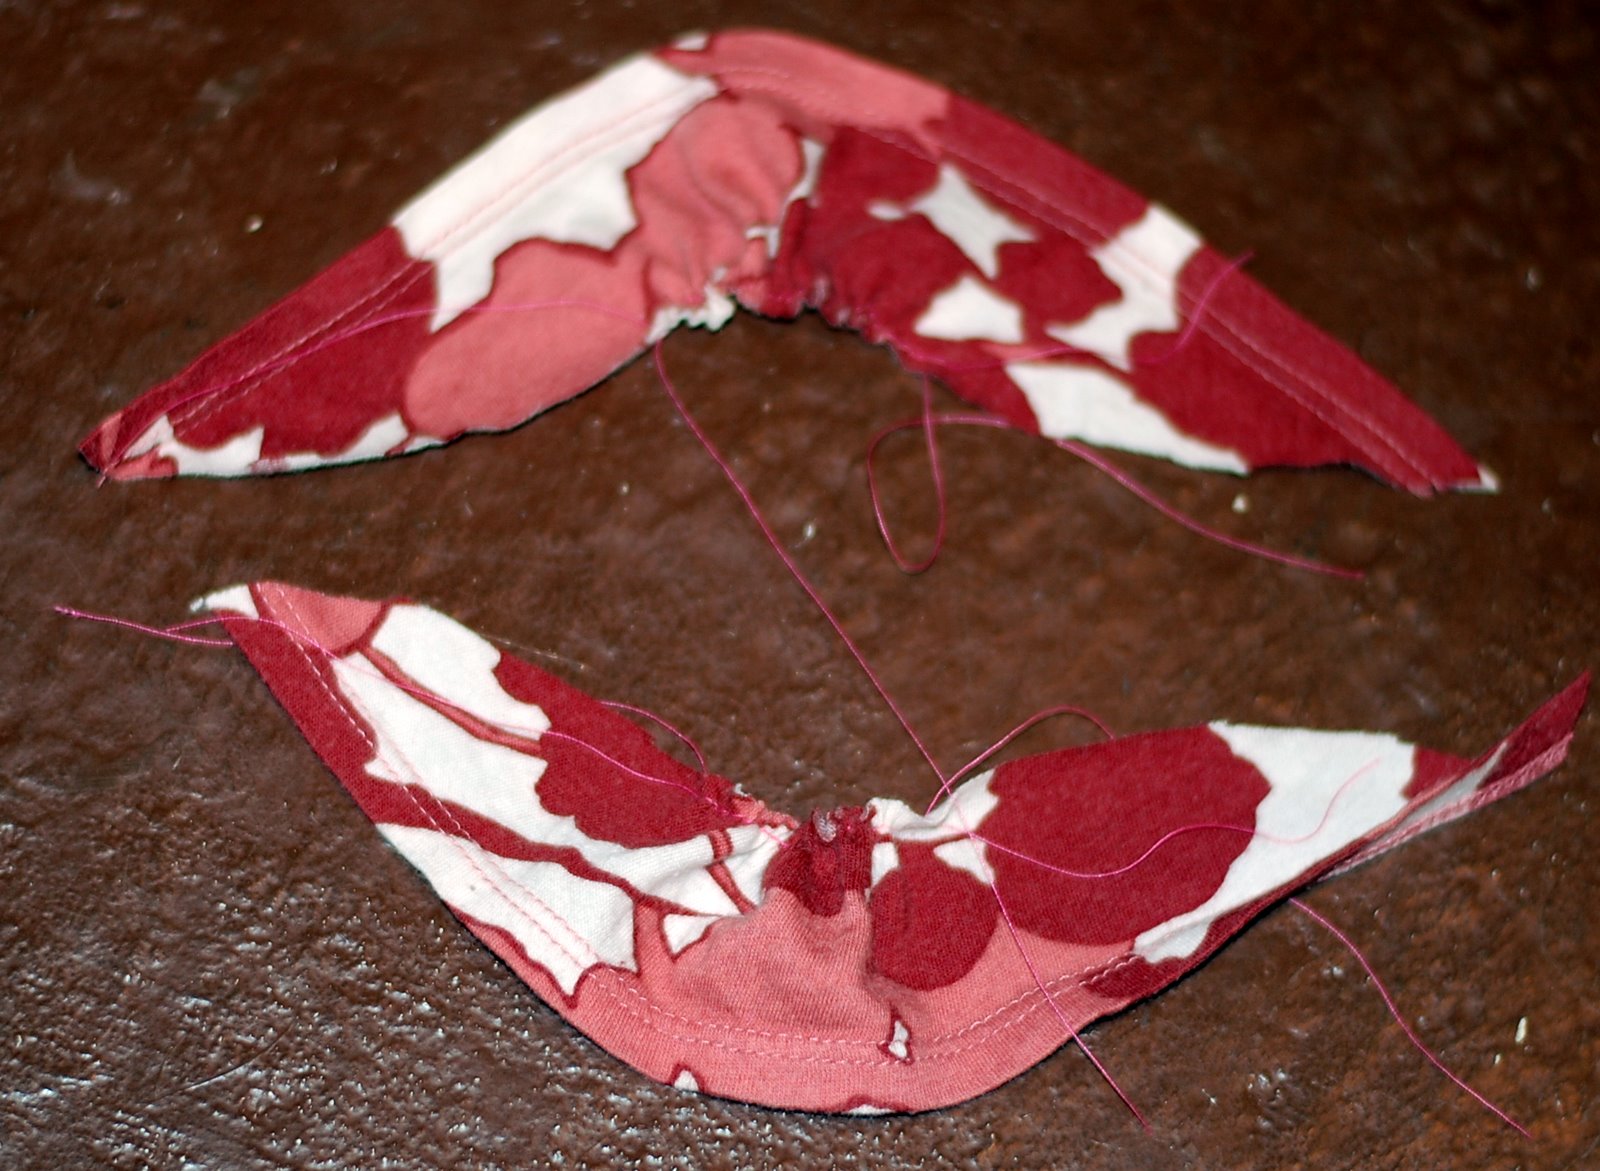
 |
| See the tear on the left side of the photo? That's where my thread got all tangled up. Boo. |
I then added a second seam with elastic thread about 1/4 inch from the first one to give it a little gather (the second seam FURTHER AWAY from the edge of the shirt than the first one--not shown).
Then, with fabric wrong-side-out, I pinned the front and back together at the shoulders, and sewed them down. I had to leave a bigger seam allowance than I wanted to because of that tear shown above.

I left the original hem at the bottom of the shirt intact, then just tapered up to the bodice. So when sewing the sides closed, I just made sure to make a smooth line to the part that was already sewn shut.

I cut the cap sleeves out of the original t-shirt sleeves, using their hem as the bottom edge of my sleeve, saving me the step of sewing a hem there. I made sure that the curved edge would reach all the way around my armhole opening once I had gathered them, so that there would be a finished sewn edge all the way around the armhole. Actually, the curved edge of the sleeve is even bigger than the armhole because I overlapped the sleeve edges (where it comes to a point) at the bottom of the armhole. The more gathering you want, the longer you should cut your sleeve.

Once cut, I gathered them in the center by setting my tension higher than normal and using a long stitch length (and NOT backstitching). Leaving the threads long, I pulled gently on the bobbin threads to create the amount of gather that I wanted.
Once the sleeves were gathered, I folded them in half, right side out, and starting with the gathered area, pinned them to the inside of the armholes of the shirt. I overlapped the points at the ends of the sleeve at the bottom of the armhole. That way there would be no unfinished edges.

Once the sleeves were attached, I turned the dress inside out and figured out where I wanted the gathered waistline. I eyeballed a spot, then measured it and pinned a line all the way around the dress so I would keep the waistband even as I sewed with the elastic thread. Mine was about 9 inches up from the hem of the dress. This part of the dress was a technique I learned from this Prudent Baby post.

Once the sleeves were attached, I turned the dress inside out and figured out where I wanted the gathered waistline. I eyeballed a spot, then measured it and pinned a line all the way around the dress so I would keep the waistband even as I sewed with the elastic thread. Mine was about 9 inches up from the hem of the dress. This part of the dress was a technique I learned from this Prudent Baby post.
 |
| Hard to see, but there are little yellow-headed pins positioned where I wanted the waistband to start. |

And done! Works with t-shirt and pants underneath, and will be a comfy sundress come warmer weather! Also, this is a quick one--made it in one night after kiddos went to bed. Love it. Confession: I dressed her in this same outfit for the two days in a row after finishing the dress.


Wow, that's a nice upcycle! How I wish I do know how to sew :)
ReplyDelete