
It's Birthday Season for us, with three little boy birthdays, two big boy (aka grown men) birthdays, and one grandma birthday, all happening in the span of a month. And right on the heels of Christmas, too!
My first birthday gift of the season is this children's apron. I followed this Michael Miller Fabrics tutorial (directions for child or adult size), but I made the pocket differently. The rest, I promise, I just followed the directions and it was very simple. I really like the use of D-rings in the neck strap--adjustable is so important for kids stuff, since it extends its useful life! I think it turned out great, and I'm going to make another one when my little lady's birthday rolls around.
 |
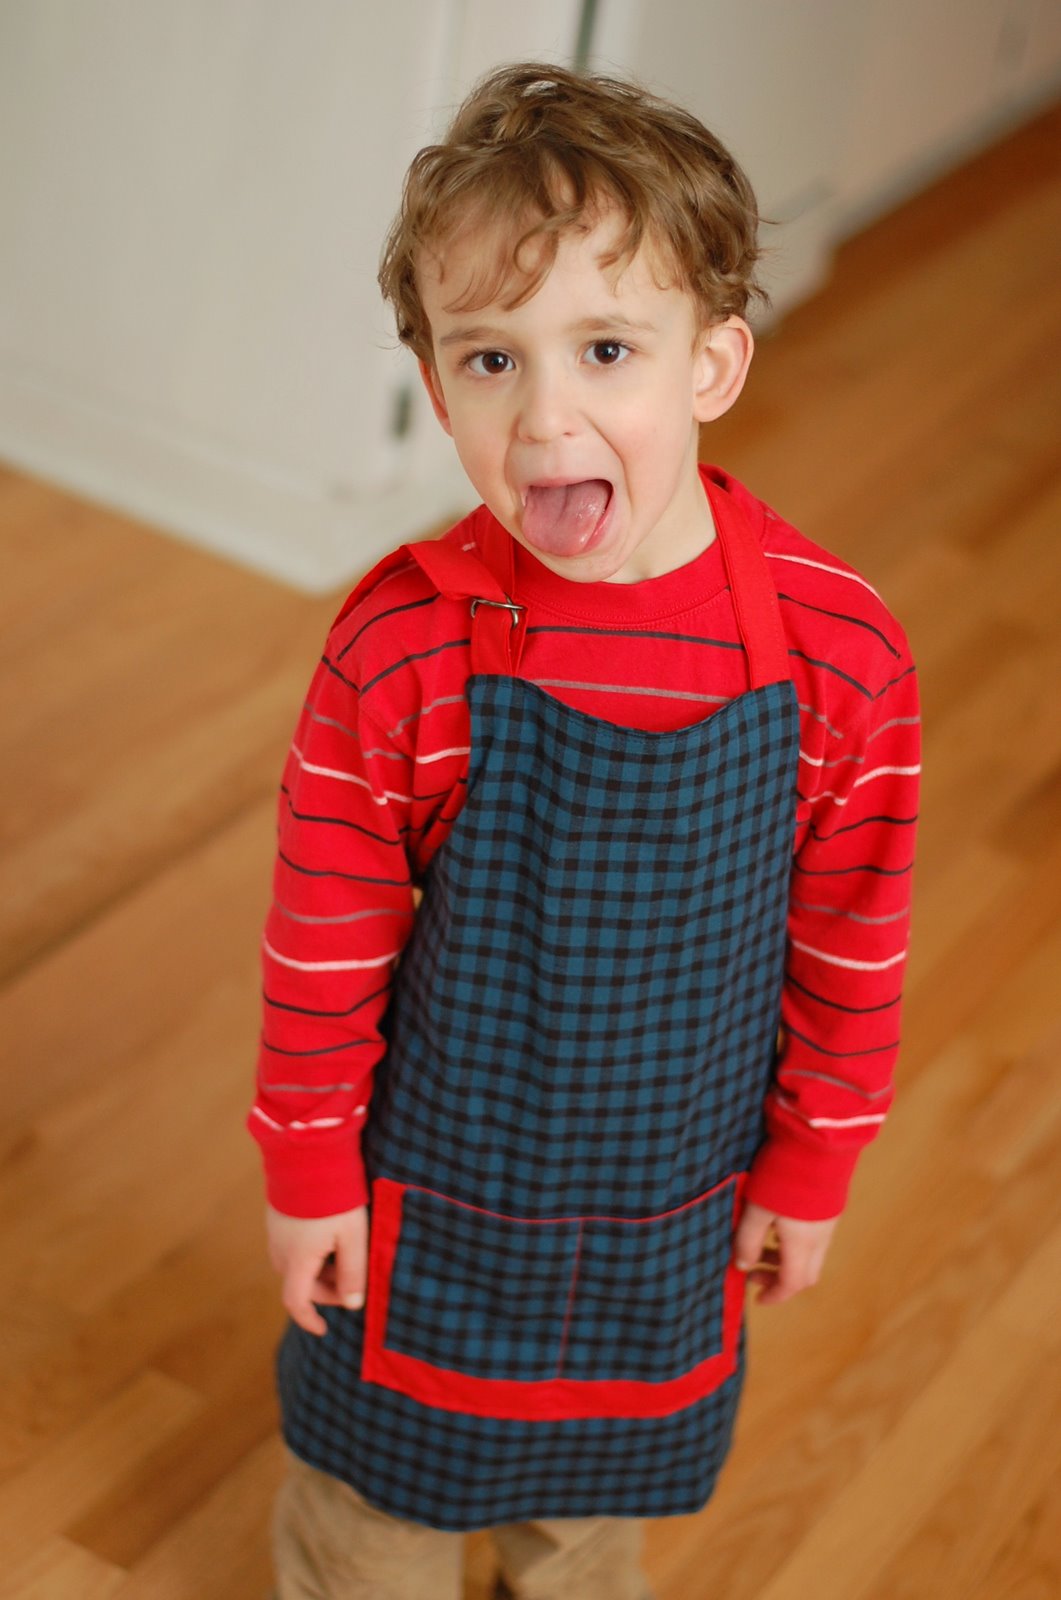
| Masculine apron |
Oh, except I didn't make a paper pattern first like the directions tell you to. Really, you need a paper pattern to cut an arc out of a rectangle of fabric? Please.
 |
| Front and back panels, cut to 23' high and 20" wide, laid one on top of the other and folded in half lengthwise |


Then made a lovely curved cut between them, forming what is widely recognized as an apron shape.
 |
| Paper pattern be damned. |
I also cut out my fabric strips for the apron ties and neck strap in what I consider a tricky way, while others may consider it a lazy way. I measure the width of the strip and mark it with a pin, then just cut the length. This shows the three long strips before they are separated.
 |
| Pins at the top and bottom, eyeballing the line to cut. |
I cut out all my fabrics according to the pattern, then ironed them. The pocket pieces are cut and ironed differently than the directions show, which I will explain below. This photo shows everything ready to sew!
 |
| You don't need the corner piece cut out of the body of the apron, I just forgot to remove it before taking the picture. |
I cut out two pieces of fabric for the pocket. The blue piece (matching the body of the apron) is 9" x 5.5", and the red piece (for the pocket front and back) is 12" x 10".

I ironed the two short edges and one of the long ones under on the blue pocket piece. For the red piece, I ironed a crease down the middle, so that it measures 6" by 10" when folded. Then I sewed the blue piece, face down, to the red piece as shown below.


After that, it was back to the directions--pinning all the strap pieces to the front and folding them in so they didn't get sewn into the seams accidentally (I thought that tucking them into the pocket was a stroke of genius), lining up and pinning the back panel all around the edges, then sewing them together, making sure to leave an opening (about 4" wide) for turning.

After turning it right side out, poke the corners out and give it a good ironing. Then sew all around the outside to finish it off, add extra stability to the straps, and close the opening. I debated using red contrast thread, but decided to use the dark blue after all (in case I made any mistakes, it would be hidden much better!)
 |
| All done! |
I did label this as a "quick project," but by that it means I was able to do it in one session--it took about two hours. I don't know what your definition of quick is--but there's mine.
And awww, look! I folded up the rest of our gift inside the apron and used the strings to make a cute little bow! No wrapping paper required!

Ready for cooking, crafting, or dress-up! A fun present for boys or girls.

No comments:
Post a Comment
Note: Only a member of this blog may post a comment.