This week marks the beginning of a fun sewing-for-kids contest known as
Project Run & Play. I've been an observer in the past, and then when the creators added a contest for women's clothing (
Project Sewn), I joined the reader sewalongs, and had a great time posting my looks for the challenges and seeing other sewist's take on the same theme. So when
Project Run & Play got going this time around (you can see my dress linked up at the bottom of that link, by the way), I thought I'd give the sewalong a try! The first week's theme is always doing a new take on a great existing pattern, and this year's pattern remix is the sweet
Oliver + S free pattern The Popover Sundress.
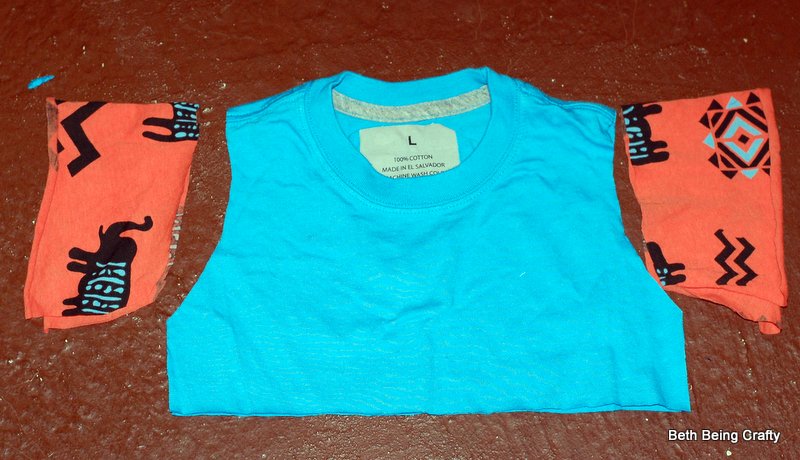
I'd had this pattern pinned for a while since I can't resist a freebie. But when I decided to take on the challenge I struggled. One of the great things about this pattern to me IS it's simplicity, and a lot of the ideas I tossed around for remixing it just felt overworked to me. I thought I might have something to upcycle that would inspire me to change up the pattern, and when I started digging around I found this skirt:
 |
| Pardon the wrinkly linen. |
With this cool embroidered panel detail:
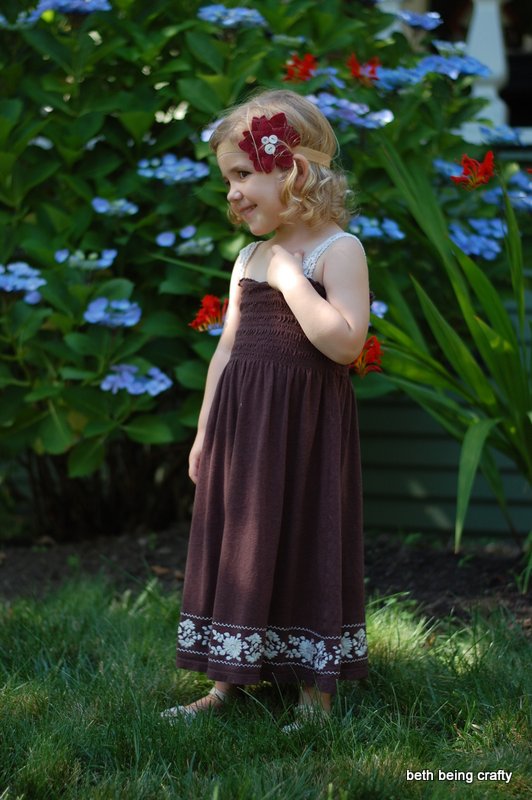
It would totally work perfectly for the Popover Sundress pattern, and give the dress lots of cool details with minimal effort from me. Problem is, I still hadn't hit on an inspiration for how to remix it. Oh well, I just decided to go ahead and make a straightforward Popover out of upcycled materials. And I am so glad I did!
 |
| At some point between when that skirt photo was taken and this photo was taken, this fabric was ironed. I swear. |
I made a size 4 for my 3.5 year old daughter, but I cut out the size 6 length because she wants all of her dresses to be long. And I used the original hem from the skirt so I kept all of that length--nothing folded under for a hem. The size 4 was a little big on her, and while *I* would have liked the way it looked better at knee-length, she loves it this way. I thought it turned out pretty cool--the skirt was cut on the bias, so the dress is cut that way too, and I like the embroidery that only goes halfway around the back.
I had to reeeally squeeze to get enough fabric for the straps, but that worked out fine too. And how could I possibly resist making a matching doll dress with that little pattern they included? So stinking cute.
But, to make a long story even longer, the real reason I'm now writing this post is that in making the first dress, I found my inspiration for a remix! I loved how nicely finished this pattern is on the inside--so much that I thought it would be a perfect pattern to make reversible. My wheels started turning, and I remembered this post that I had seen on
Alida Makes for a bubble sundress. I love the look of bubble dresses, but most have some sort of strange inner workings to create the effect that I can't get my head around. When I read
Alida's tutorial, it seemed so simple! So I adapted her idea slightly to make a reversible bubble version of the Popover sundress.
I am totally in love with the results!
 |
| When can I draw on the chalkboard? |
 |
| Options |
 |
| What's that you say? Look at the camera? But I'm drawing! |
Oh, I guess I might as well show you the back:
 |
| Artsy |
 |
| No piping on the back side--helped with reversibility. |
A few tips on how I adapted the pattern:
-When cutting out my pattern, I mixed sizing a little. My dress pattern was a size 3 width at the top, a size 4 length, but I angled out to a size 6 width at the bottom (so a little extra length for making the bubble, and some extra width for blousiness). For reference, my daughter is 3.5 years old and a smidge on the small side, and I am thrilled with the way the fit came out.
-I cut two dress panels out of fabric A and two out of fabric B. For the bodice panel, I still only cut two like in the original pattern. I used premade bias tape for the straps and added piping under the bodice panels.
-When I started sewing, I referred to the
Alida Makes bubble sundress tutorial for how to assemble my pieces. I made some adaptations here too to make it more reversible--namely I cut a 29" piece of baby elastic to make my bubble (it was just under 3/4ths of the total width of the skirt) and sewed it right to the seam where I joined my two fabrics together (on the wrong side of the fabric where the seam allowances are pressed open)--instead of sewing with elastic thread on the lining panel.
-Then, when I sewed the tops of the two fabrics together, I first pinned the bodice panels into place so they would already be sewn in and nicely finished. You could totally just sew across the tops of the two panels to join them, following the curves for the armholes and everything, and just finish the top of the sundress exactly as the Oliver + S pattern directions say though. In retrospect, that probably would have been the way to go--I ended up with lots of finagling to do with the straps and seam-ripping tiny holes to insert them and whatnot.
-After turning the dress right-side out, I jumped back to the Oliver + S pattern to finish the top. Like I said, I had already inserted my bodice panel, but that ended up being more of a pain than it was worth to have the finished armpits without bias tape--I would say to just follow the directions in the Popover pattern to finish the top, but with one caveat--make sure you use thread that will be disguised on your second fabric when attaching the bodice (rather than matching the bodice fabric).
 |
| This shows the back of the dress--see that tiny black seam about 1/2 inch below the red bodice? Yeah, I didn't think so :) |
-To help both sides look equally finished, I used my zipper foot and added piping to what would be the front of each bodice. I made the front of one fabric be the back of the other when reversed, so that there would always be the nice finished piping look on the front, and the subtle seam just under the join of the bodice to the rest of the dress on the back.
 |
| Piping pinned into place--one "front" is currently on the outside, the other "front" is on the inside. |
 |
| I ended up opening up the seam just under the bodice enough to slip the bias tape inside, but I think it would have looked nicer to just have the bias tape all the way around the armpit. I was distracted by how the reversible dress made for a nice finished armhole. |
I can't wait to head over to this week's challenge page now that the link-up is open--check out my reversible bubble dress as well as loads of other fantastic takes on this sweet sundress on the
Project Run & Play Season 7 Pattern Remix post!
For now this is just a few tips, but I could probably do a more cohesive tutorial on how to make this dress if there is any interest for that. Let me know if you have any questions about the process or if you'd like me to do it a tutorial!