Showing posts with label baby dress. Show all posts

Saturday, July 25, 2015

Double Gauze Desert Rose Dress

I love this new dress I made for Little Sister so much!

I don't have a lot of time left for sewing projects while I'm here in Tokyo (we move back to the US in less than 2 weeks!), but I knew I wanted to get this one done so that she could wear it in this hot, humid summer climate.


This dress is the Desert Rose pattern from Caila Made, and I just loved it from the first time I saw the pattern.  Of course, I am a cheapskate, so I just admired the pattern without buying it.  In this case though, it paid off, because eventually this pattern was featured as a Friday Fiver, and I was able to snap it up for just $5!  However, this was months ago, and although I printed the pattern out right away, it still took me ages to get going on it.


The main fabric for the skirt is a beautiful double gauze by Nani Iro (called Fuccra).  When I lucked into finding a 2-meter cut for less than $10 because of a small print error, I knew it was perfect for my Desert Rose dress.

See that little white stripe?  That was the only error in the whole 2 meter cut!
And I had a lovely lightweight coral batiste that matched perfectly that I could use for the bodice--I wanted the whole thing to be floaty and light and comfortable for the humid heat of a Tokyo summer.

The breeze really does pick it up--it's a good twirler too!
I wanted to make sure the bodice didn't gape, so I made a size 3 bodice based on Little Sister's measurements (her chest measurement matched the size 3 exactly on the chart, even though she's 5 years old) and it fits perfectly.  Since my bodice fabric was so lightweight (semi-sheer, actually, so it's nice that it's lined, and I used the same fabric for the lining), I interfaced the button placket on both sides and it feels secure.


I thought I would be clever on the skirt--I used the angled tunic skirt with a size 3 at the top but a size 8 in length, thinking that would get me to dress length without printing the dress skirt pattern pages, but I wasn't thinking about the fact that the size 3 bodice is shorter than the size 5.  So my dress was shorter than I wanted.   Next time I'll go ahead and assemble the skirt pattern pages to make sure I get the length I want!

However, I was able to cut it perfectly to avoid the print error!
Fortunately, I really like the look of the 4" panel of the bodice fabric at the hem.

How pretty is that Nani Iro fabric!?
 I really liked the way this pattern came together.  It all looks so professional inside!  I used french seams on the skirt since double gauze frays pretty easily, so there are no raw edges on the inside anywhere.  AND no hand-sewing on the bodice lining, since you topstitch the outside of the bodice instead!  I loved that.

Also, this pattern has pockets--I can't believe I forgot to take a picture of them, since pockets are usually my favorite feature.  I guess it speaks to how much I love this dress overall that the pockets are practically an afterthought, although they came in handy yesterday when my daughter had some drawings she wanted to carry around!


Now I've got to see if I can squeak a top for myself out of the remaining meter of that Nani Iro Fuccra double gauze!

Monday, May 18, 2015

Random Never-blogged gifts

Looking through photos I found several little projects that I gave as gifts but never blogged about.  Thought you might be interested in seeing them!  I'll have to do another post like this soon--I just tucked some very special baby gifts in the mail so I'll tell you about those once they have been received!

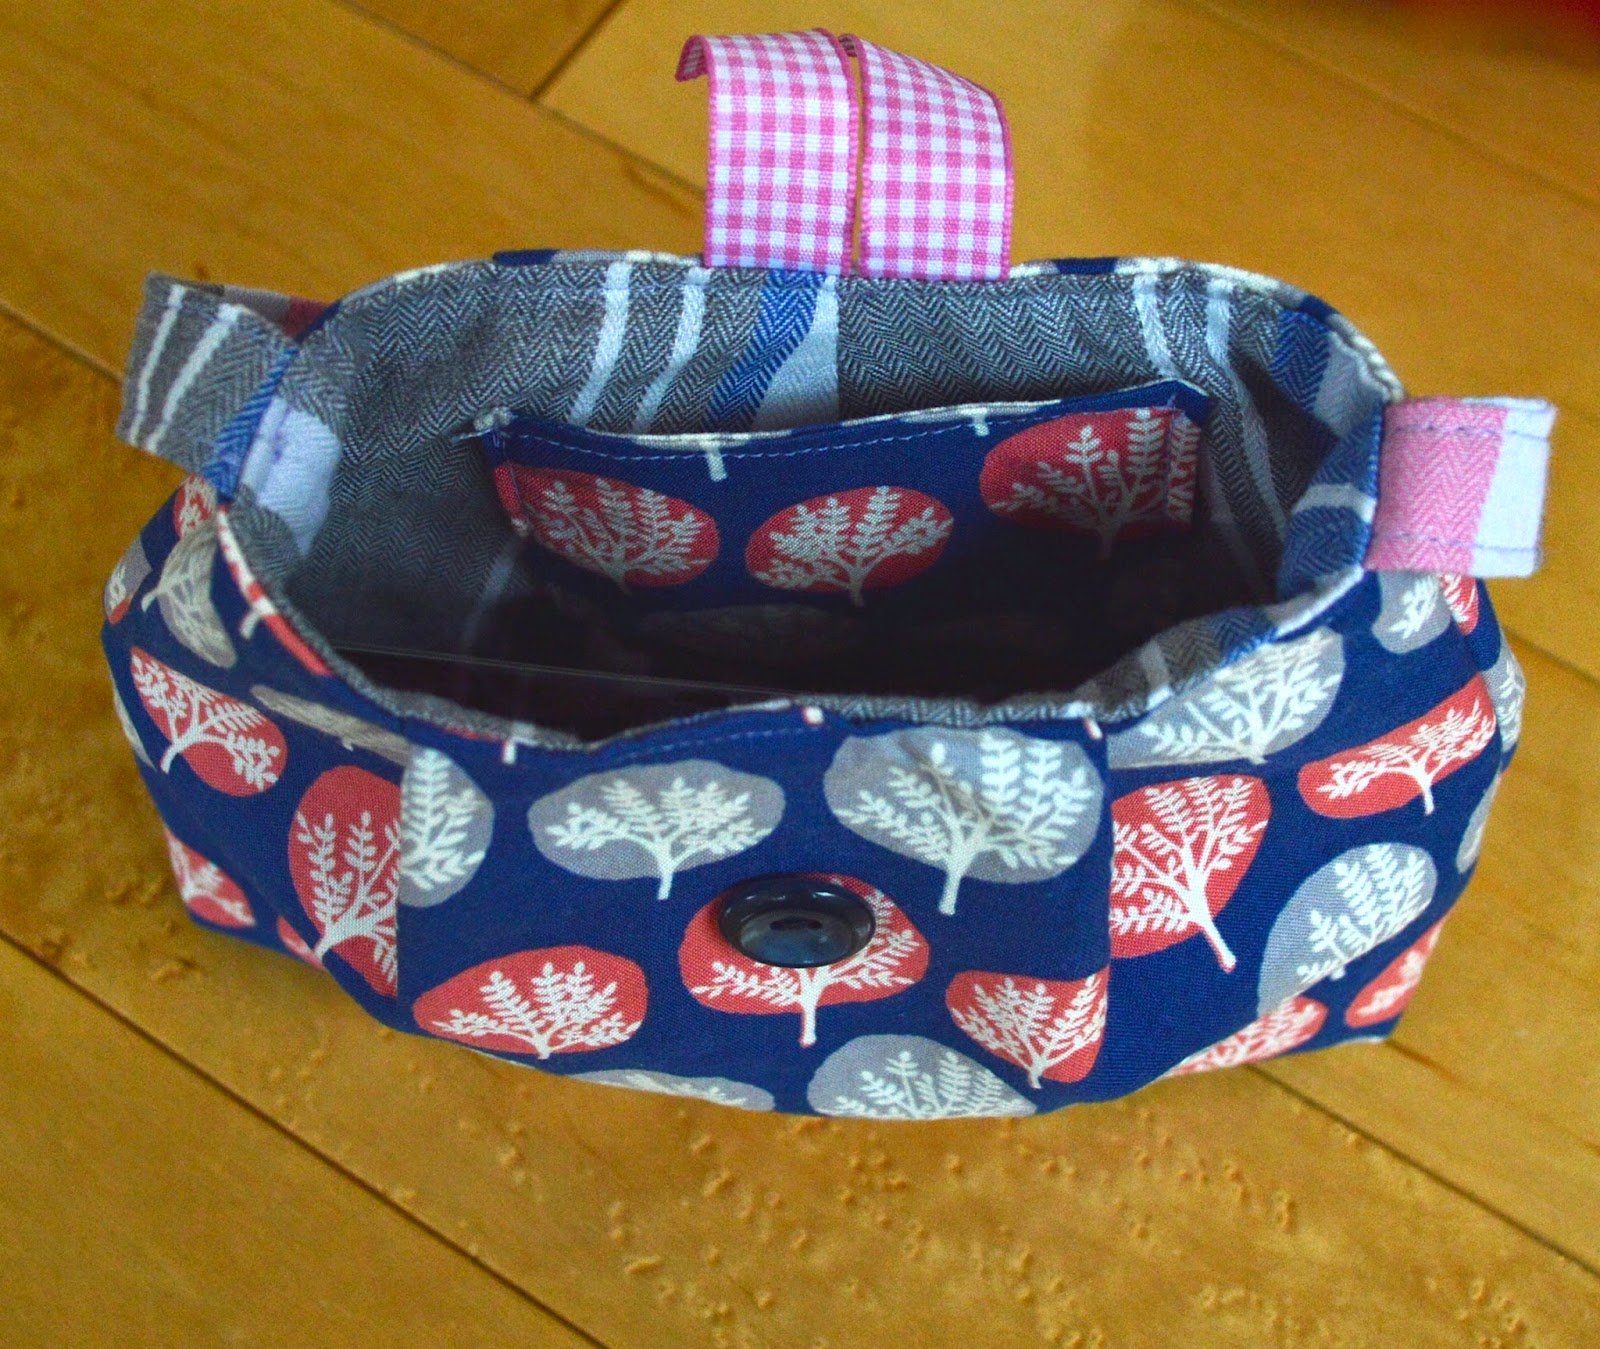
1.  This cute little purse, made from the free tutorial from Seven Layer Studio for one of Little Sister's friends:


2.  A Totoro stuffie, for our little friend's first birthday (along with a bib/apron that I didn't manage to photograph).  I used this free pattern, but using the stretchy knit I had on hand made him pretty lumpy.  I recommend using something more like the felt in the tutorial!


Oh, and I don't think I ever blogged about the pajamas they have on in those photos either--bonus!

3.  I made 10 of these reversible fat quarter aprons as a custom order for a friend who used them as favors for her daughter's cooking theme birthday party--fun idea!

Little Sister was not happy about modeling this, so her grumpy face is cropped out ;P

4.  I made this purse with leather trim to donate to a school fundraiser.  First time sewing with leather, and it was pretty easy!

Adapted from the free Phoebe bag pattern


5.  Mother/daughter birthday outfits--my friend and her daughter have birthdays two days apart, so how could I resist?


The top is the Fun Summer Tee from iCandy Handmade, except that I added a woven insert for the shoulders.   The printed fabric is a Nani Iro double gauze--sooooo nice!  The stripe is a 100 yen per meter find.

And the dress is this free Caravan Dress patter from Dotta.  Since I used the same woven for this skirt, I cut the back pattern piece in half instead of having the same fabric top and bottom.


I thought it would look cute to have this little inverted pleat in the back instead of a gather.


Update--I finally got a photo of these lovely ladies wearing the outfits I sent!  How cute are they?


6.  A skirt from the fabric that my friend picked out when she visited in November--I finally got it made in April!  I'm terrible!  It's a Milkmaid Skirt, from this free Crafterhours tutorial.


It works better as a spring skirt anyway, right?  She wouldn't have been wearing it in the winter...


7.  The scarf I included with my friend's skirt as an apology for taking so long on her skirt ;)  Dimensions from this Imagine Gnats Circle Scarf Tutorial.


8.  Oh wow--this one is old!  I made this dog sweater out of a thrifted sweater sleeve as a joke for my parents' dog after my dad sent me a link to a similar idea.


Modeled by Maddie Dog:


Monday, April 27, 2015

Strawberry Slip Dress

When I spotted this fabric on the knits floor at Tomato in Nippori, I knew I should get it, even though it's much crazier than the stuff I usually sew with.  I didn't know what I would make, but I knew I'd regret it if I didn't bring it home (especially at 200 yen per meter!)  And bonus--it's really soft, a good thickness, and stretches in both directions!

Also a good pic of Little Sister's new short haircut!
When Little Sister spotted it at home, it was love at first sight--she was immediately on me to make something for her out of it.  She started thinking about it and had some specific details in mind--tank top dress, not too long, with skinny straps.

She also wanted to call it the Silly Strawberry dress.

I had printed, taped, and cut out the free Baby Slip Dress pattern from Suburbia Soup a few months ago, but hadn't made one yet.  Even though that pattern is for a woven, I figured I'd give it a try, making a few adjustments for knit fabric.  


 I had cut out a size 4, and if I was making it with a woven I  probably would have made a 5 but since I was using knit I figured the smaller size would be just fine. 

I might add a little more length next time I make this dress.

Really though, this pattern is very flexible and forgiving--you can adjust the gathers to be as tight or loose as you want, essentially making the dress bigger or smaller.  And the free pattern is available in sizes 6 months to 6 years--nice!


The main two adjustments I made to the pattern were 1. to make the back in one piece, and 2. to shorten the straps around the arms by about 2 inches--I used rib knit for the binding as well.  I was a little nervous about being able to get it over her head without the opening in the back, but it was no problem at all.  I didn't even use a stretch stitch sewing on my knit binding--it just didn't need it.


And now I'm one more dress closer to my goal of bringing some new sundresses with us on our trip to Hawaii next week!  Maybe I'll get one done for myself, too!


Oh, and I almost forgot--when Little Sister saw the completed dress, she ran over to me, gave me a big hug and gushed, "THANK you mommy, I LOVE it!"  Perhaps the most excited she's ever been about something I made for her!  It was pretty gratifying, I have to say.  She wore it to school today--I snapped these quick pictures before we left this morning!

Monday, April 13, 2015

Little Geranium

I've been sewing lots of gifts lately, which means I can't post what I'm making until they have been given!  But I attended a baby shower last weekend so I can post about this Little Geranium dress now--I'm so excited about it!

The pattern is from Made by Rae, and the 0-3 month size is available for free!  She's a genius, because after making this sweet little dress I am totally interested in buying the pattern that includes big girl sizes as well as lots of modifications.

It was so fun to sew up a little newborn dress though--I didn't really start sewing for Little Sister until she was around 9 months old, and even then I wasn't following patterns, so this was my first time!  I have to hold myself back, because making these tiny little sweet dresses could be addictive, but I know that when my kids were that little I wasn't dressing them up in pretty things very often.  I should be making more practical things like leggings and onesies, but this dress was so fun to make and admire!


To go with the dress, I made a pair of Heirloom Bloomers from This Mama Makes Stuff's free 0-3 month pattern.  Since I used fabric rather than vintage handkerchiefs, I added a little extra length to allow for hemming.  I also did 2 rows of shirring with elastic thread around the leg openings rather than sewing baby elastic on.  They won't hang down so much under the dress when a baby is wearing it, but I wanted to show them off too :)

I was totally in love with this Japanese fabric--it's got a little texture like a linen, but it's softer.  And isn't that cat print just fantastic?  I actually bought it to make something for myself, but couldn't resist turning it into this dress.  I went back to the store to find some more of it for me but it was gone!  Oh well--totally worth it.  And I loved the natural colored cotton crocheted lace trim from my stash with it.


The biggest challenge of this dress for me was the buttonholes.  I had completed this perfect, lovely little dress and I was so afraid I was going to ruin it by messing up the buttonholes!  I usually avoid buttons wherever possible, but I have to say that while they still aren't my favorite, I now know that I CAN do it when I have to.

A better look at the texture of the fabric, too
My Japanese sewing machine came with an automatic buttonhole foot, but for the life of me I couldn't get it to work. I watched a ton of youtube videos in case I was misunderstanding the pictures in my Japanese machine manual (obviously I can't read it!)  I tried making so many practice buttonholes!  Eventually I gave up on the automatic buttonholer and just measured really well and used the manual buttonhole settings.

And they came out fine!

Now I just have to wait for the little one to arrive and hope that it fits her :)

Wednesday, January 14, 2015

Bubble-Inspired Pocket Dress

It's time for Project Run and Play again!  They are running things a little differently this time around, so you'll be seeing posts from me throughout the year on various inspirations from the online sewing contest, rather than every week for the next month.

UPDATE:  I made the top 10!  It's time to vote--head on over to Project Run and Play and choose your favorite (ahem, #4, nudge nudge) between now and Thursday, January 28th!

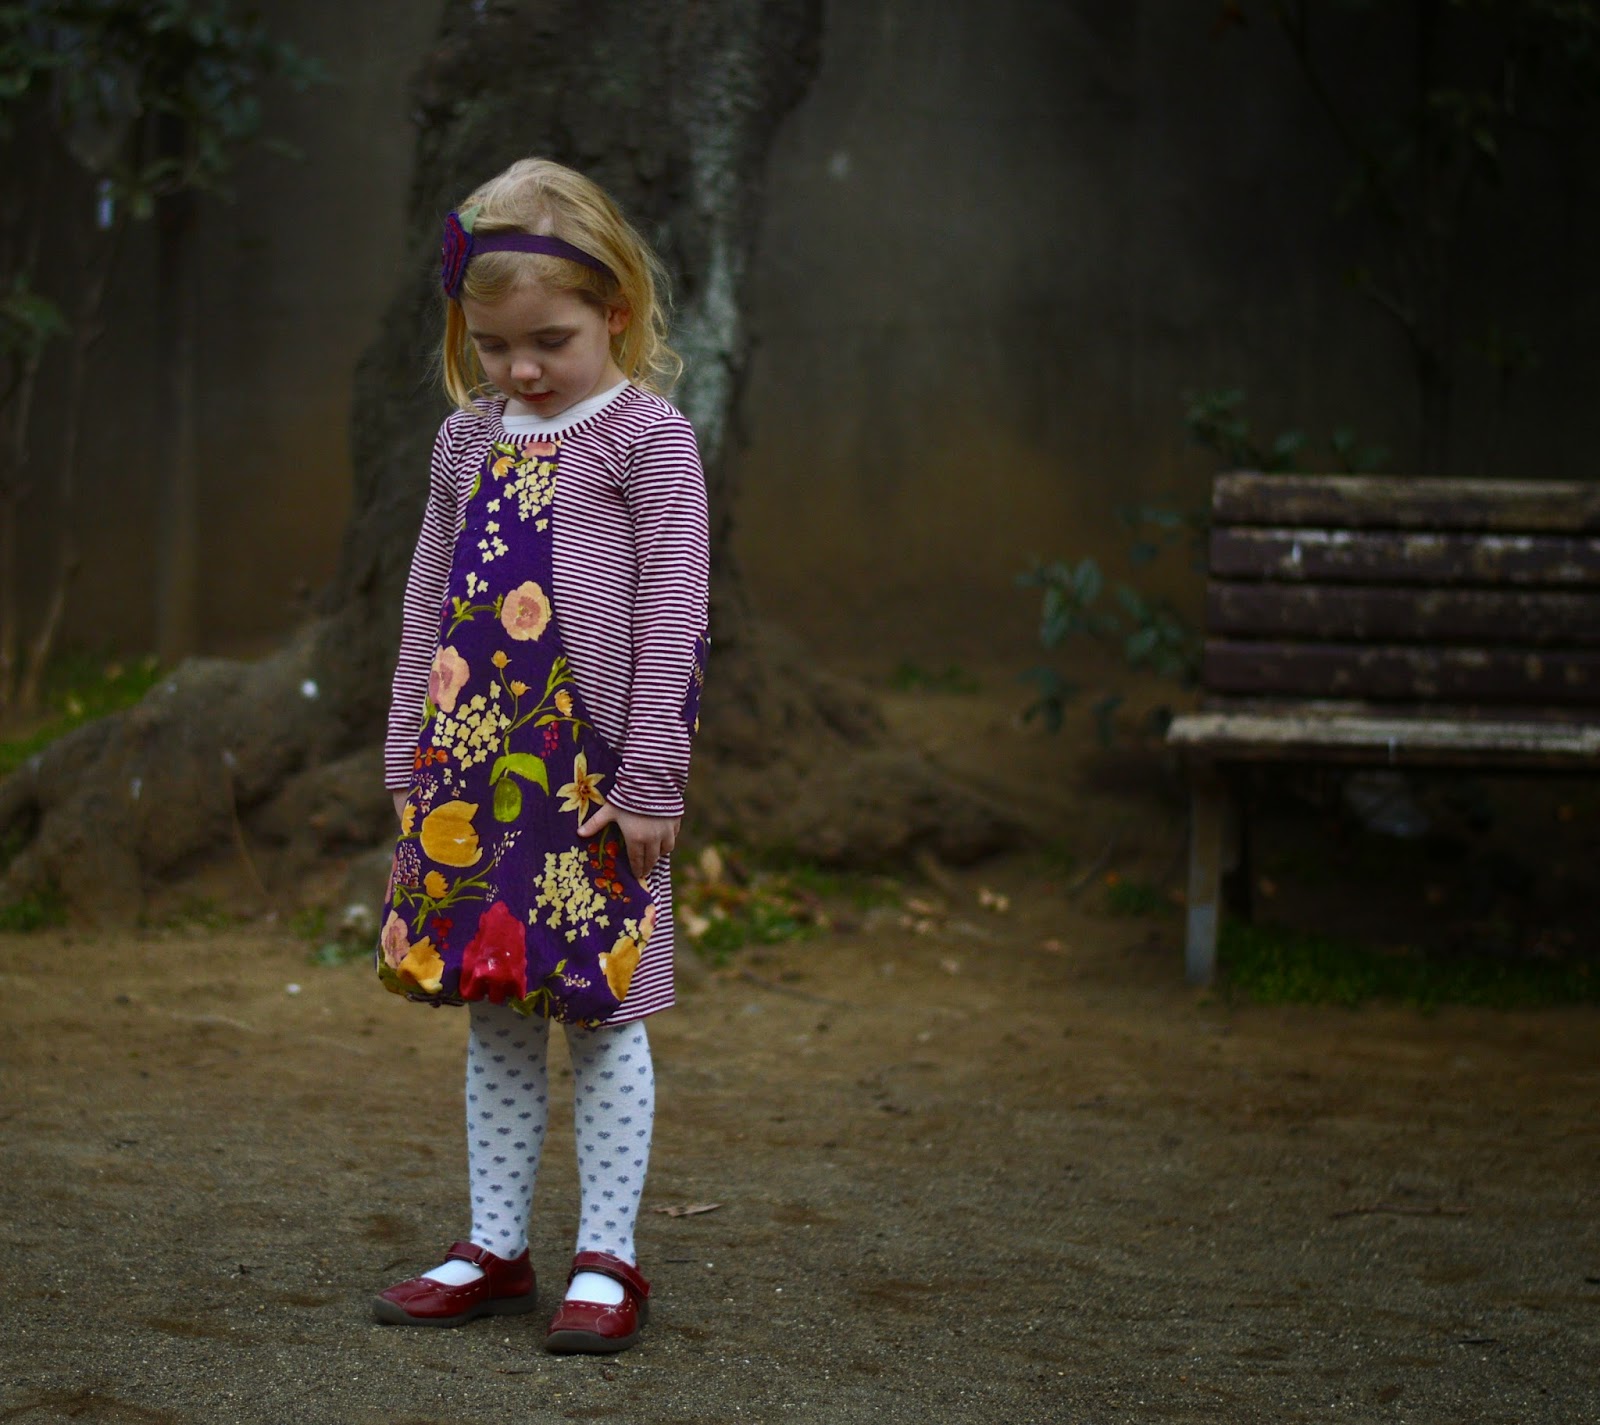
The first inspiration is a sweet bubble-style sundress from Alida Makes.  I have actually sewn a sundress inspired by this pattern/tutorial once before, for a different season of Project Run and Play!  That was the first and only time I had sewn a bubble dress, and I loved the way it turned out.  However, I have since learned that Little Sister is not really interested in bubble dresses.  She NEVER wears that dress, no matter how much I push it.  I had purchased a few knit bubble skirts that were similarly ignored, so I had sort of given up on the bubble idea for her clothes.

But then.  I definitely wanted to participate in this month's sew-along!  I thought I would sweeten the pot for Little Sister by making this dress out of the lovely nani IRO double gauze that she has had her eye on ever since I brought it home from Fabric Town (Nippori) in Tokyo (for only about $7/meter!!)  I sneaked a little of that fabric as an accent when I made a Plantain Tee for myself, and she immediately recognized it as the fabric she wanted as a dress, although she liked the striped knit I used as well.  So now we will be twinsies ;)


I did minimize the bubble effect a little by only bubbling the front of the dress.  The back does not have a second layer--both to streamline it for Little Sister's tastes, and to conserve my nani IRO for the Ruby Top I plan to make out of the rest of it for myself!


I attached the floral in the front using the method Alida describes in her sundress tutorial, and I really like the effect.  Using the elastic thread makes it really easy, and the placement of the shirring allows the lining to tuck under nicely.  But instead of making the entire dress two layers, I cut the top layer so that I could add a giant kangaroo-style pocket in the front of the dress (another carrot to dangle for Little Sister, who loves wearing dresses with big pockets!).  At the end of the post I'll describe how I adapted the front of the dress.


Like I said, the back does not have the top layer--it's just a basic knit dress.  But with the important addition of elbow patches!  That was a request from Little Sister, who loved the elbow patches on my Plantain Tee.

I almost guessed right about where her elbows are located!
I'll have to get pics of us together at some point--I don't know if I'd be twins with her in public, but I do think it's kind of fun to have mother/daughter pieces.

Snapped a while back when I finished my shirt

I was excited to finish my dress last night, so we set out to take the pictures after school today, and Little Sister had a last-minute change of heart about being in the mood to be photographed.  She made me work hard to get anything resembling a happy child today, so I have to share the few pics I did manage to get!

Checking how the swing is attached to the bar

I will push your swing after you smile!

Why is Mom standing on a bench?

Let's try writing on the ground with this stick...

SO many of the pictures had this face!
 She was much more cheerful when we headed back to her school to pick her brother up after his club this afternoon.

At least the stick was a hit--she wanted to keep it!
The final version turned out pretty much as I had imagined--although when I looked back at my sketch, I remembered that when Little Sister had gotten her hands on it, she added a hair bow, so I guess I still have some work to do!

Joint effort
As far as putting this dress together, I pretty much just added the floral panel and bubble hem to the front piece of the dress then assembled the rest of it the way I would have put together any knit dress (or tee, for that matter).  Here's what I did:

First, I cut out the front and back panels from the knit.  I used a bodice pattern that I liked but cut it so that the pieces would be 20" wide at the bottom.  For the length, I used Alida's tutorial as a guideline. Her dress was about 19" long (the 20" piece gets folded over to make the casing) so I cut my dress to hang 18" from the armpit.

This fabric kind of makes me go cross-eyed if I stare at it for too long!

It's a super-soft knit, and I got it for 100 yen/meter (less than a buck!)
Then I used the front piece as a guide to cut out my floral panel.  I cut the same shape for the skirt, marked where the neckline should be, and eyeballed the curve. I even remembered to make it bigger than it would end up, since I'd be folding over the raw edge of the curve.

I did end up trimming it so it was the same length all the way across!
Next I pressed and hemmed the curves.  It was easy to do without puckering since the gauze has quite a bit of give and it was going around a bias, but if you were using a stiffer fabric you might want to finish the curves with bias tape.


Next I attached the floral panel to the front of the dress along the bottom hem.  This part made me stop and think, to make sure the floral was facing the right direction!  You want to sew them together with the RIGHT side of the floral laying on the WRONG side of the stripe.

Just like in Alida's tutorial, first I sewed the two fabrics together along the bottom.  Then I turned the floral to the front of the dress and pressed the bottom edge, and then I sewed two lines of shirring with elastic thread across the bottom of the knit stripe fabric (like in the tutorial).


But since I was only doing the front piece, my next steps were a little different.

I basted the floral to the front of the dress from the bottom of the pockets to the hem.  Then I topstiched the floral onto the dress from the top of the pocket (wherever I wanted that to be), up and around the neckline, and back down the other side.

Next I sewed the front and back of the dress together.  I wanted to do french seams on the sides to tuck away all of the gauze edges, so my assembly was a little wonkus.  I started with the dress body pieces WRONG sides together, sewed down the side seams, turned it inside out and pressed it, and finished off the french seams.  THEN I sewed the shoulder seams together, and attached the sleeves in the round instead of with the dress side seams open.

Of course there was the neckline binding and hemming the sleeves too, but who wants to read about that?  There are much more eloquent and easy-to-follow resources for those things if you need them.

Well, I'm excited to be kicking off another round of Project Run and Play, and I think it will be pretty interesting to have a month between new projects!  Hopefully I'll be able to participate in most of them!


Don't look so sad, Little Sister--you'll get a new dress next month!